-
• #52
Wow congrats Mike, what an amazing motivation to carry on with all of this.
Really interesting to see how you test the bridge position with a caliper first before going belt and braces, never really thought about that before.No doubt if you were building lots of the same model you'd just jig that kind of operation and punch out a load of bridges at the right size, but obviously this is a bit more hands-on!
Tacking is really useful throughout the build process, especially with the fillet brazes. You can stitch the front triangle and chain stays together with minimal heating, check them all for alignment and redo anything that's out without too much bother.
The same approach could be taken with lugs, I suspect. Just put a tiny dab on the tip of the lug, check, then pull it in/flat when you fix the joint fully. Heating while pulling should let you dismantle it if you need to.
-
• #53
Friday was pretty hectic in the workshop, helping the guys prepare for the Spin London Xmas bash.
However, I did manage to complete the final bits of bronze brazing. I've now got the chain stay bridge in and tidied up, and the seat post clamp attached.
Brake bridge tidied up. The shape I went for mean the mitres help to hold them in place under load, so there's not much need to lay a fillet, but I like the flowing look.
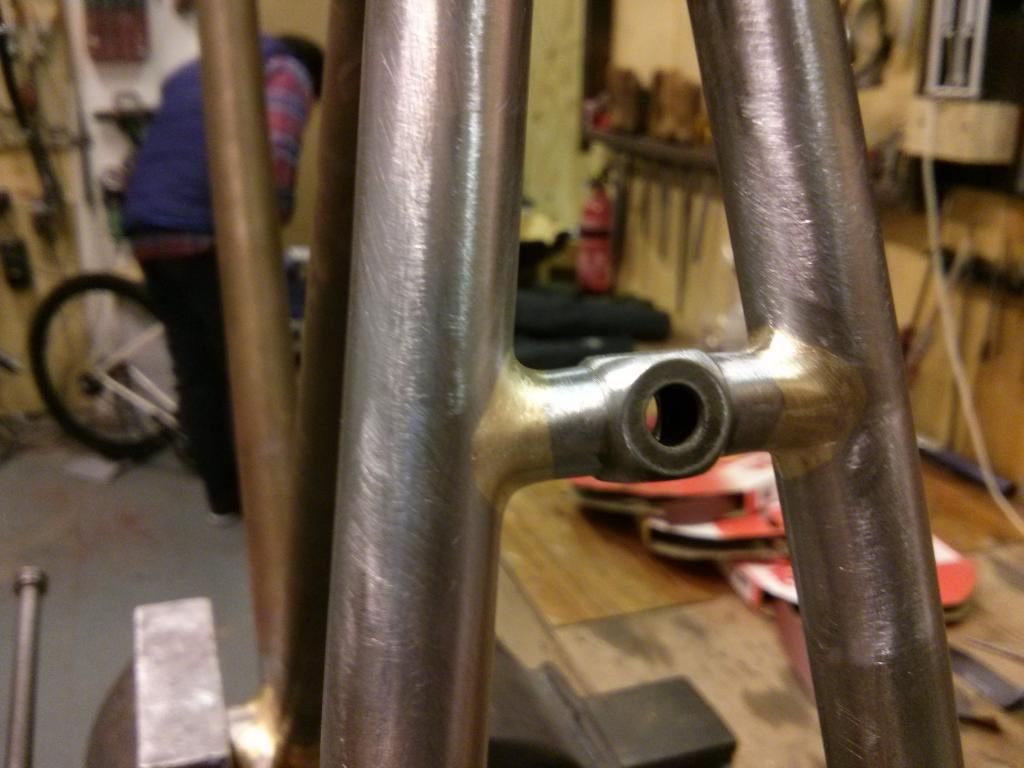
The chain stay bridge is simply a piece of tubing with a water bottle boss brazed onto it. I've positioned it so that I should get a nice radius on the mudguards, closely tracking the tyre.
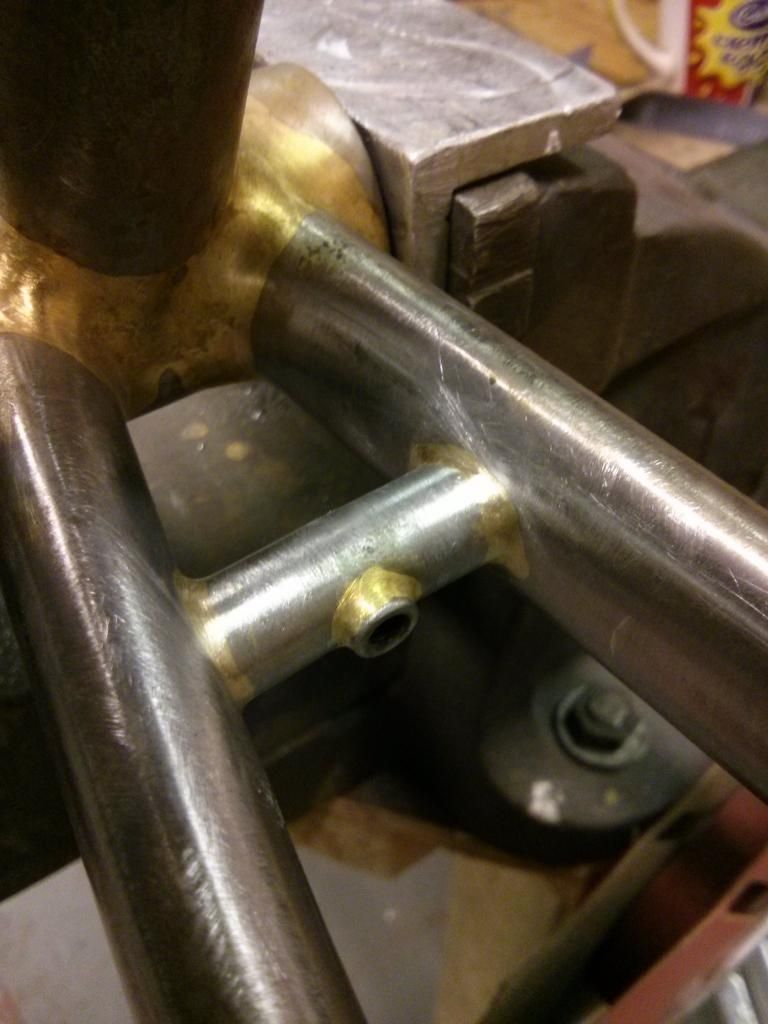
Seat post clamp. There's quite a mass of metal here, so you want to get the clamp nice and heated and not spend much time with the torch on the tube. You're trying to use the heat to pull the braze into the space between the surfaces, and then fillet the edges so you can sand back for a nice transition.
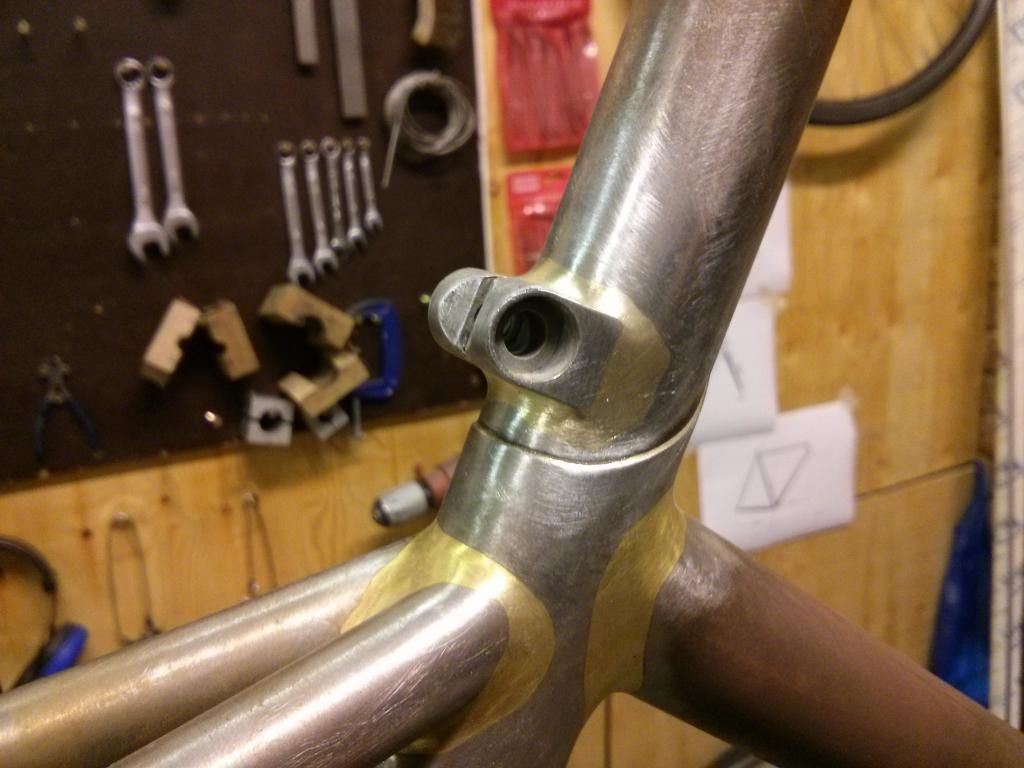
Next week I should be able to add the bottle bosses, braze-ons and fill any minor imperfections. That'll be done with silver rod, as it flows better than bronze and needs a lower temperature. Ideal for thinner sections of the centre of tubes, and for components without so much structural loading.
Then, with any luck it'll be the head badge, head tube, seat tube and BB prep and a final check and polish.
-
• #54
I'm now at the point where I'm steadily working through the braze ons. This is the pile I need to attach.
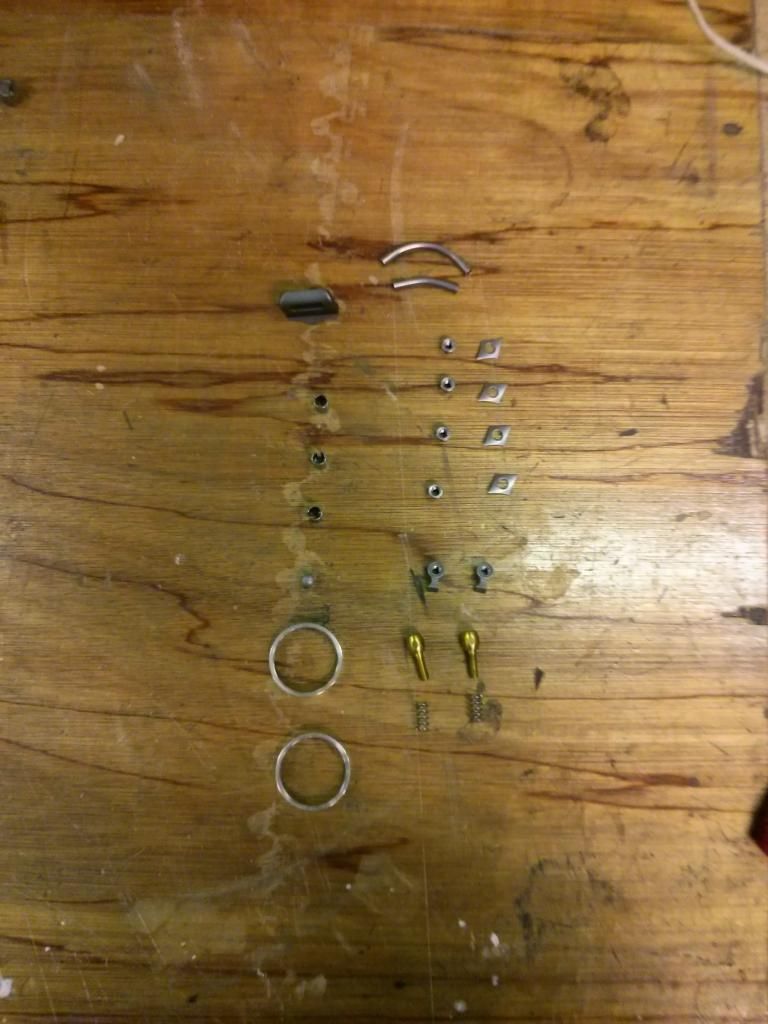
I'm also spending time refining the fillet shapes, which I get more picky with every week! There were a couple of small holes caused by balls of flux getting trapped. I filled them with silver braze, and filed back. They disappear completely.
The thing I was oddly nervous of was drilling and fitting the water bottle bosses, as you're punching hole into to your lovely frame, and if you get them in the wrong place that would be a Bad Thing. Went fine, after checking the measurements at least a half-dozen times.
The nice thing about doing your own frame is you can add handy bits, like a chain hitch. Voila!
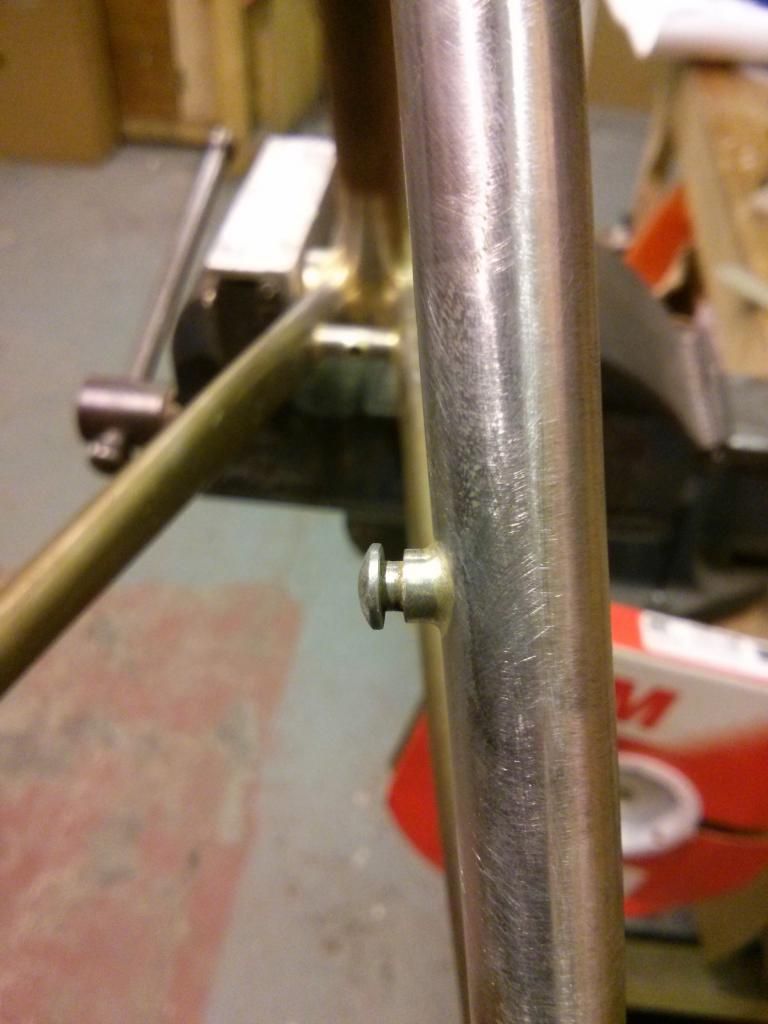
All that's left is the STI and brake bosses, head tube reinforcement rings and the gear cable guides. Then head badge, cut the seat tube slot, chase and face, polish.
-
• #55
I'm tempted to give you a frame and ask you to finish it- needs the seat-cluster brazing and finishing.
-
• #56
^ha!
-
• #57
I'm tempted to give you a frame and ask you to finish it- needs the seat-cluster brazing and finishing.
There's only so much crap telly and mince-pie eating I can do over Christmas. I'm bound to be in the workshop at some point :-)
-
• #58
Never knew headtube reinforcement rings existed.
-
• #59
A lot of head tubes are turned on a lathe with the ends left thicker to resist the insertion pressure of the headset cups, but I'm using plain tubing, so the rings are a good addition.
They have the added benefit of helping the look of the transition from the headset cup to the frame, and as I'm using stainless ones any exposed metal left when you face the head tube post-painting should make it more corrosion resistant.
-
• #60
The head tube on my Oak is 304 stainless from Paragon with reinforcement rings.
-
• #61
This might be the last major update for a bit, because yesterday I pretty much completed the frame.
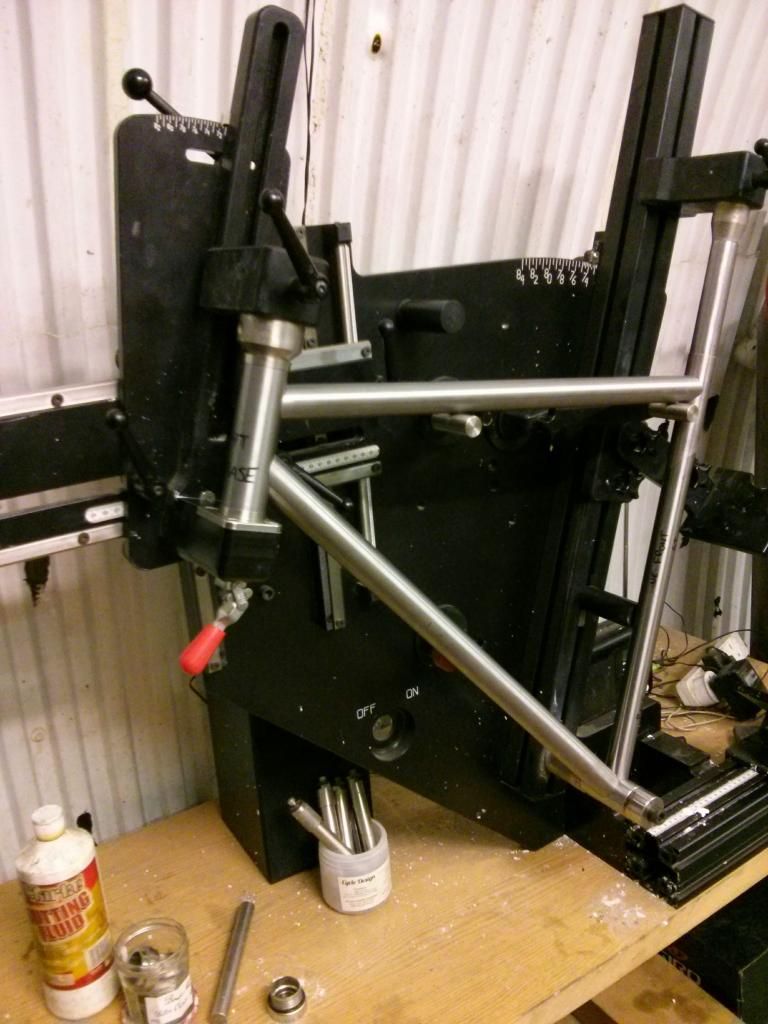
First up I added the front derailleur mount. We have a handy gizmo to help with holding it in place. Doing this on the alignment table means you can use an engineer's square to check that everything is parallel.
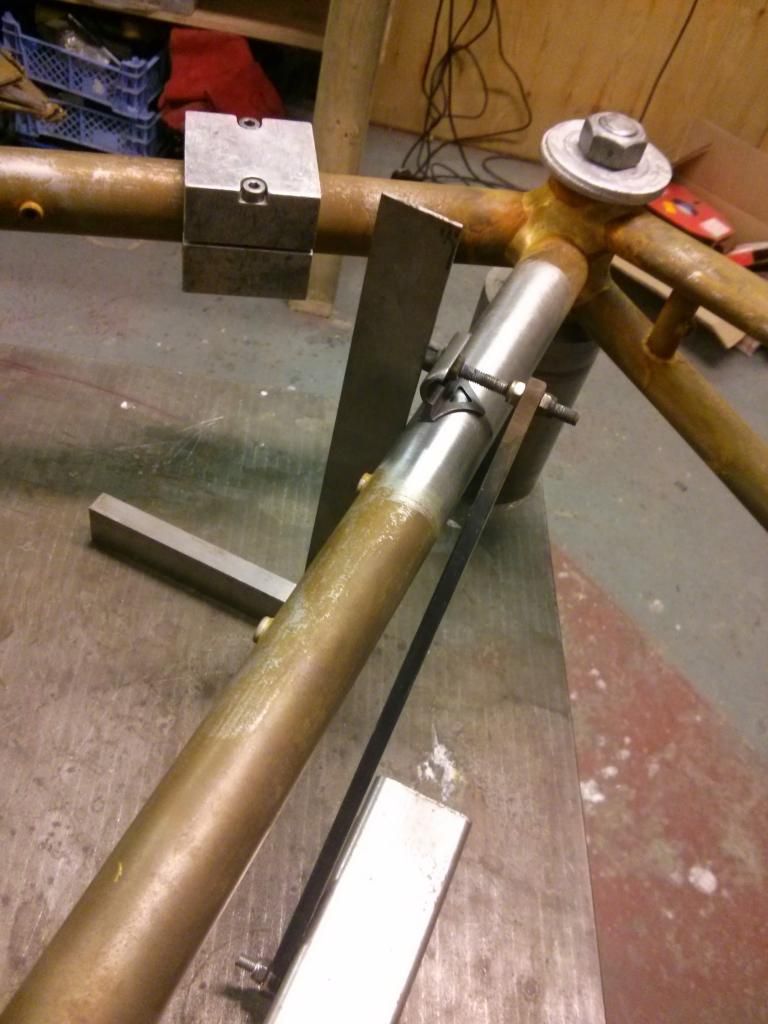
Heating the braze-on thoroughly assists in pulling the silver braze through and around the contact point. You can see how the silver has flowed around the edge.
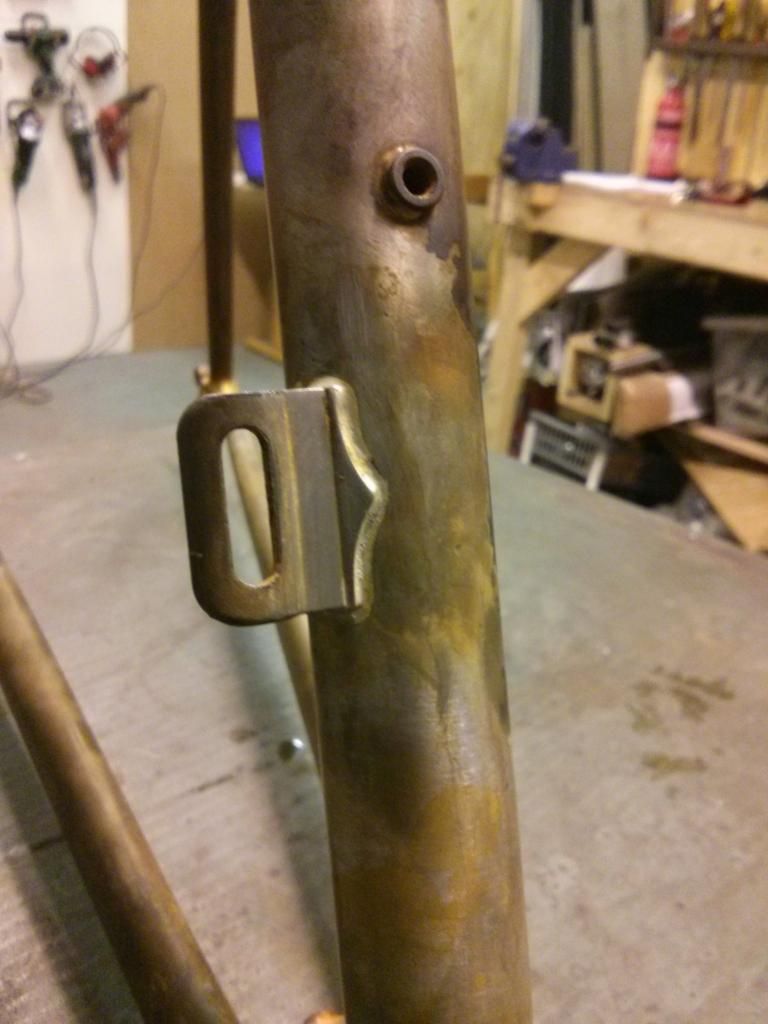
Another tip I picked up was to apply a moderate amount of heat around the opposite side of the tube. Not enough to make it glow, but it helps even out the thermal expansion, reducing any lop-sided forces.
Then the STI stops and head tube reinforcements went on.
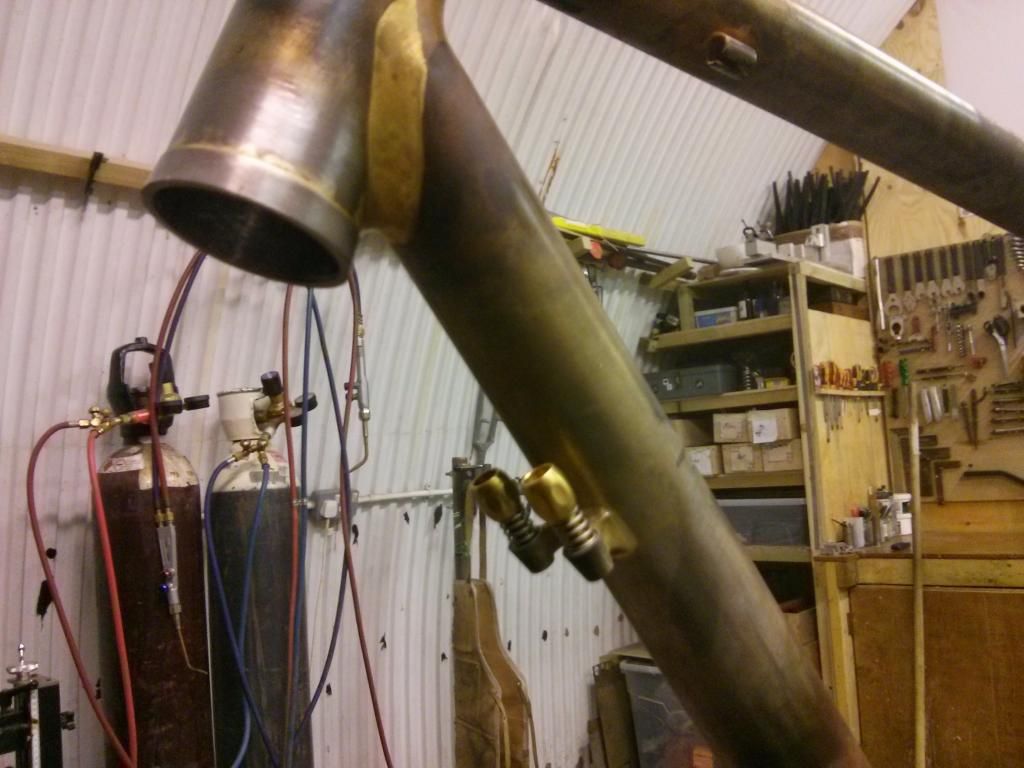
Bit out of focus, phone seems to really struggle with tubes.
The HT rings are stainless steel. This heats up pretty fast, so you apply heat to the inside of the head tube and let it soak into the rings. You then dot silver on the outside and use the torch on the outside to pull it around the ring. Also, it's worth tacking them as they can slip under the pull of gravity otherwise.
Stress relief hole and seat clamp slot were cut, and the top of the tube shaped.
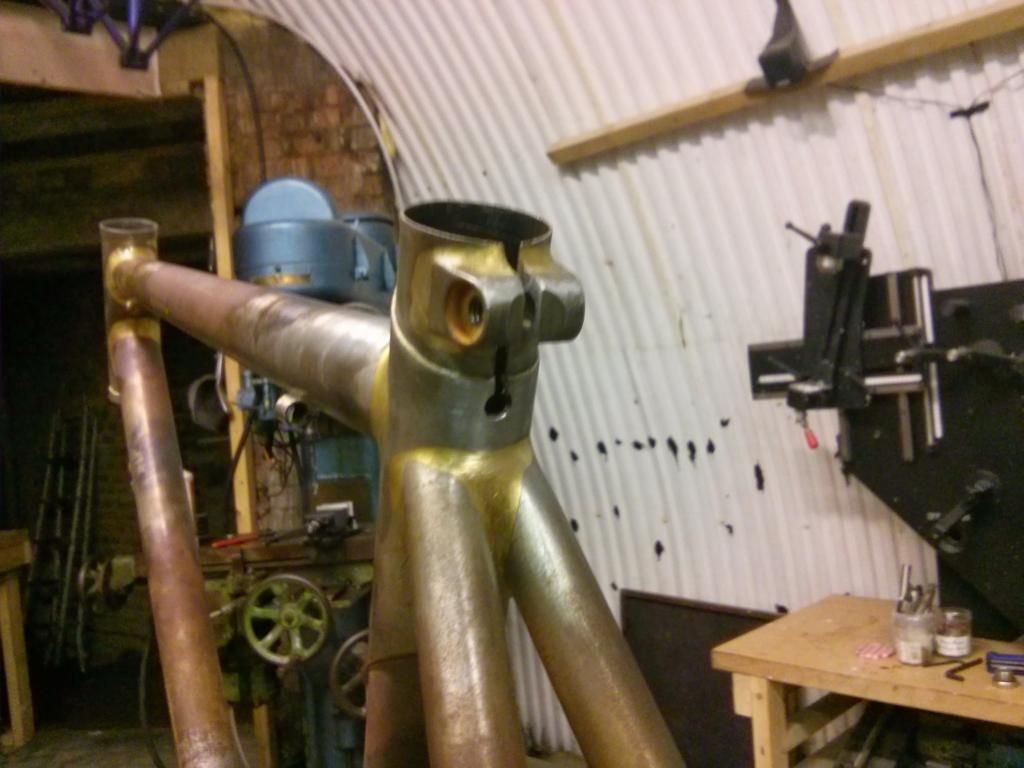
Finally I got busy with the frame prep tools, chasing and facing the BB, reaming and facing the head tube, tapping the BB for the cable guide and reaming the seat tube. The amount of force needed to ream the tubes is a bit scary. I've done it before, but it was a while ago. Also, it pays to have a seat post on hand to make sure you don't ream too much metal away.
And then, a frame appeared.
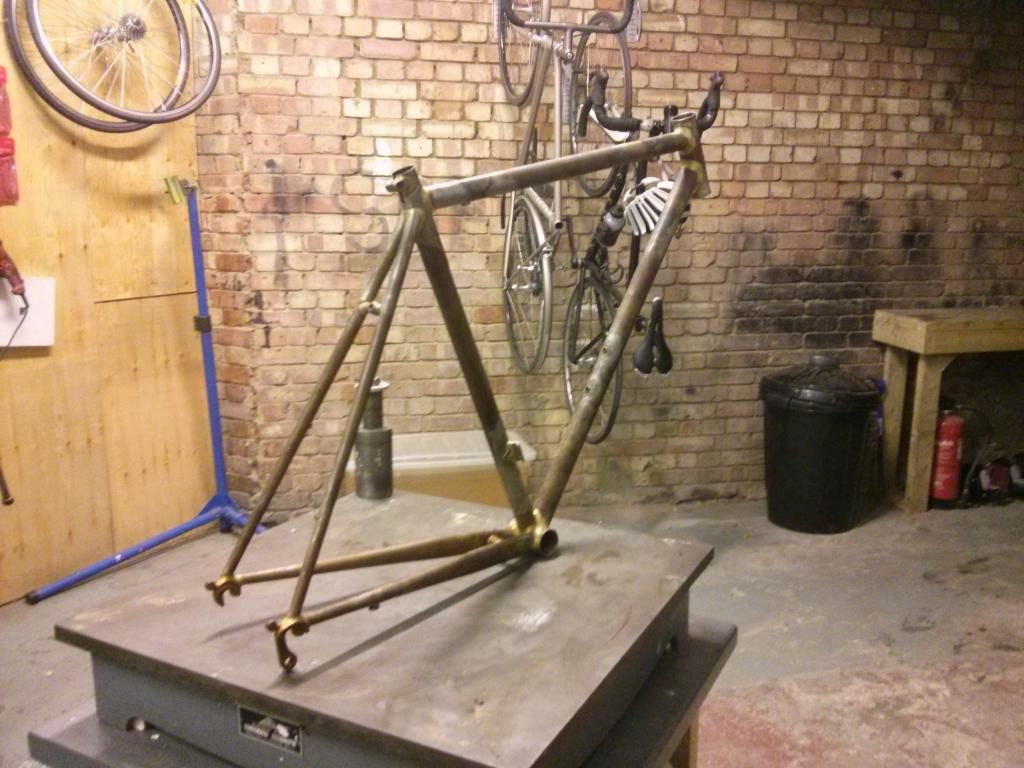
I'm going to clean it, put on some of the parts to check that alignment & spacing are alright and attach the head badge. If that goes alright it'll be off for paint, and then I'll build it up. I may even get to ride my winter bike this winter :)
-
• #62
where did you source the sti stops?
I need a pair exactly like yours, but havn't found any yet.
do you have a spare set lying around per chance?
frame is stunning by the way! -
• #63
Really impressed with the way you're explaining all the attention to detail. Great stuff. I don't remember seeing STI stops down there; is there any advantage over having them on either side of the head tube? Prevent cable rub or something?
-
• #64
Cheers! It's been quite a roller coaster putting it together, there's a tonne of stuff I've learnt
drøn, I got them from Ceeway (www.framebuilding.co.uk) you can find them in the "what's new" section (http://www.framebuilding.com/what.htm) they are called Brass Deluxe STI Adjuster Screws with Stainless Spring.
Tom Donhou sells a similar pair http://shop.donhoubicycles.com/
The adjusters are angled out slightly, they should give a nice line for the cables. You can put eyelets on the head tube to constrain the cables, and I've also seen a head tube lug that has them built in.
-
• #65
cheers. I was thinking about the threaded braze ons rather than the adjusters.
-
• #66
Oh right, they are on the "What's new" page as well.
R2 Gear Boss STI/Ergo M5. Cast.
-
• #67
got it!
thanks a lot. -
• #68
Went in this morning with the aim of getting all the work done prior to painting. First thing was to have a dry-run on the fittings. Everything checked out fine. The front mech is close to the bottom of the braze-on, but that's OK as I'm running a 50T outer, which is as small as it'll ever need.
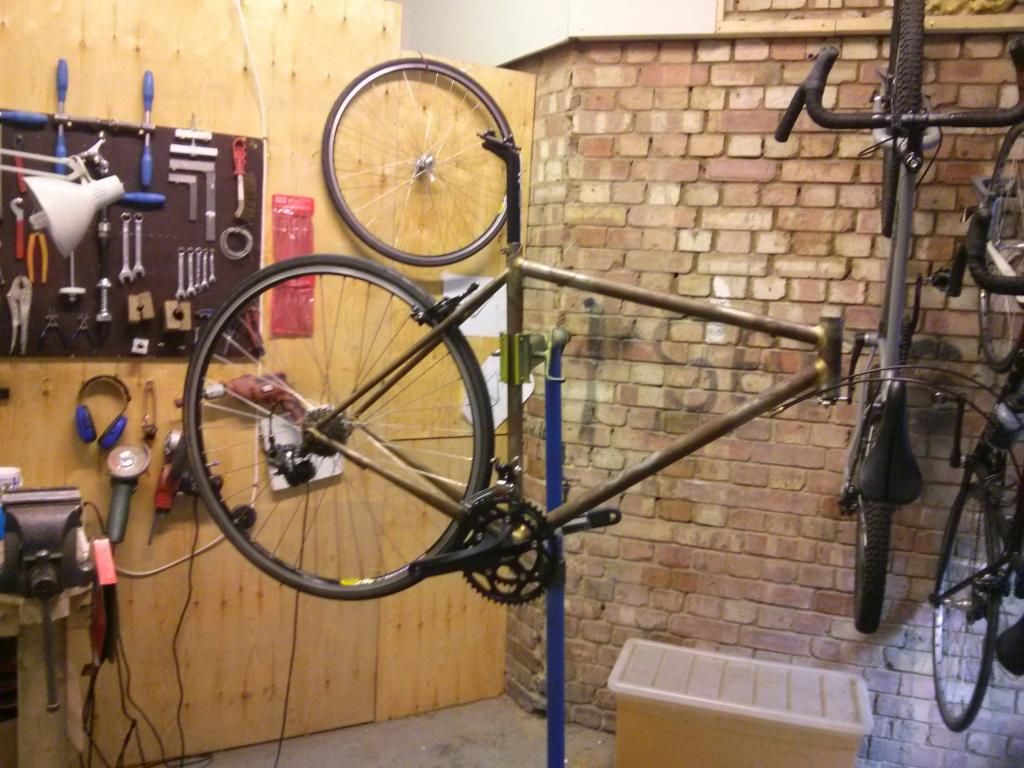
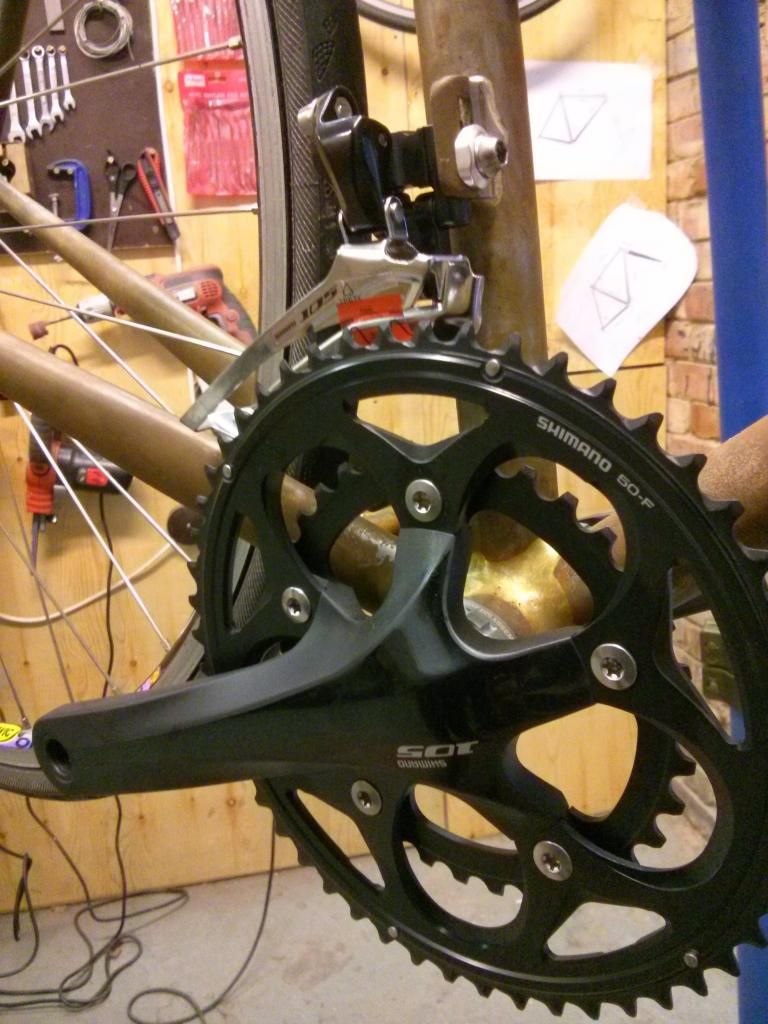
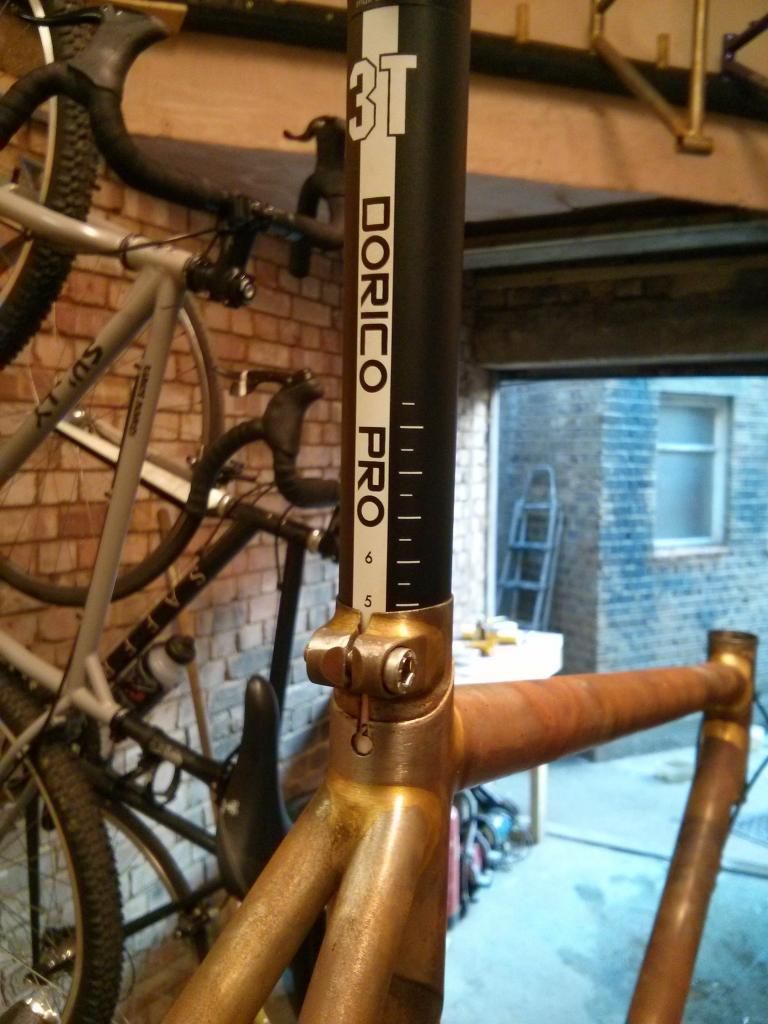
Then it was onto the head badge. And for a head badge you need some sort of identity. My inspiration came from Norse myth. Odin had two ravens, Munin and Hugin, who flew across the earth each day to bring him news. That's what bikes represent to me, they provide you with the opportunity to seek out new discoveries and bring home tales of adventure. So Munin Bikeworks it is.
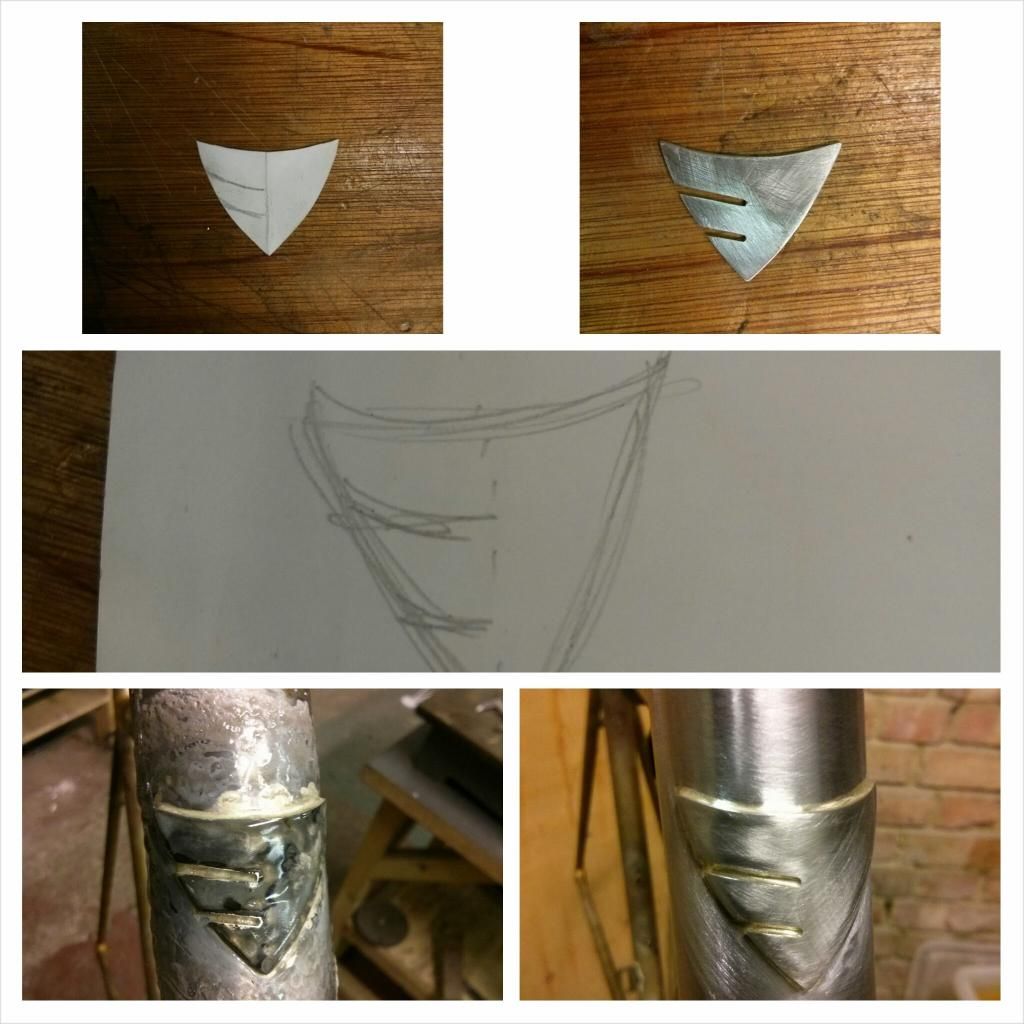
The head badge is a stylised representation of a Raven's beak and the feathers at the wingtips. I sketched it and cut the badge using a dremel and hand files. Shaping it to wrap the head tube was a case of putting into a tube block and using a scrap length of head tube as a former. Squashed up into a vice it matches the radius well.
Here's a composite from sketch to completed badge.
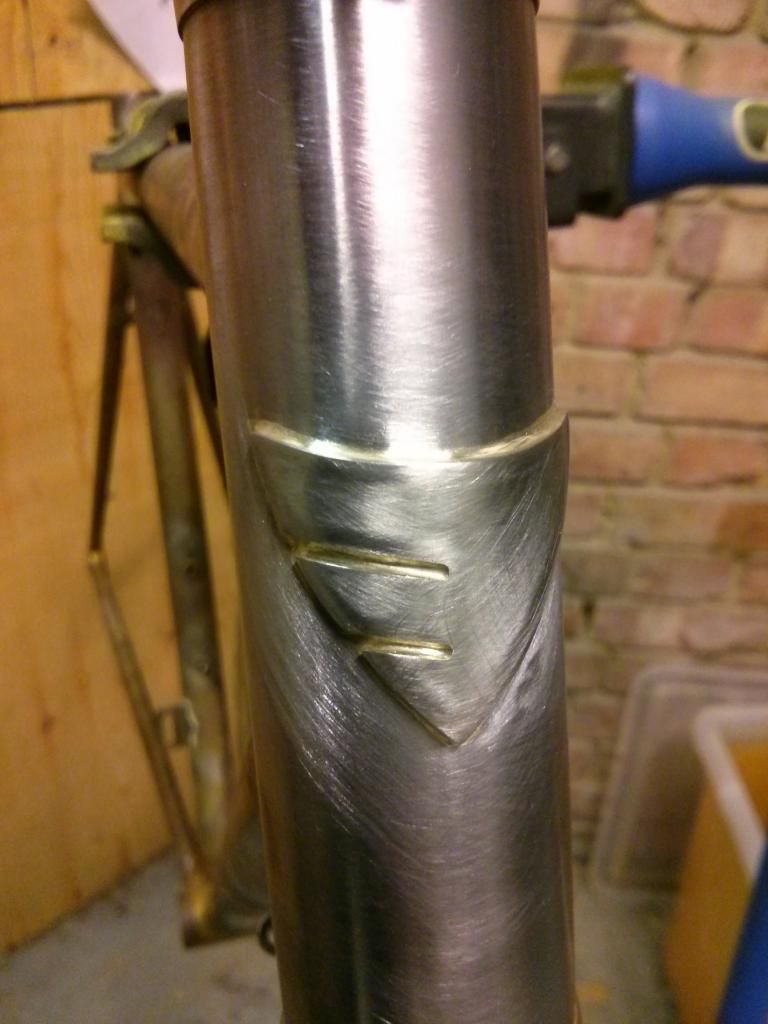
And finally, a close up of the badge itself. It's stainless steel, so will be polished and then masked through the painting process.
I hope you've enjoyed the thread so far, and when I have it painted and built I'll show some more pics. Can't wait to try it.
-
• #69
Wonderful!
-
• #70
great stuff
-
• #71
Bravo! Beautifully done.
-
• #72
Deeply impressed. Thanks for taking the time to explain the steps.
-
• #73
amazing thread, and what a gracious and willing host mikenetic has been throughout
can't wait to see it painted and fully built up
-
• #74
Not quite an update on my bike, but I've just started making a disc braked city bike with an Alfine 8-speed hub and Alfine dynamo for my better half as a birthday present.
I'm using these sliding dropouts.
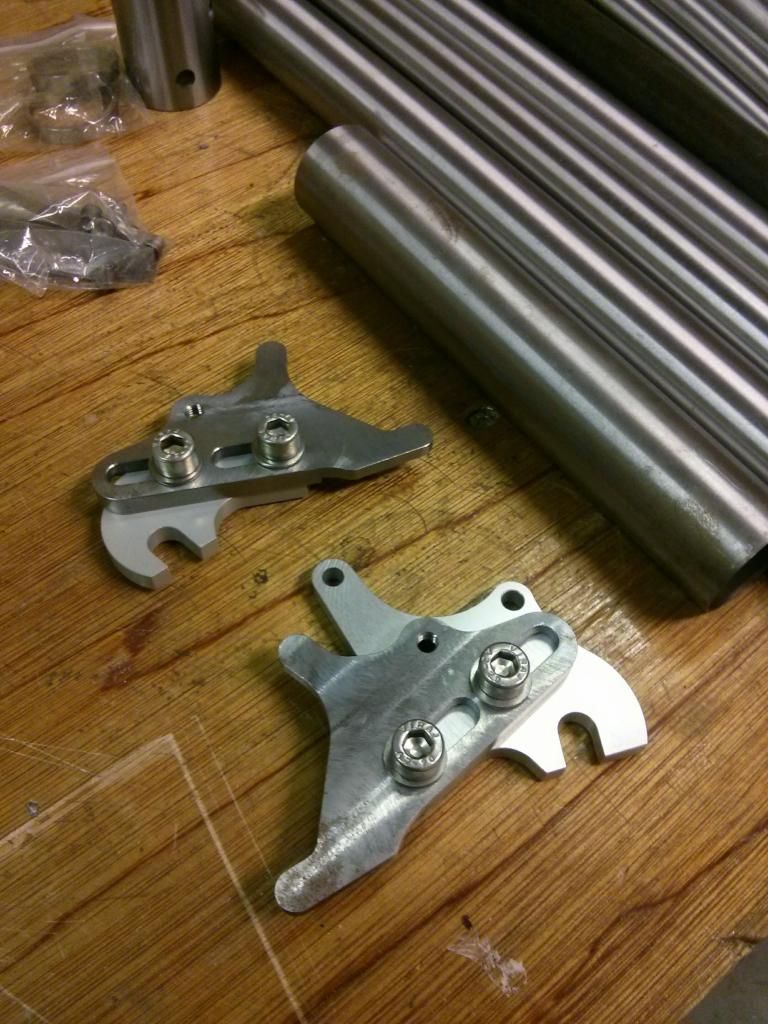
Pretty neat as they allow you to slide the whole hub and brake unit together as you get the chain tension sorted, then the down and forward dropout slot means you can remove the wheel without much hassle.
Also, I've got to say that it's faster second time around. I went from a pile of raw tubes to a fully mitred front triangle in about 6 hours today. Which felt really good!
-
• #75
it's nice to have the fender mounts on the sliders!
 Mikenetic
 Dammit
 Rodolfo
 hugo7
hugo7 drøn
drøn psee
psee fredtc
 s.walrus
 cozzzzzzzz
Wow congrats Mike, what an amazing motivation to carry on with all of this.
Really interesting to see how you test the bridge position with a caliper first before going belt and braces, never really thought about that before.