-
• #77
I have similar sliding drop-outs.
Some things I'm sure you already know:
a) resist all temptation to polish them. Actually, do the opposite.
b) make sure you can fit bolts and washers up to the taskThen hopefully you'll have no slippage :)
-
• #78
I have similar sliding drop-outs.
Some things I'm sure you already know:
a) resist all temptation to polish them. Actually, do the opposite.
b) make sure you can fit bolts and washers up to the taskThen hopefully you'll have no slippage :)
Thanks for the tips! There's absolutely no guidance on appropriate torque, but as it has M6 bolts I'm suspecting it's a fair old bit. This frame is getting powder coated, so hopefully that'll help avoid slipping too.
-
• #79
The torque will be limited by the quality of the bolt and the tool you use to tighten it :) Loctite is your friend, too.
I'd consider masking the portion of the drop-out that will be clamped by the bolt and the inner side that interfaces with the slider - they will move, and they will take the paint with them anyway. Unless powder coating is crazy resilient?
-
• #80
Shot-blast them, then leave the clamping surface unpainted?
(I'm assuming these are stainless).
-
• #81
I believe this was the solution on talbot #1
-
• #82
#1?
-
• #83
I may well have already been asked, but where are you building?
-
• #85
Nice, I need some forks straightened out so I'll be popping by soon.
-
• #86
After much deliberation I've decided to keep the paint job really simple, because I want to ride the bike. Also, I'm trying to stick to my intention of building a bike for all seasons, and something really Dapper Dan would be out of character with that.
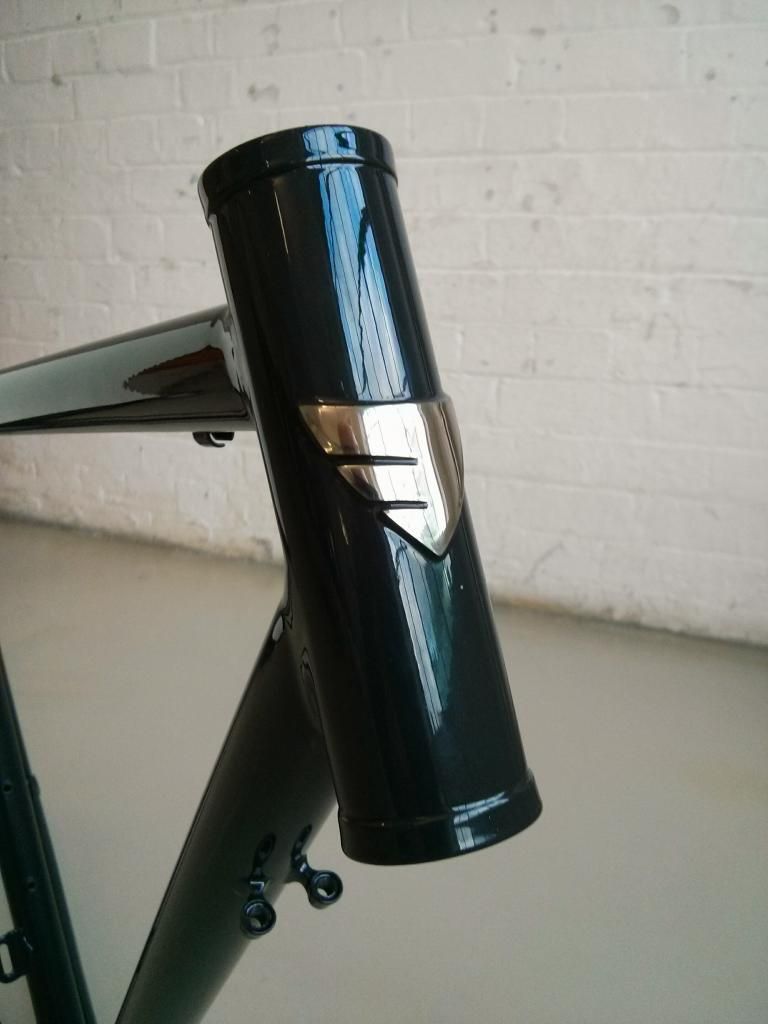
So, it's gone in for a powder coat finish with Armourtex today, and should be back with me by the weekend. They'll polish up the head badge too, which saves me that particular headache. Just need to retrieve the headset press and crown race tool from the workshop and I should be all set for a build over the weekend.
-
• #87
What forks are you going to use on the town bike?
-
• #88
What forks are you going to use on the town bike?
I'm building a set of steel forks for the town bike - seems the best way of getting the right geometry and look.
-
• #89
Will you be using the Nova disc blades? or risking it using a non disc blade. I have been waiting for Reynolds to get round to making disc blades for a long while now.
-
• #90
Have you chosen your mudguards yet? and what size tyre+guards do you think you'll get in the Columbus Hiver fork?
-
• #91
I'm not sure yet, to be honest.
I've asked Columbus for a recommendation, but I've also specced the geometry to run with a 390mm fork length. That means I could fit a Surly Disc Trucker 700c fork if I felt that was a better approach.
-
• #92
Have you chosen your mudguards yet? and what size tyre+guards do you think you'll get in the Columbus Hiver fork?
I'm using SKS narrows with a 25c tyre. I've done a test fit and that all looks OK. I suspect you'd get a 28mm in there without too much bother. In fact I've got one knocking about, so I'll do a test fit tonight and report back.
The Hiver is definitely a road fork that takes guards, rather than a gravel grinder or CX fork. It pinches in quite a lot towards the crown.
-
• #93
28's fit - just - beautiful work, what a sense of achievement on the first ride. I envy your skills.
Thanks for the journal. -
• #94
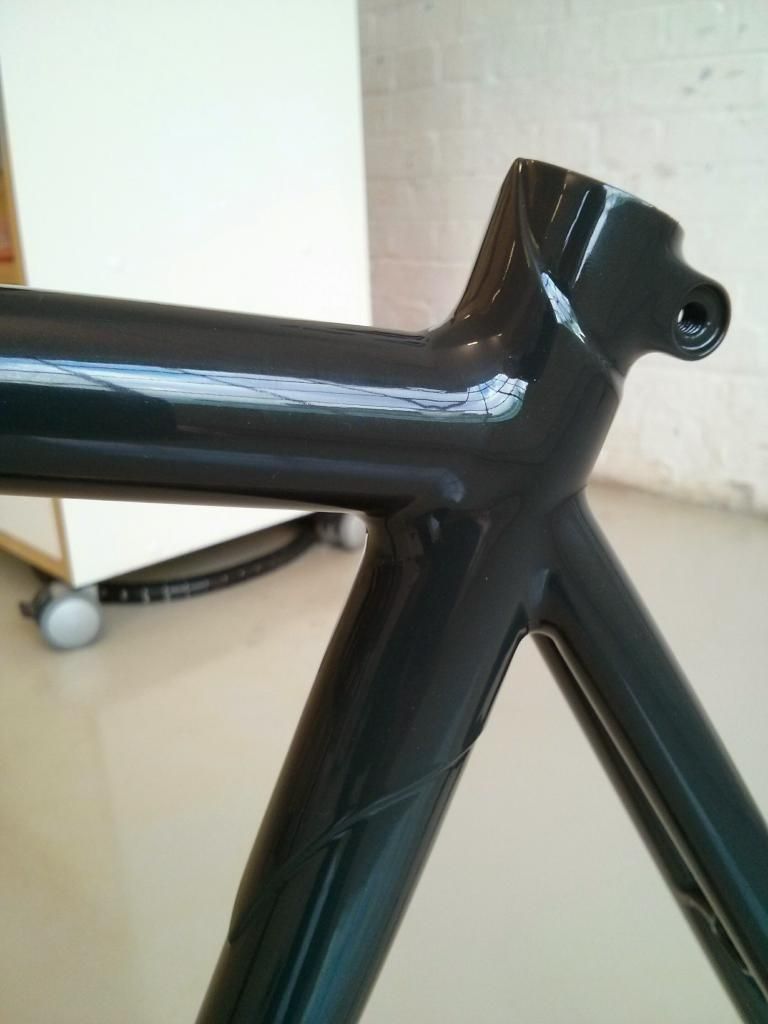
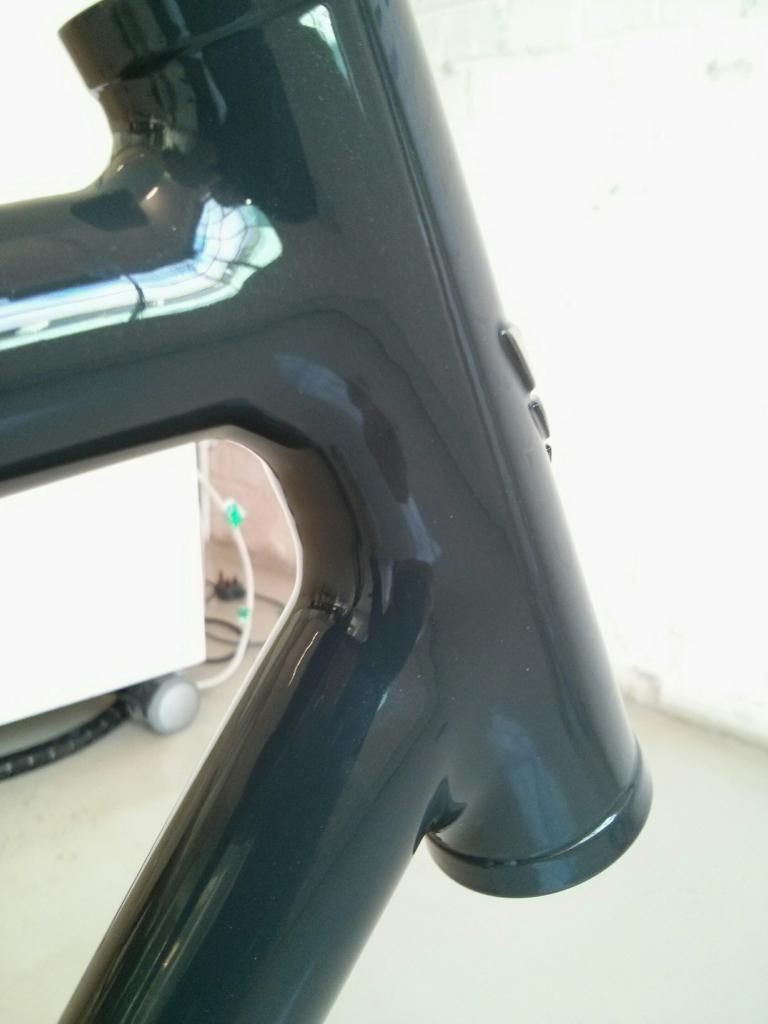
And it's back from the powder coaters. Wanted a nice, simple, durable finish. The fillets look pretty trim under the finish, if I do say so myself. Gives me a sense of what's required to make them flow from tube to tube.


Going to to treat it with a bit of frame saver this evening, and then I'll start the build up tomorrow.
-
• #95
Well, I'd be happy paying for that. Super nice.
-
• #96
Man alive, that does look good.
-
• #97
where can you get JP frame saver in London?
-
• #98
Looks brilliant.
-
• #99
Head badge porn!
-
• #100
where can you get JP frame saver in London?
I ordered a can from Ceeway mail order, not sure if anyone would keep it as a stock item.
 Howard
 Mikenetic
 Dammit
 rogan
rogan spotter
 Stevevw
 hugo7
hugo7 hanford
 Sanddancer
 fredtc
 Regal
Regal
Just spotted your thread and read it right through! Really fascinating stuff for those of us that would like a go at frame building in the future. Thanks for taking the time to explain each step.
Can't wait to see the finished product. Those joints look really tidy.