-
• #100652
Changed bars from drops which made room for a basket on the beater.
2 Attachments
-
• #100653
Nice what frame is that?
-
• #100654
It's a Felt Breed sscx. Rattle-canned a few years back.
-
• #100655
After a good bit of cursing, two broken drill bits and a small fire (Gamoh steel is real) I've got my commuter rack sorted. Took it for a quick spin, handles really well. Here's a crappy phone pic

-
• #100656
Nice
-
• #100657
nice !what bars are those? cheers
-
• #100658
-
• #100660
I just used the instructions with the pack. I think (bike is in the bike store at work at the minute) the way the legs go on is important (i.e. the elbow should be pointing inwards and the legs bolted to the inside face of the plate) does that make sense? Have you got pics of yours?
One extra thing I had to do as a brklss setup was add a washer between the brace from the fork crown to the silver hanger. I used an old valve screw thing off an innertube as a spacer and it worked a treat. Can add pics later if you need.
-
• #100661
You drilled out the mounting tabs then? Nice work. The real handling test is when it's fully loaded. :)
-
• #100662
@TPR Cheers, they're USE Atom Carbon Risers, I picked up a pair second hand locally and cut em down to size
http://www.chainreactioncycles.com/mobile/ie/en/use-atom-carbon-xc-riser/rp-prod2740
-
• #100664
Yea man, thanks for the suggestion. Tried first with a hand drill, no use. Ended up getting a mate to sort em out for me. He said it was the toughest steel he's ever come across!
The plan is to pick up a Chrome Porter bag when I get a few bob, it'll be bungees till then so we'll see how it handles
-
• #100665
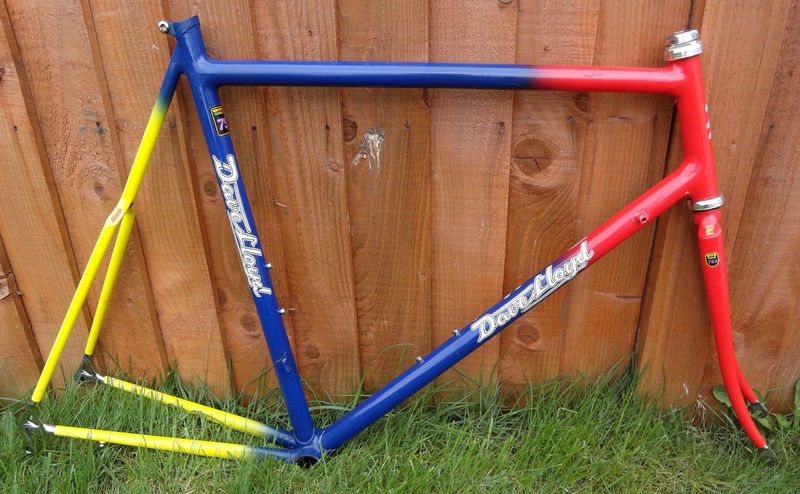
Just pulled the trigger on this. It came up on my eBay front page and I couldn't resist. It's got everything I wanted. nice tubeset, fillet brazed, internal cables, sexy skinny wishbone, and obviously sick fades.

Only issue is I've never owned a proper roadbike and I've definatley never built one. I'll start a thread when it arrives and hopefully get some advice of you lot.
-
• #100666
Subtractive primary colors. Will definitely notice.
-
• #100667
Nice - is it a concept '90?
-
• #100668
I have no idea, any tell tale signs I can look for?
-
• #100669
I saw that when it came up a while back, listed as something ludicrous like 'raleigh racing bike'. Going by the length of the rear wishbone it looks to be 650c? Don't think it was explicit in the listing, only reason I didn't have a go.
-
• #100670
Yeah, possibly 650c, which could be abit of a ballache. The listing was fairly basic but judging by the measurements given and the size of the headtube I think you might be right.
-
• #100672
Whenever I've done them, there hasn't been a nut. The bolt has just screwed straight into the fork, which would make the length about right.
-
• #100674
Yeah I've realised it's just long enough to screw into fork, the fork is old steel though and the eyelet threads are rusty, I'm also planning on fitting guards to the same eyelets (vo fenders with folded/flat steel fittings) so have ordered some 30 mm bolts to replace the 25, then will screw through the eyelet and add the nut at the back as well for extra security.
 larsenroad

 spotter
 birofunk
 HHC
HHC TPR
TPR faffe
faffe
 TM
TM roboto
 Dry
Dry luisbg
 .gaz.
.gaz. 6pt
6pt


 Sanddancer
 @emoxfag
Sheet, I haven't posted anything in here this year!?
Have some brand whoring...
#cleanme