-
• #2
very nice! sub'd
-
• #3
Damn! Looking good, looking forward!
-
• #4
nice seat tube sleeve detail.
-
• #5
This is definitely something i would like to do someday. Looks like you are on your way to building a bike, cool!
Is the sleeve something that always comes with this tubeset ?
-
• #6
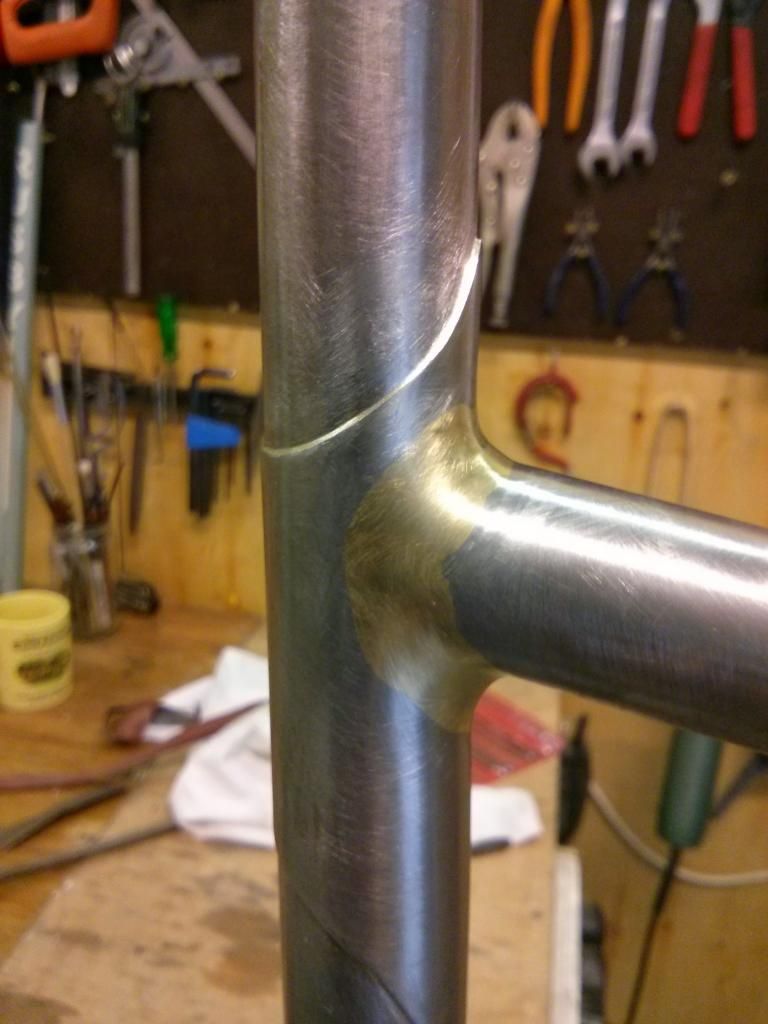
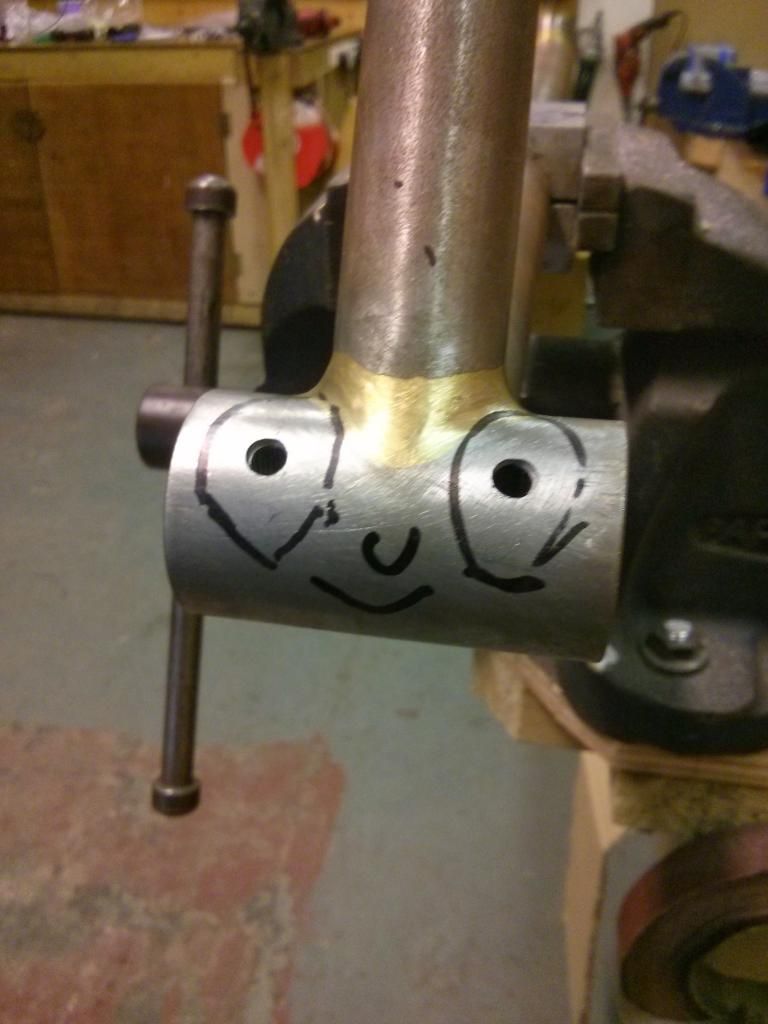
The sleeve is something I made myself from a piece of plain gauge 1mm tubing.
Placing it at the junction of the seat tube & top tube means that the area is reinforced and you also get a nicer fillet transition from the TT to the ST.
Bit of a tricksy area, you have to line it all up, fillet the TT to the sleeve, clean up, then use a lower temperature silver brazing rod to bond the sleeve onto the seat tube itself.
-
• #7
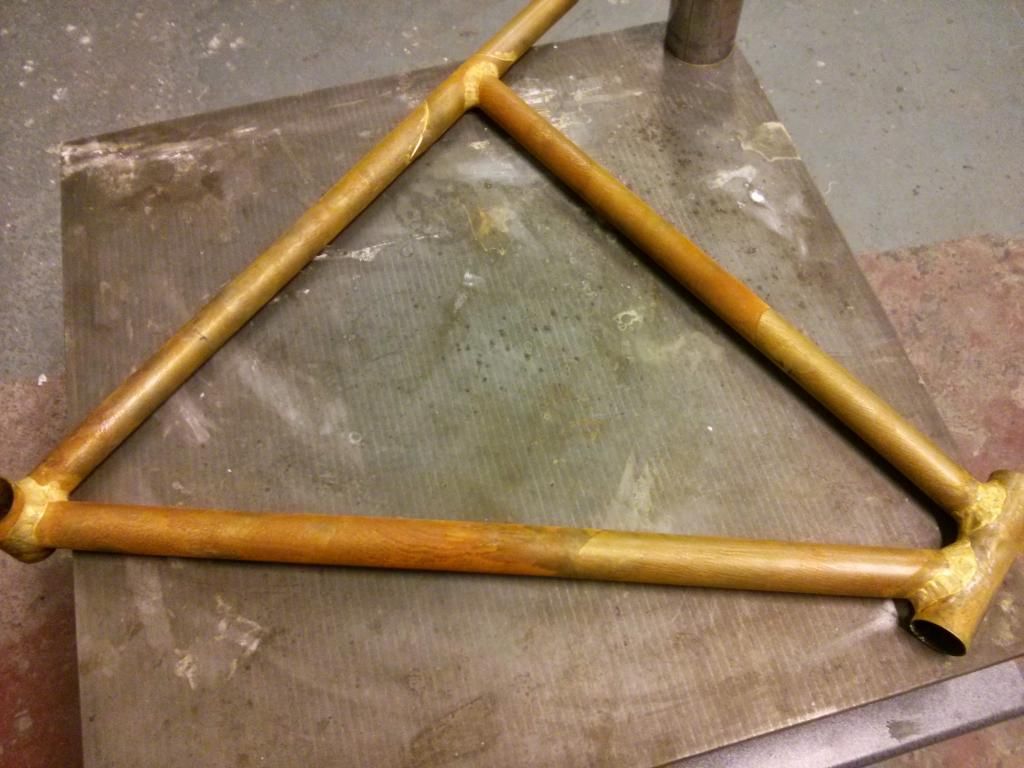
Yesterday was mostly about filing. Lots and lots of filing. Still have to shape the bottom bracket fully, but I'm getting there.
After soaking the flux, the frame looks like it's had a fake tan.
Head tube fillets, top one is close to completion, bottom one is being roughed in.
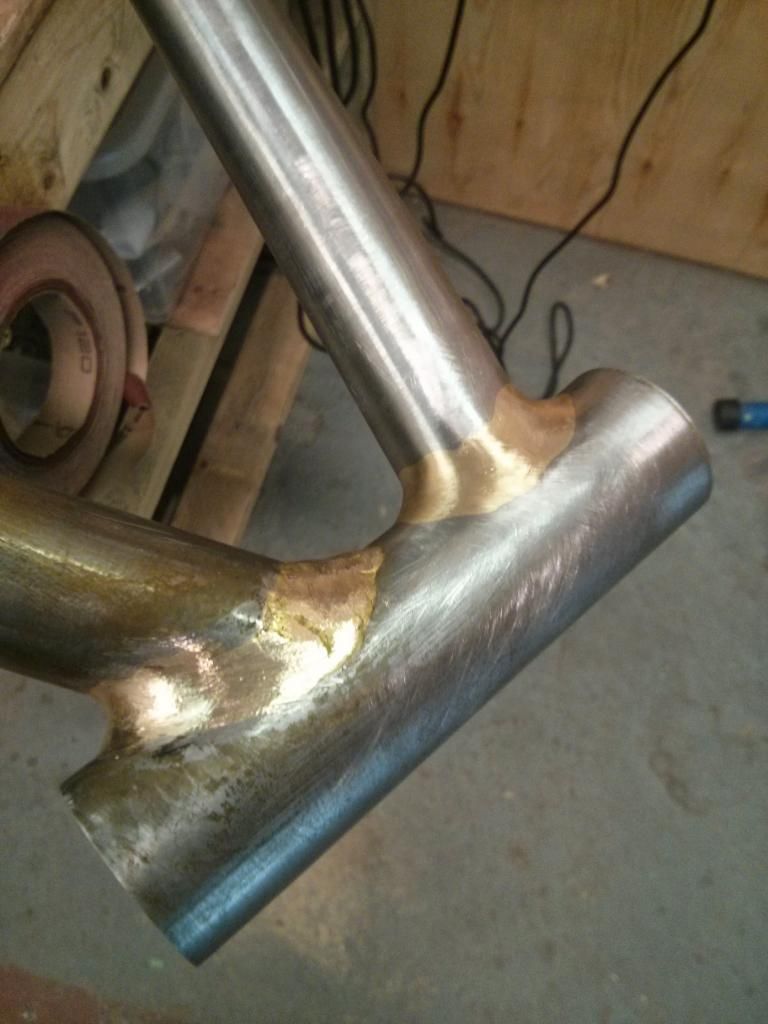
Seat tube fillet and sleeve. The sleeve was relatively fast to clear up, the silver brazing rod tends to spread itself very thin.
-
• #8
amazing
-
• #9
Please build it with a giant donut disc wheel.
-
• #10
This looks incredible... great work!
-
• #11
Bravo, Sir! Nice fillets.
-
• #12

Weld porn. Lovely.
-
• #13
Brazing porn. Lovely.
Ftfy
-
• #14
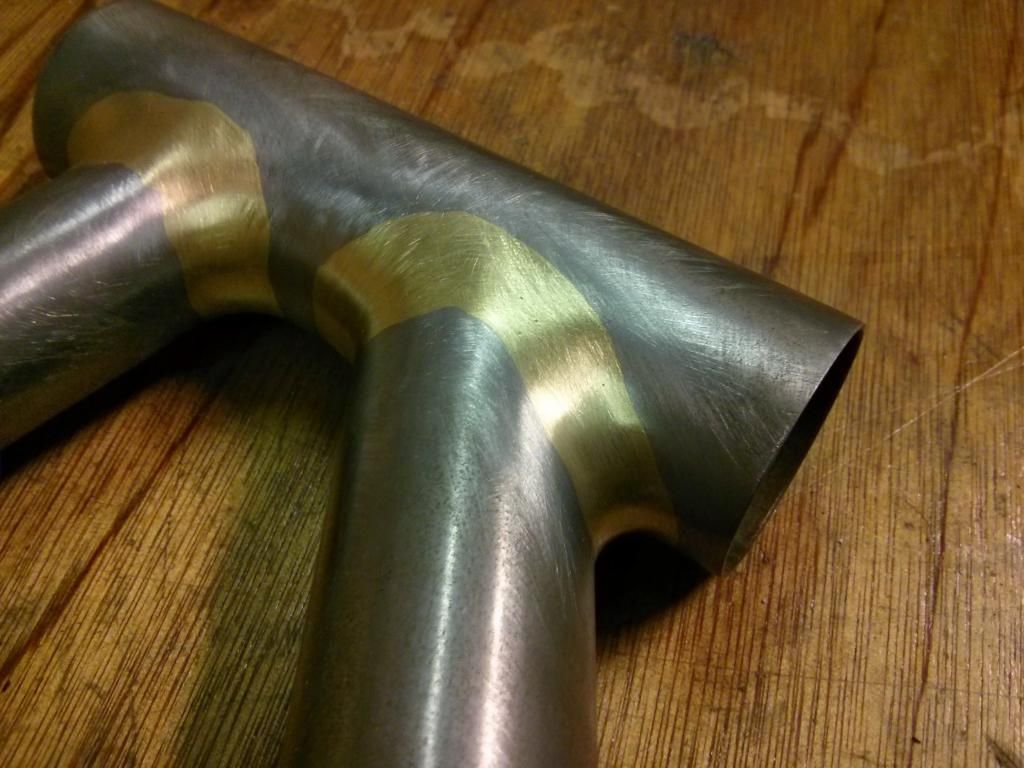
More progress in the workshop, but it's slow and steady as I work the fillets to transition as smoothly as possible from one tube to the next. It gets to the point where you can't see any bumps, but you can feel them. The risk is if you don't get them sorted they'll show under the paint.
I have started to mitre the chainstays, which involves some tricksy shaping. Hopefully next week I'll have both mitred and tacked into place. If the alignment is good I'll braze them fully.
This is a close up of the DT/HT joint after tidying. A consistent width strip of braze, plus nice shaping, should give a decent look under paint.
-
• #15
stellar work... looking forward to the finished product.
interested to hear what this all cost you, and when you can do my tarck bike :D
-
• #16
Ftfy
Fillet brazing is referred to as welding (braze welding to be precise). Brazing is specifically the joining of close-fitting surfaces with a filler metal in between, as in lugged construction.
-
• #17
Lovely work.
I braze a little myself and have a couple of questions for you. I am asking as I am self taught and my results are not quite as good as yours yet.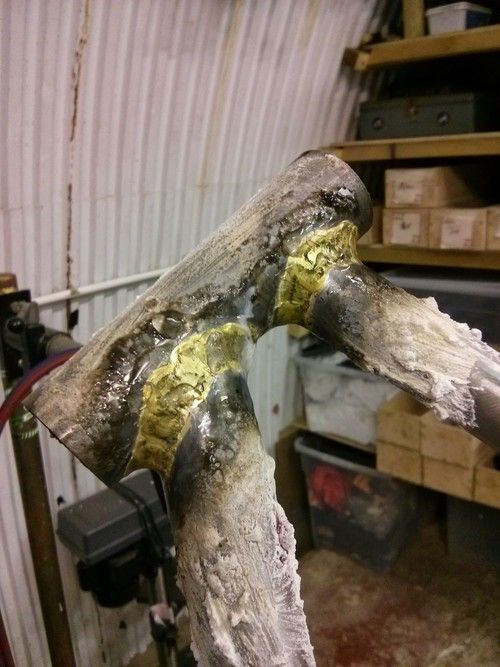
Is thee a reason for putting this much flux paste on the joints? I use maybe half of what you are using.
Would that explain why I am getting small 'holes' in my joints?

It could also be the way I lay my beads or the fact that there currently isn't enough light in my workshop.
Anyways amazing work you are doing. -
• #18
Hiya, thanks very much for the kind words. I have one or two pinholes in the brazes I've done too. Nothing major, but I'll need to tidy them up. The amount of flux I used was a bit excessive, but having some warm and in "reserve" can be handy, especially as I learn. You can scoop molten blobs up with a brazing rod and move them if you need them. You can also push it around with the flame, but I wouldn't recommend that.
If the holes are small & cosmetic, clean them out with a tiny hand-spun drill bit. I also push the point of a needle file into mine to make sure I've hit the bottom, and underneath the material is solid.
Once they are cleaned out they can be filled with silver brazing rod. That means you won't reflow the brass, and are introducing the minimum amount of heat into the joint.
I don't think the flux is the most likely source of pinholes. Most likely is a tiny bit of contamination has got onto the brazing rod, or was present in the flux or on the base metals. When that's heated it can vaporise and the resulting gas bubble leaves a void/pinhole in the braze. Also, if you make a second pass over a fillet you can boil off some of the original braze metal, which again releases gases.
There's a good thread on it here:
http://www.velocipedesalon.com/forum/f10/bubbles-my-fillet-brazes-28874.html
One of the builders categorises them as follows:
-Surface "bubbles" on the top of the fillet (tiny ones) are generally small bits of contamination (steel dust is great for this).
-"Pin holes", ie-small diameter and deep holes, are often an indication of hot brass on top of a cold layer.
-Irregular holes below the surface are hot brass on top of cold brass.
-Flux holes are often burnt flux, and seem to have a glass pearl in a larger hole.Cleanliness is next to Godliness, it seems.
-
• #19
Thanks for the answer. I will try to keep my work area clean in the future and avoid contamination. And thanks for the link. I am on velocepiede, but find it rather hard to navigate and search on there.
Looking forward to more pictures.. -
• #20
Some decent progress today. I was working on the chain stays. First up was mitring them, which is quite fiddly as there are lots of curves and offset angles, and both need to be the same length.
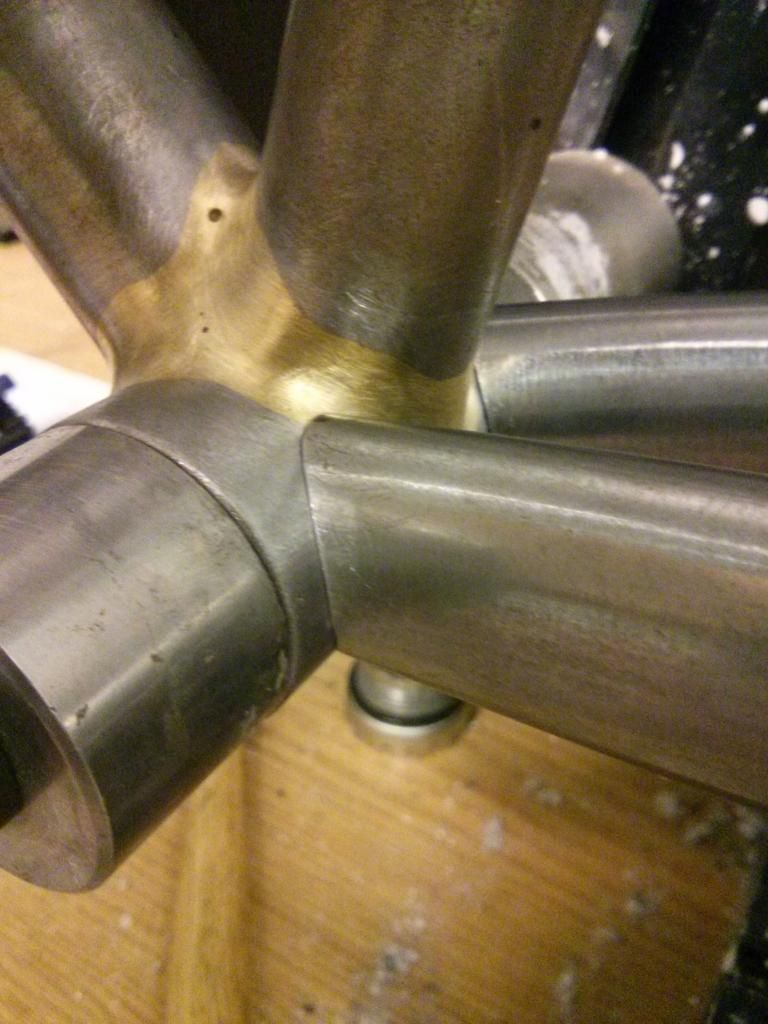
Once I was happy with the position I drilled gas relief holes in the bottom bracket, and tacked the stays on. You can actually braze upwards with a bit of practice, so this was done from the underside, as the frame was in the jig.
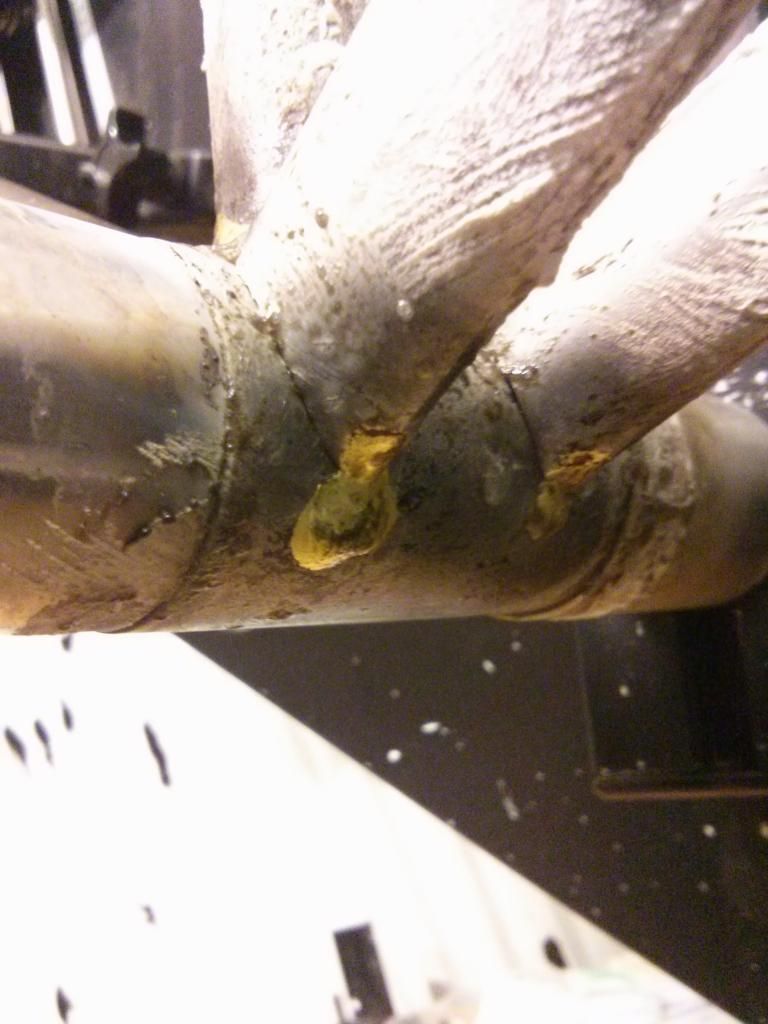
Then I checked the alignment, made sure everything was OK and went for the full braze.
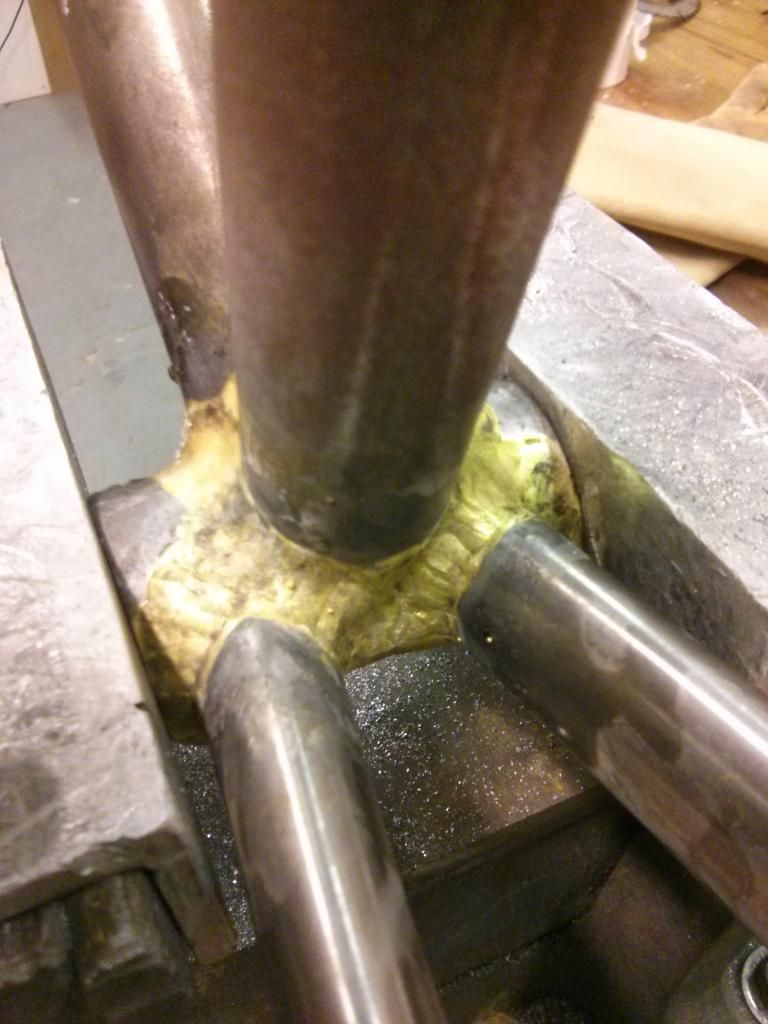
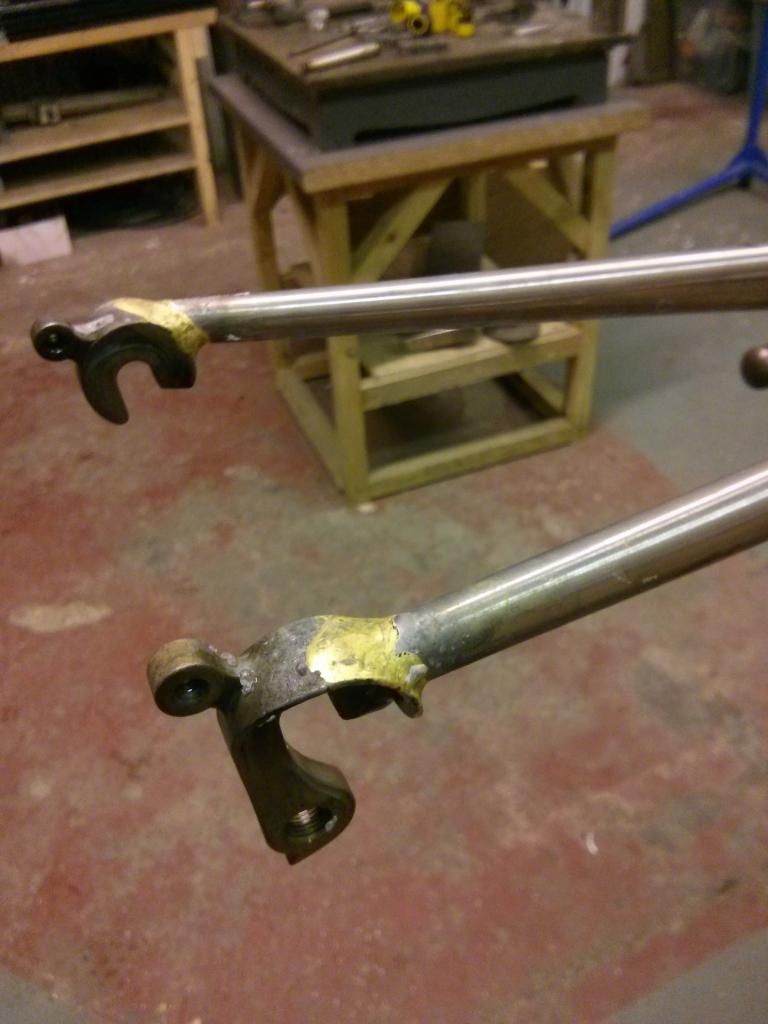
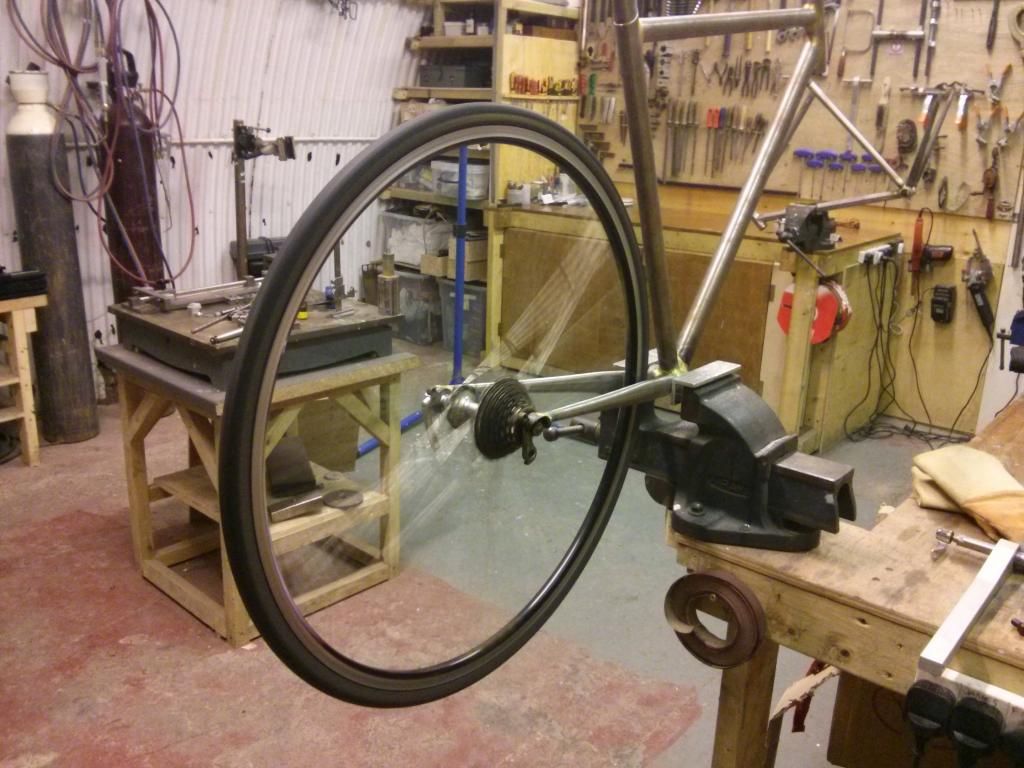
A post brazing alignment check showed about 0.5mm vertical deflection that will need sorting with a gentle bend, and the heat pulled the chainstays in equally from 130mm separation to 126mm. That "should" be a simple cold-set spacing job, but I can get a wheel in it sits in about the right place and it spins! Yay!
-
• #21
Is that cold setting a downtube into aero,
taking place in the background? -
• #22
I can why you'd think that, but there's actually a tube block hidden by the vice on that frame in the background. That holds the tube secure without deforming it while you clamp it in the vice to work on it.
I think that the chain stay fillets were being cleaned up at the time, something I have to look forward to this week.
-
• #23
Just being envious .
Lovely work. -
• #24
Got a reasonable amount done today. First thing was to align the chain stays following the brazing work.
With a moderate amount of force I spread the chain stays to the correct separation. If they were 953 I would have had to haul on them like no-one's business, it's that stiff.
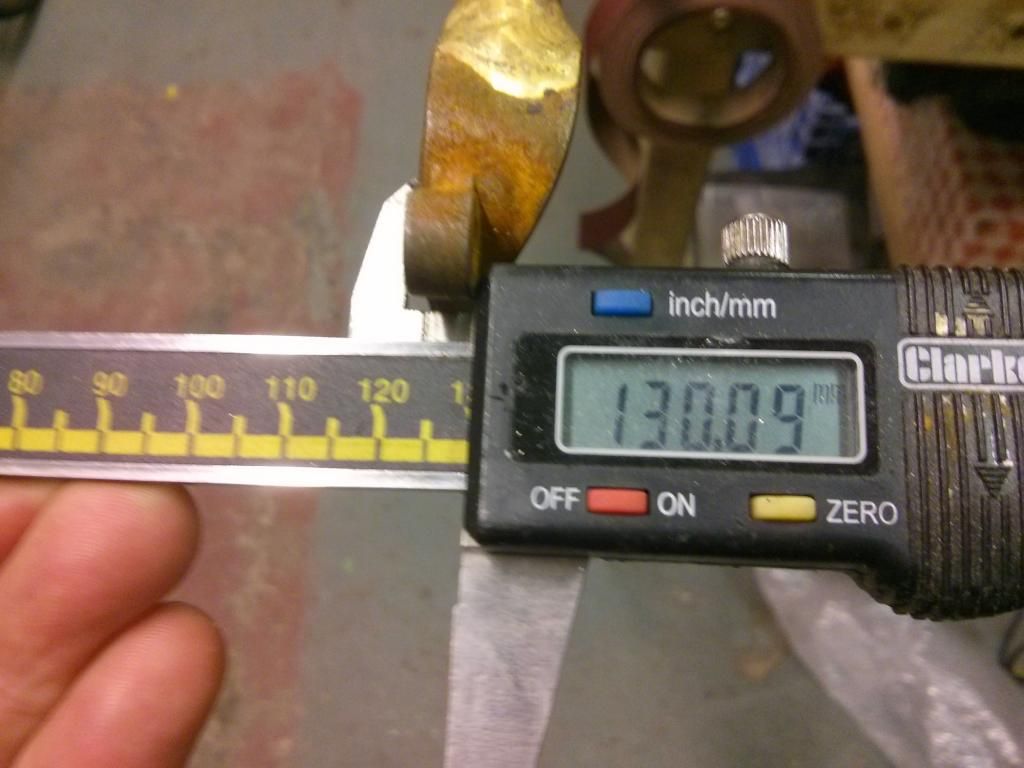
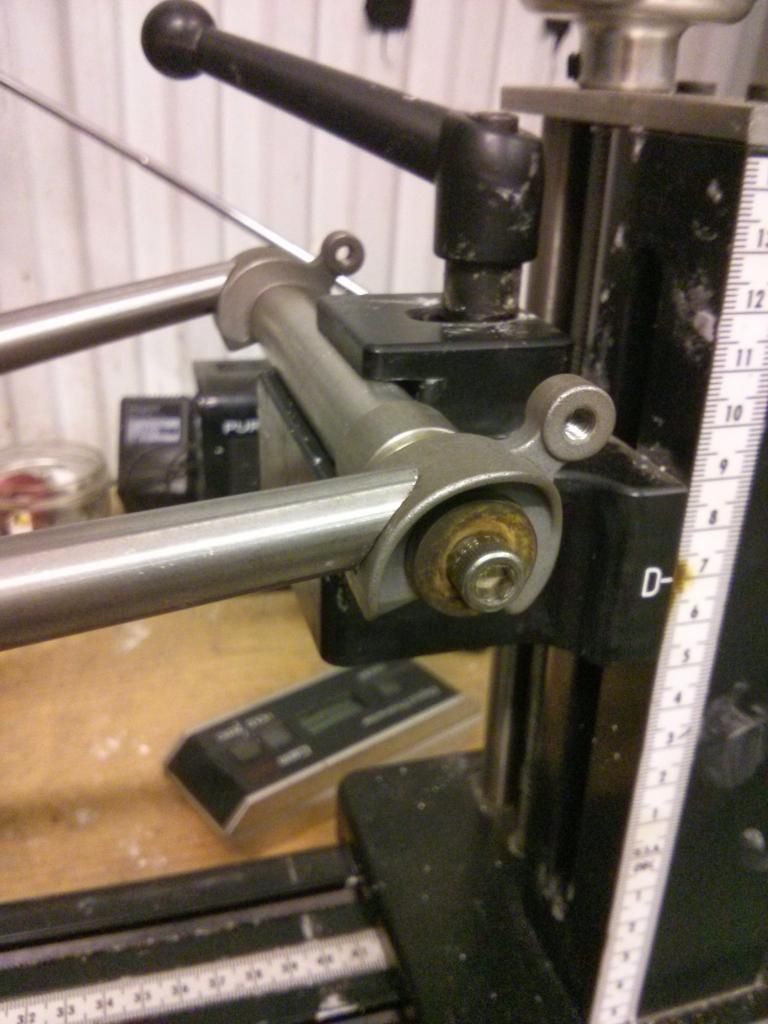
Once I'd checked the rear was centred correctly with a frame alignment gauge I checked the dropouts to make sure they were parallel and at the same height. Only a very minor tweak was needed. This is a close up of the alignment tool heads.
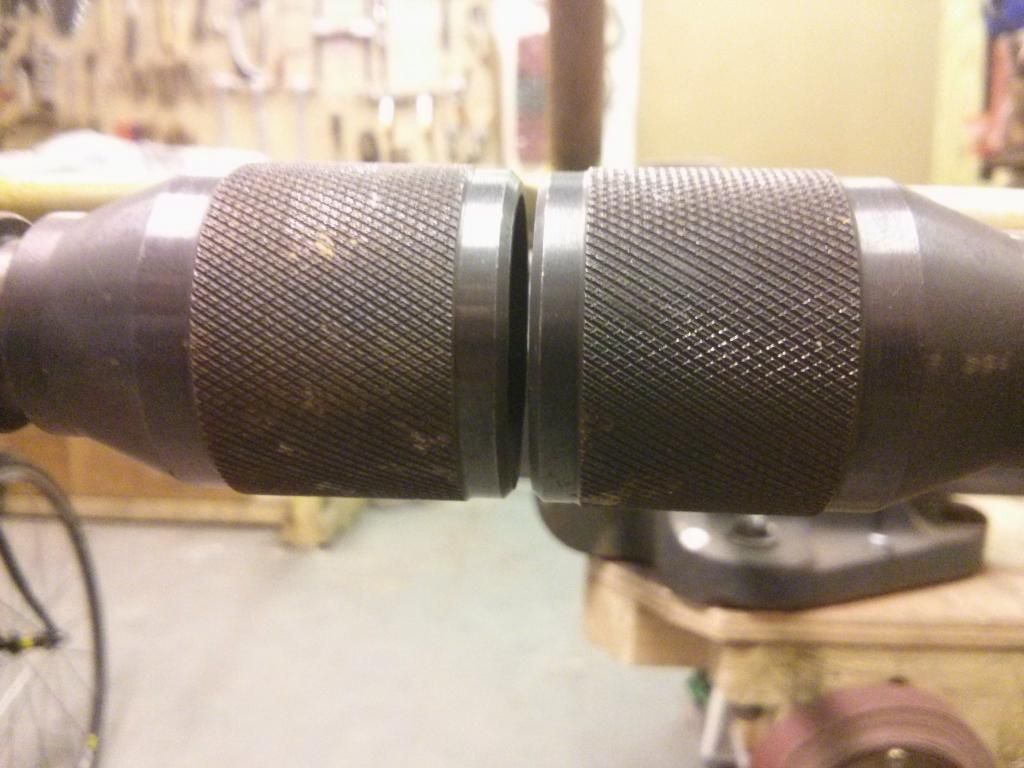
Next was making sure I had decent chainring clearance. The Zona chain stays are heavily ovalised, so there's no need to dimple them. I'll be running a compact as I'm an Old Man, but you'd get standard rings in here, no bother.
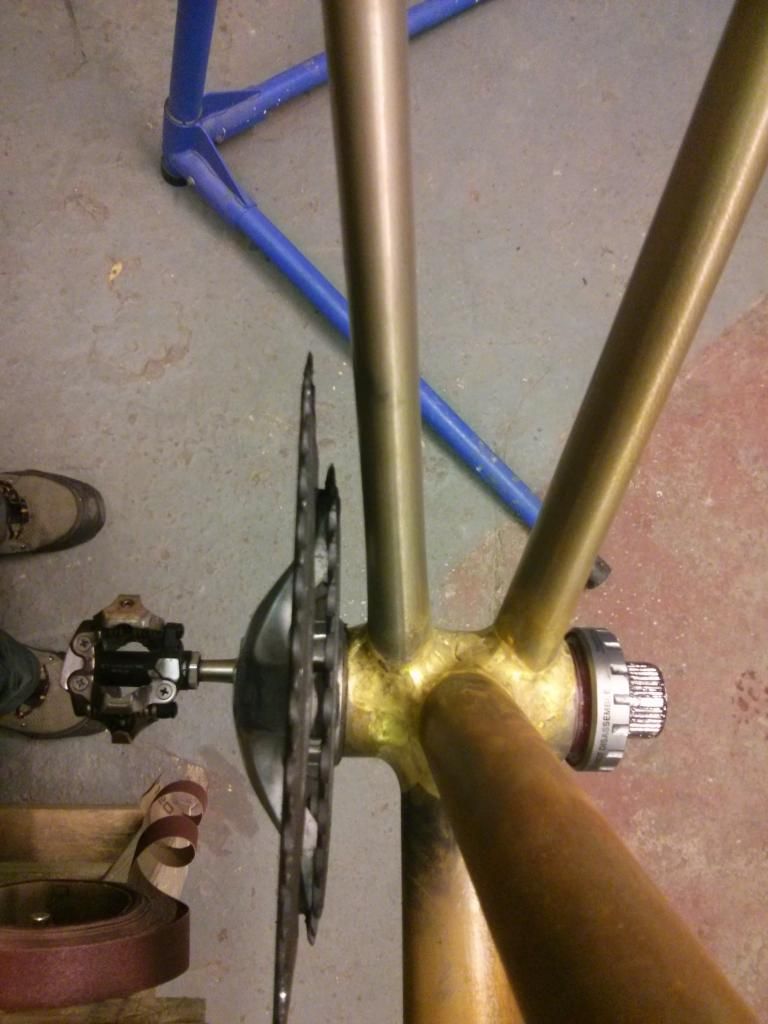
Then, it was onto shaping the dropout and CS/BB fillets. The former were quick, the latter took a few hours of careful shaping.
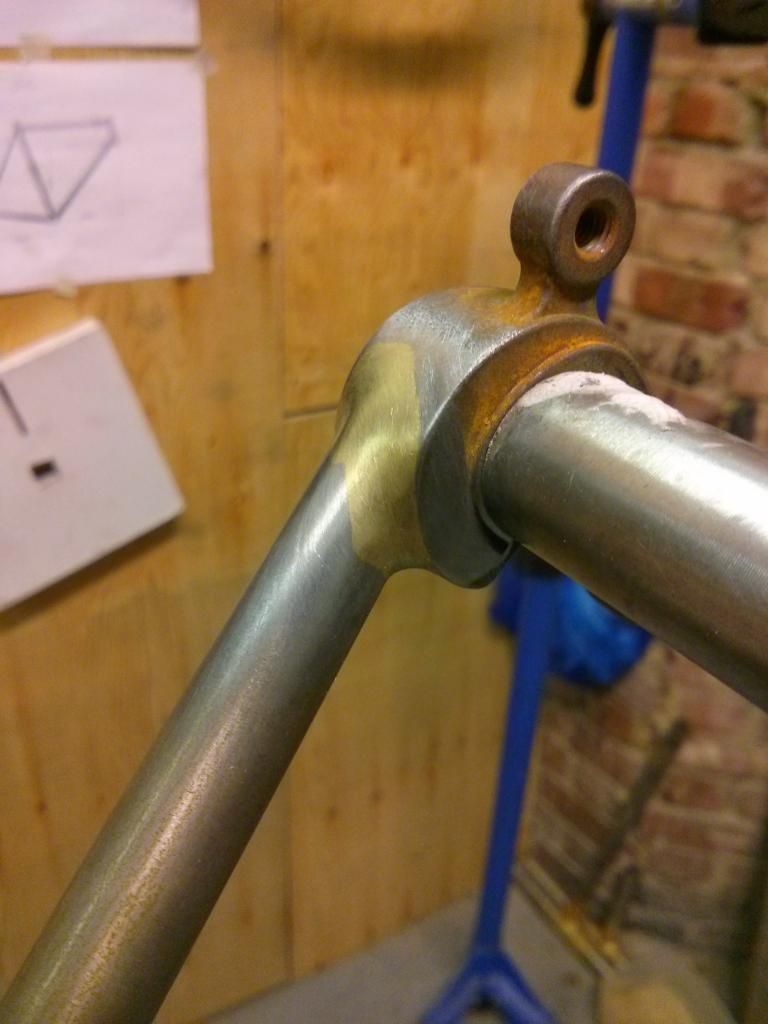
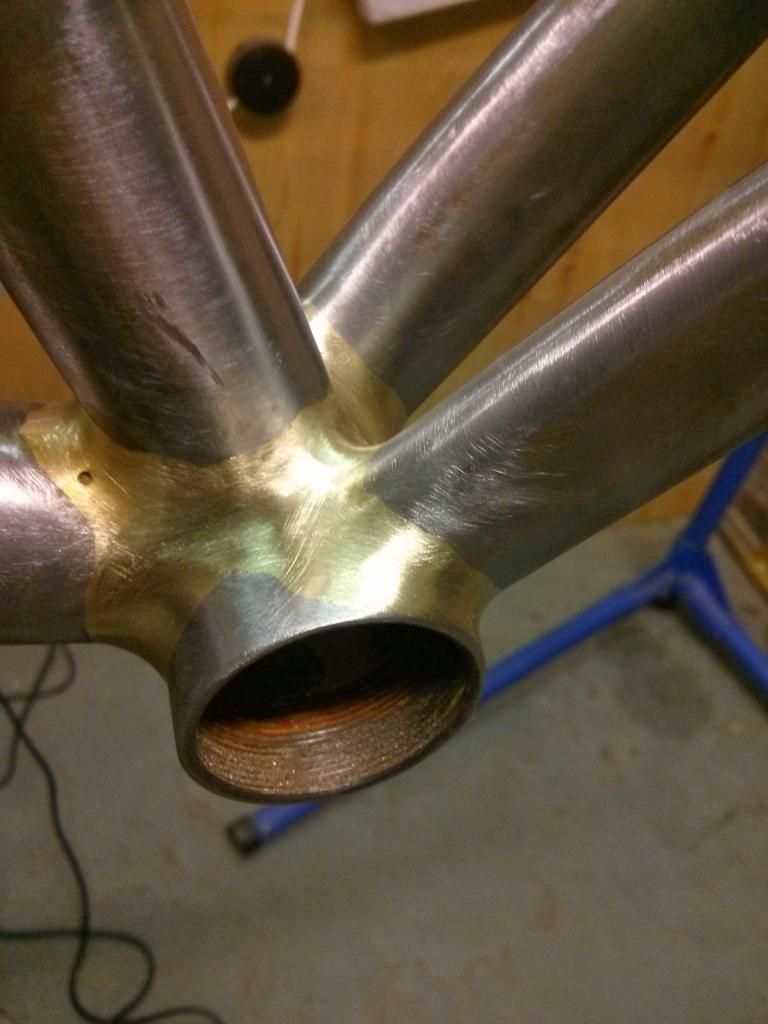
By mid-afternoon I moved on to cutting and mitering the first seat stay. That's looking pretty trim, so next week I'll try to match it with the other one. All being well, I can braze them on then maybe start attaching the brake bridge and other bits and bobs.
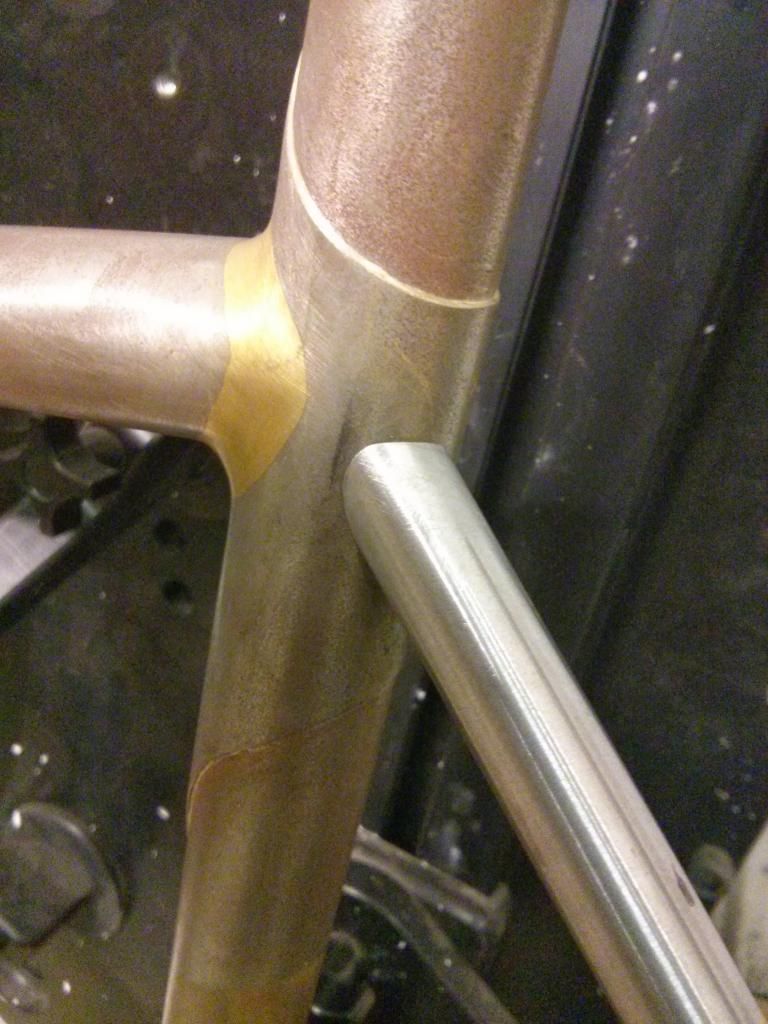
More next week!
-
• #25
Super duper
 rogan
rogan nutsjesmoar
 drøn
drøn Mikenetic
 ObiWomKenobi
 s.walrus
 hugo7
hugo7 Regal
Regal Hulsroy
I've occasionally posted before about doing a bit of (attempted) frame building & brazing. However, a couple of months ago I had one of those too good to pass up opportunities to have a proper crack at building a couple of frames.
For the past few weeks I've mostly been practicing, but I've now started out building my first frame. It's going to be a winter road bike that can happily run full mudguards. I'm not doing anything crazy design-wise, as I want to get the fundamentals as good as I can.
I'm spending one day a week building, so I'll try to post updates as I go. Here's a few images, by way of catch up.
One of the spec sheets, made using BikeCAD
Columbus Zona tubeset and a Columbus Hiver carbon fork.
Seat-tube reinforcement sleeve
Top tube mitres
Head tube fillets, immediately after being laid.
Where I was at last week.