-
• #2
Keep 'em coming. Seriously thinking about building my own frame when I get a chance - for exactly the same reasons as you (although it would be arrogant of me to actually believe that a lowly product designer such as myself can make a mechanically better frame than an engineer or professional framebuilder). And also because I enjoy making stuff.
-
• #3
Good on you! Not tired of these threads at all!
Is this your first frame? If so it is brave tackling a fillet braze for a first effort. Certainly doable, just make sure you get those 'stacked dims' nice and neat. Temperature control is key.
If you have not seen it before, the velocipede salon has a wealth of knowledge from some of the world finest framebuilders, all generously giving out plenty of sound advice. Be sure to check out Steve Garro's Smoked Out thread, he is a genuine master of the fillet braze.
What are the specs of the cromor tubing? Is it butted? I used Columbus Zona tubes for my first Fillet Brazed frame, which is .8/.6/.8.
What brazing rod are you using? I used Sif Bronze 101, which worked well, but the pros swear by Fillet Pro; I have not tried it yet, but plan to in the near future.I look forward to reading this thread very much. Good luck
subscribed
-
• #4
thanks for the kind words!
@lae: i'm not saying i can make a mechanically better frame than a framebuilder, but their knowledge can be learnt and turned into routine. what i'm saying is that there are a lot of small details that do count but are disregarded and can only be seen on frames considered porn - those out of reach for ordinary people.
@Gally: thanks for the tip - i have a constantly open tab with the velocipede salon's list. i'll definitely check out Steve's thread.
i cannot tell you what rod i'm using as here in budapest finding well known brands is a bit difficult - i walked in, asked the guy for a silver rod and i got one. :) it worked quite well on the first test..
please find the cromor specs attached below (i bought the round butted seat tube)
1 Attachment
-
• #5
mitered some more. first test fit of front triangle w/o top tube. there are still some problems with the plane of the tubes but not for long, hopefully.


-
• #6
Definitely going to keep an eye on this. How do you find fillet brazing with silver? I know that the silver used on lugged frames is specified to flow into tiny gaps. Are you using an unusual type of rod?
-
• #7
@Mikenetic: when the idea first morphed in my head i thought i'd go with silver because of the lower temperatures needed (i really fear overheating). i actually did a few joints with brass too and i think silver is easier to control. it flows through the tiniest of gaps but it forms a nice joint - from my experience so far i can say that if the outside is nice the inside is too. did not manage to achieve the same with brass (my friend has been practicing more and he's getting the hang of it - we are making two frames so we might just do one with each type of rod)
if of interest, i can find out the exact type of the silver rod - right now all i know it is 1mm in diameter.. (after explaining what it would be used on, the guy in the store said it would work - i believed him - and so it did)
-
• #8
I'd love to see some photos of the silver fillets...
-
• #9
I recently swapped the dropouts on an old cheap steel frame to track fork ends, and due to my lack of any brazing experience was told to use silver.
Are there any benefits of using brass? Does it adhere better or have better fatigue resistance?Looking forward to watching this build.
-
• #10
I can give some general pointers on the differences.
Silver needs a lower melting point, and has lower viscosity. As a result you're less likely to overheat the tubes and affect their material properties, and the silver will penetrate the joint more readily. This is important in situations where you may have only narrow gaps for the braze to flow by capillary action, for example a very close lug/tube tolerance. It's also used for stainless steel.
Brass needs a higher temperature to melt, and is somewhat more viscous. This controllability of flow is desirable for situations like fillet brazing, where you want to actually build up a quantity of braze. However, some steel alloys don't play nice at brass temps. It's also substantially cheaper than silver.
Used correctly, both materials should create joints stronger than the tubes themselves. When people learn the joints are destruction tested. A good joint won't fail at the join, the tube should buckle some distance away.
-
• #11
Ahh excellent. I knew about the melting temperatures but hadn't really considered the other properties of the two materials. Thanks.
-
• #12
well.. after a long period of no progress, the project continues. (i've taken a welding course and have been going to an old framebuilder's shop to learn as much as possible)
this builder gave us a damaged frame to practice on - we've changed the rear triangle a bit: cut the seatstays, added track dropouts, repositioned the brake and chainstay bridges. it looks promising (will turn into a rat single speed) - already has a better geo than the original touring frame (you can see where the tyre was intended to go on the inside of the chainstays)


-
• #13
Were the dropouts designed to maintain the BB height?
-
• #14
New member to site, But fantastic Thread. I am a old metal worker, and you have some really great Mitre joints there, keep up the great stuff and updating progress.
-
• #15
@madman: if you mean designed from scratch, they weren't. we had to modify them by cuting off some parts so they could fit in the stays. but they were installed horizontally to keep the bb at the same height with all wheel positions.
@Richtea71: thank you! we'll do our best! :)
-
• #16
@madman: if you mean designed from scratch, they weren't. we had to modify them by cuting off some parts so they could fit in the stays. but they were installed horizontally to keep the bb at the same height with all wheel positions.
@Richtea71: thank you! we'll do our best! :)
I just said it because when changing road dropouts to horizontal, people normally do a plug and play work so the axle of the rear wheel is higher than the chainstays, but in your case seems that you have modified the dropouts to maintain the axle at same height so the BB drop and the BB height is not affected.
Nice work BTW.
-
• #17
thanks. i understand why someone would do that when doing a conversion but what i don't get is when framebuilders do it on genuine track bikes..
EDIT: just saw that i already mentioned this in the OP. seems that this really bothers me a lot.. :D
-
• #18
small progress.. front triangle is done. we got a jig - it is a total disaster (made from bosch extruded alu profiles and aluminium cones). the alu parts suck in the heat, making brazing impossible..
we ended up building the triangle in a vice (bb shell) and holding the other tubes by hand. needs a bit of cold set, but the mitres did their magic and the frame is surprisingly straight.


the result:

and please let me demonstrate the proper method for making miter cutouts when your printer is acting like an asshole:

-
• #19
Were the extrusions OK, in other words was it just the cones that got stuck? You really need steel for the cones and the bar that sets the BB standoff from the jig.
They are such a big heat sink there shouldn't be any problem with the alu extrusions themselves.
-
• #20
the main problem is with the cones.
the extrusions are just really flexy, making adjustments a nightmare. once we had the tubes tight agains each other, the whole jig twisted..we are working on a flat-metal-table-with-spacers kind of jig now
-
• #21
You mean like this kind of thing?
Mr.Tanabe Kalavinka NJS frame building work - One(Fixation of bottom bracket) - YouTube
If you can use a table the layout and tacking you should be able to free-braze the joints in a workstand, provided you have a dummy axle for the back end.
-
• #22
exactly. will see how things go as i'd need quite a few tube holders (no lugs) made to precision.
-
• #23
Hey cool! Would love to do this at some point.
Le Manfriend went to a framebuilding course in England. The jigs. etc were already there and the builder helped with cutting etc. Still, lots of work. 3 whole days brazing, filing, cutting etc.
What they told him is that the most "dangerous" part of homebuild frames is the fork: You can't be a 100% sure the brazing has properly spread, and occasionally beginners forks fall apart. I know factories test them, I guess at home you'd need something to bend it automatically a few thousand times.
This is a proper homebuild project enjoy :)
-
• #24
7 years, hmm.. framebuilding thread from before it was cool... :D
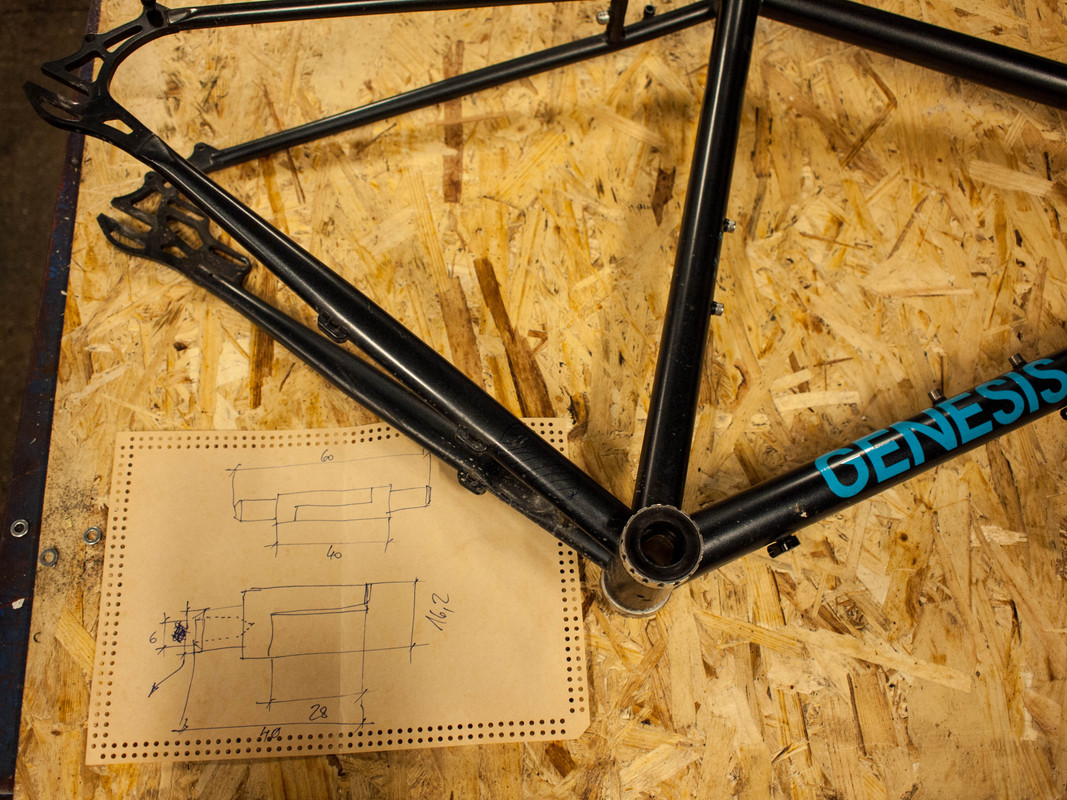
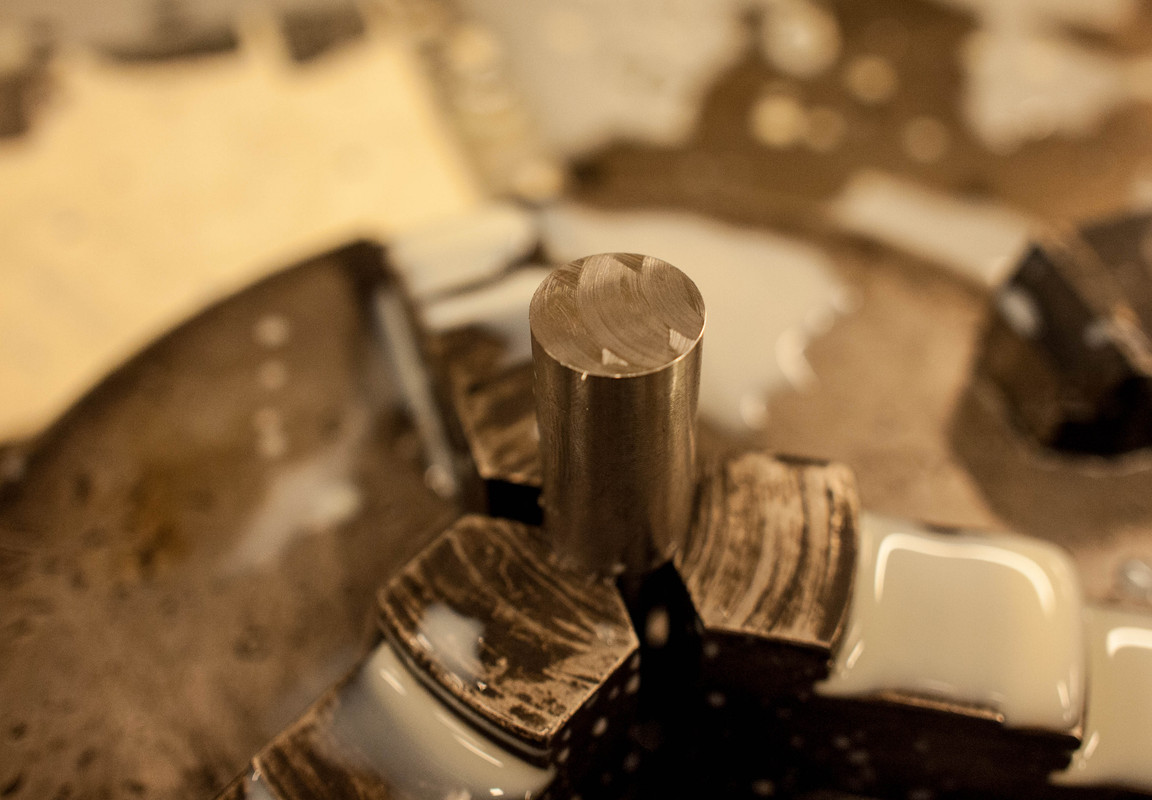
the above project was halted due to lack of time and funds, but i'm slowly getting back into it. here's some pics from yesterday evening. the missus has a genesis day one that'll be getting a gates belt drive. these are the first few steps..


-
• #25
That looks great!
 lae
lae Gally
Gally hma
hma
 Mikenetic
 Berrow
 JWestland
 JesperXT
greetings.
i really hope you are not tired of these threads - it is an idea that has been with me for a long time now. mainly because i couldn't find a frame that fit me but also because i always thought: i can do better (e.g. when a good brand has it's shiny stickers on the frame but the dropouts are not parallel with the ground)
another thing is that i always liked the pleasure of building something with my own hands. if it fails, i cannot blame anyone but myself - but in the meantime, i'll try to use all the tricks i read/heard about in all the years since that damn cycling-bug bit me.
at one of my jobs as a courier i met a guy who was at least as insane as me - both engineering students and into bikes - who has a garage full of tools and goodness for the person that wants to mess up his hands in countless ways. together we decided to begin the project and even though i doubt i can entertain as well as Jingle Jangle (i'll try not to end things with the cup-of-tea cliffhangers - finish that gios, please, i already know the existing post/comments by heart!) i hope i can get your attention as a classic Dammit-thread.
so here it goes:
columbus cromor (no gaspipe for me) as the basic tubeset. tubes will be silver brazed without lugs.
geometry:
74.5° seat tube and head tube angle with 40mm bb drop.
tt: 550cc; st: 580cc
we already mitered some tubes and practiced brazing - the next step will be the design and build of the jig.