-
• #27052
Yeah, I’ve just done my 2365 level 2 and 3, about to start my NVQ, and then will try and get my AM2 and then register with NIC hopefully over the next couple years. Seems like that’s the best position to aim for, gives more job opportunities etc. Keen to continue learning as much technical stuff as possible. I seemed to excel at the science stuff, and was told I’d be wasted spending my days house bashing (their words, not mine!).
I just want a stable career with prospects so I can provide for my family tbh. My current skill set is definitely more joinery based, but I couldn’t see myself doing it as a career.Interesting that you did stage tech stuff. I’ve worked in art galleries and museums for the last decade, but the lack of consistent work or career progression put me off. It’s a funny business really - you learn loads of skills, but over a wide range of subjects, and in a fairly specific context that can make them hard to group together usefully outside of the galleries. Least that’s how I felt anyway.
-
• #27053
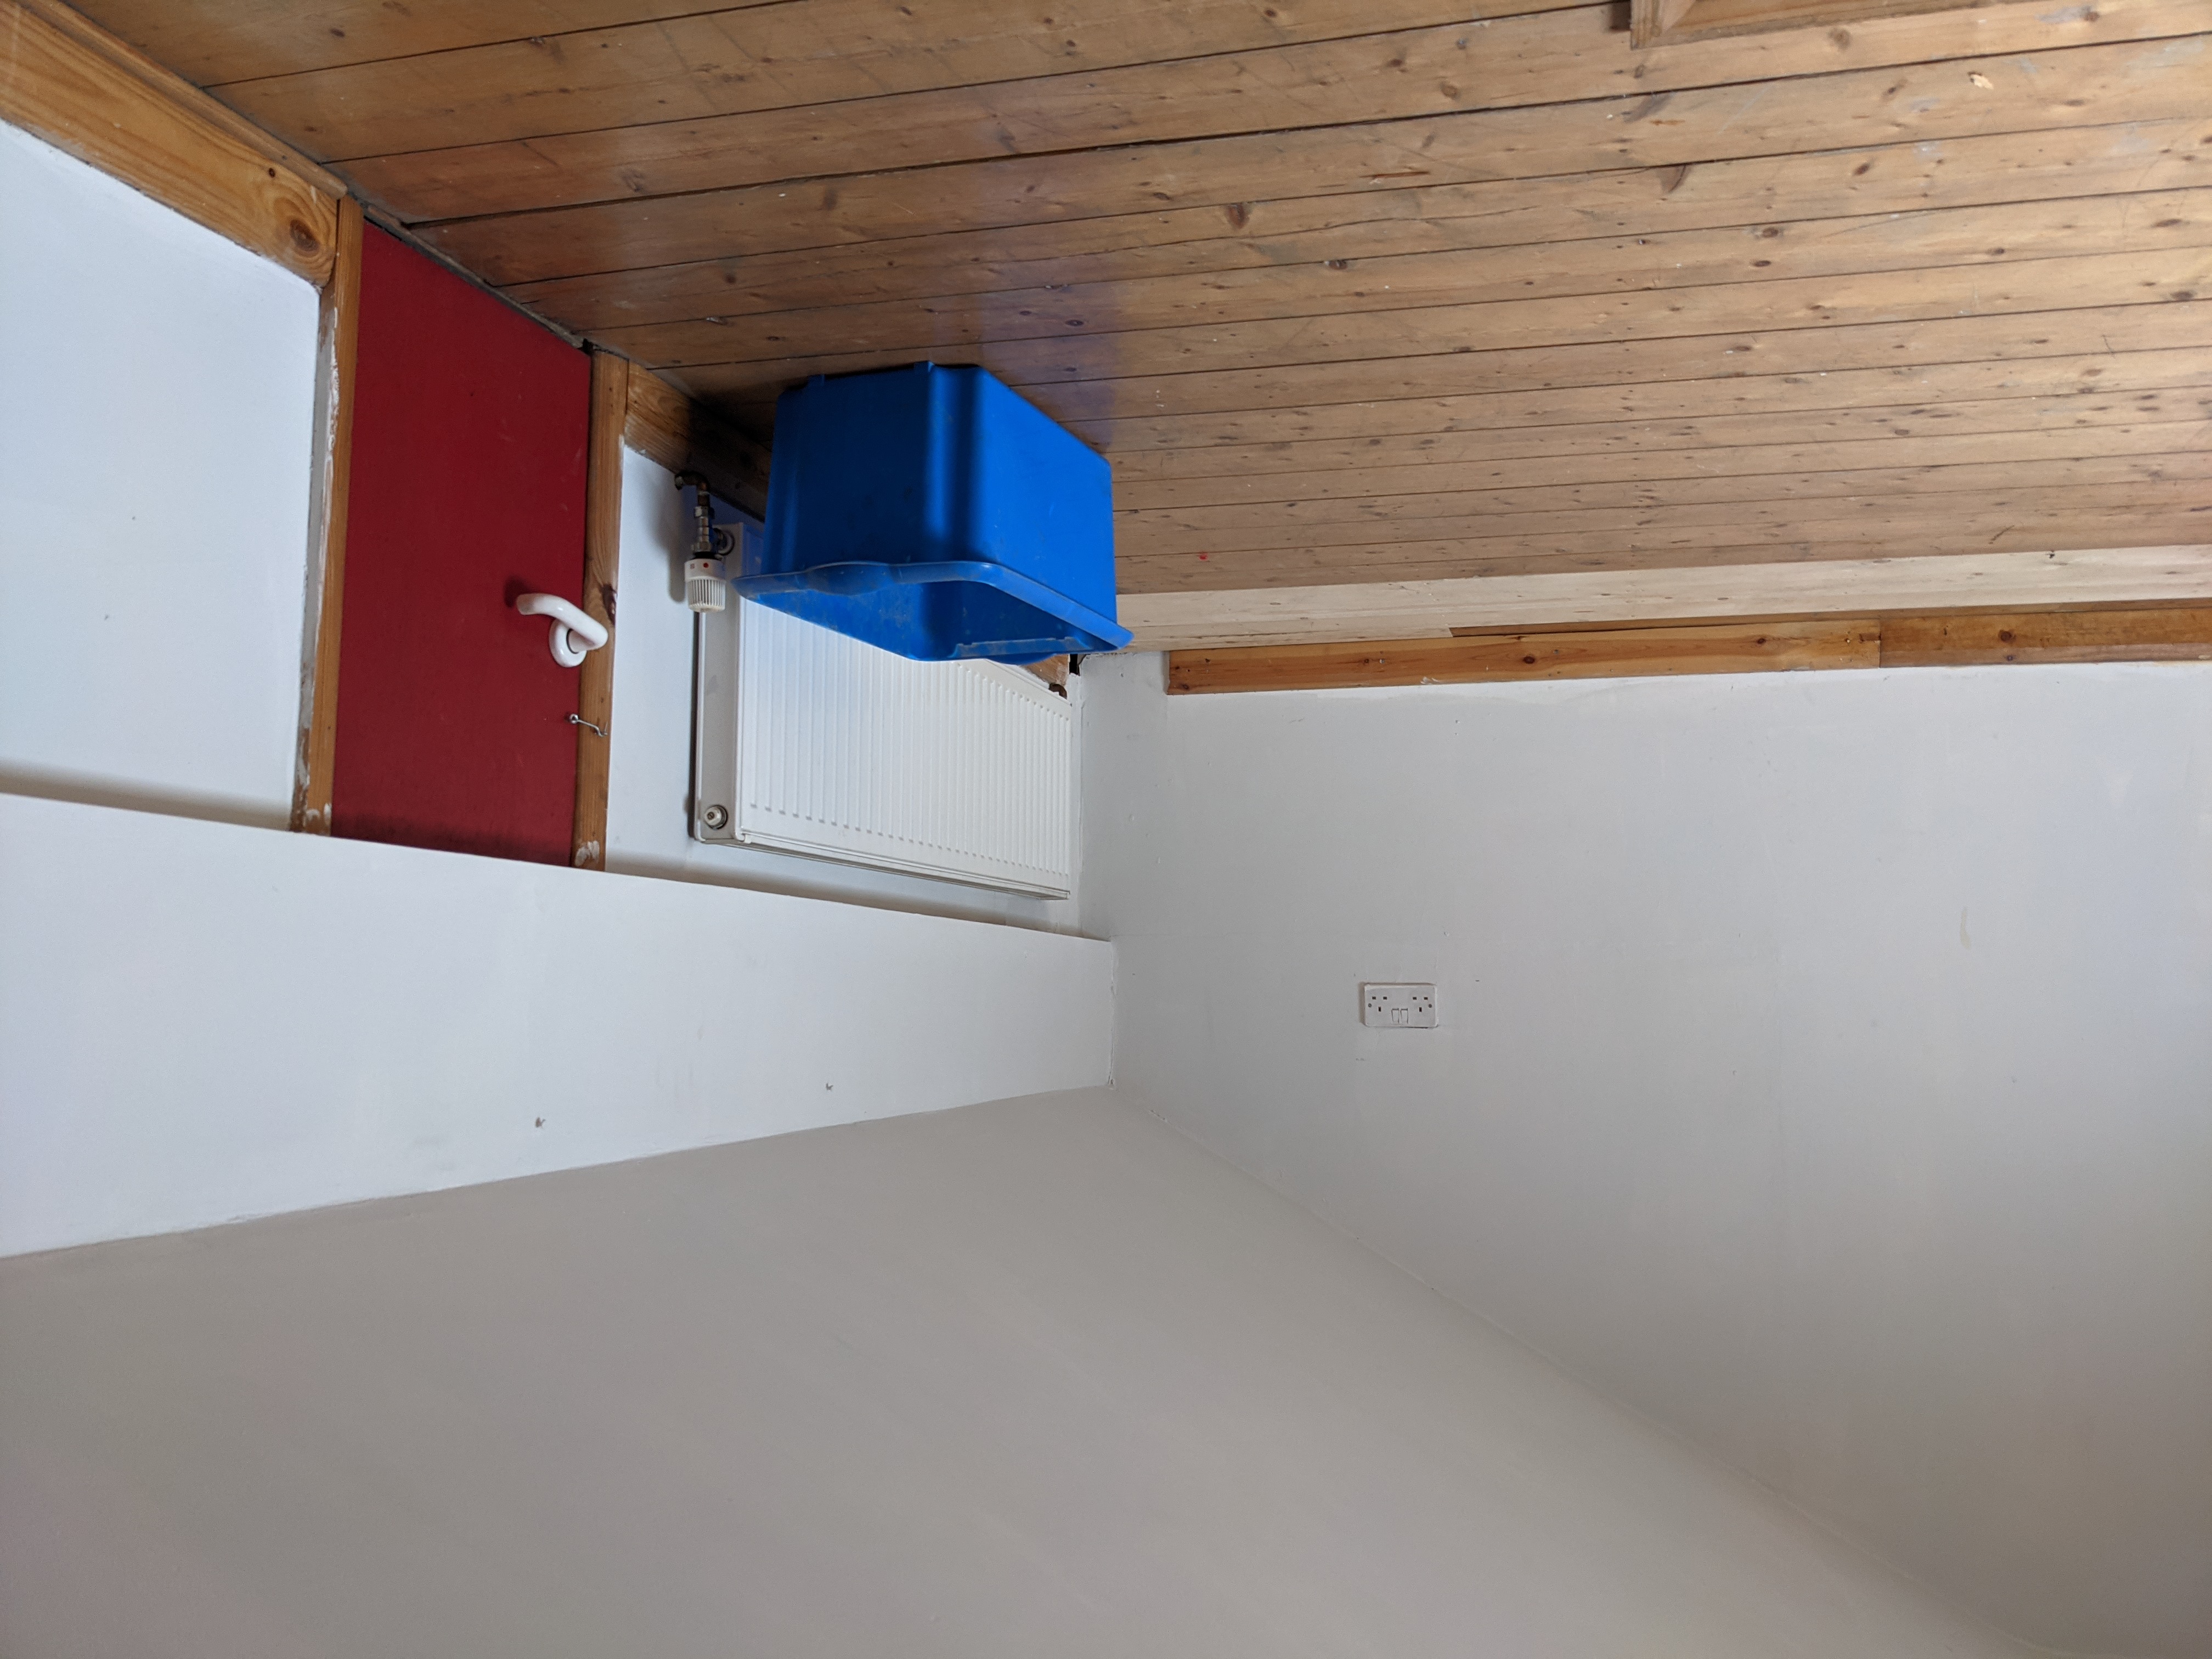
Saturday morning:

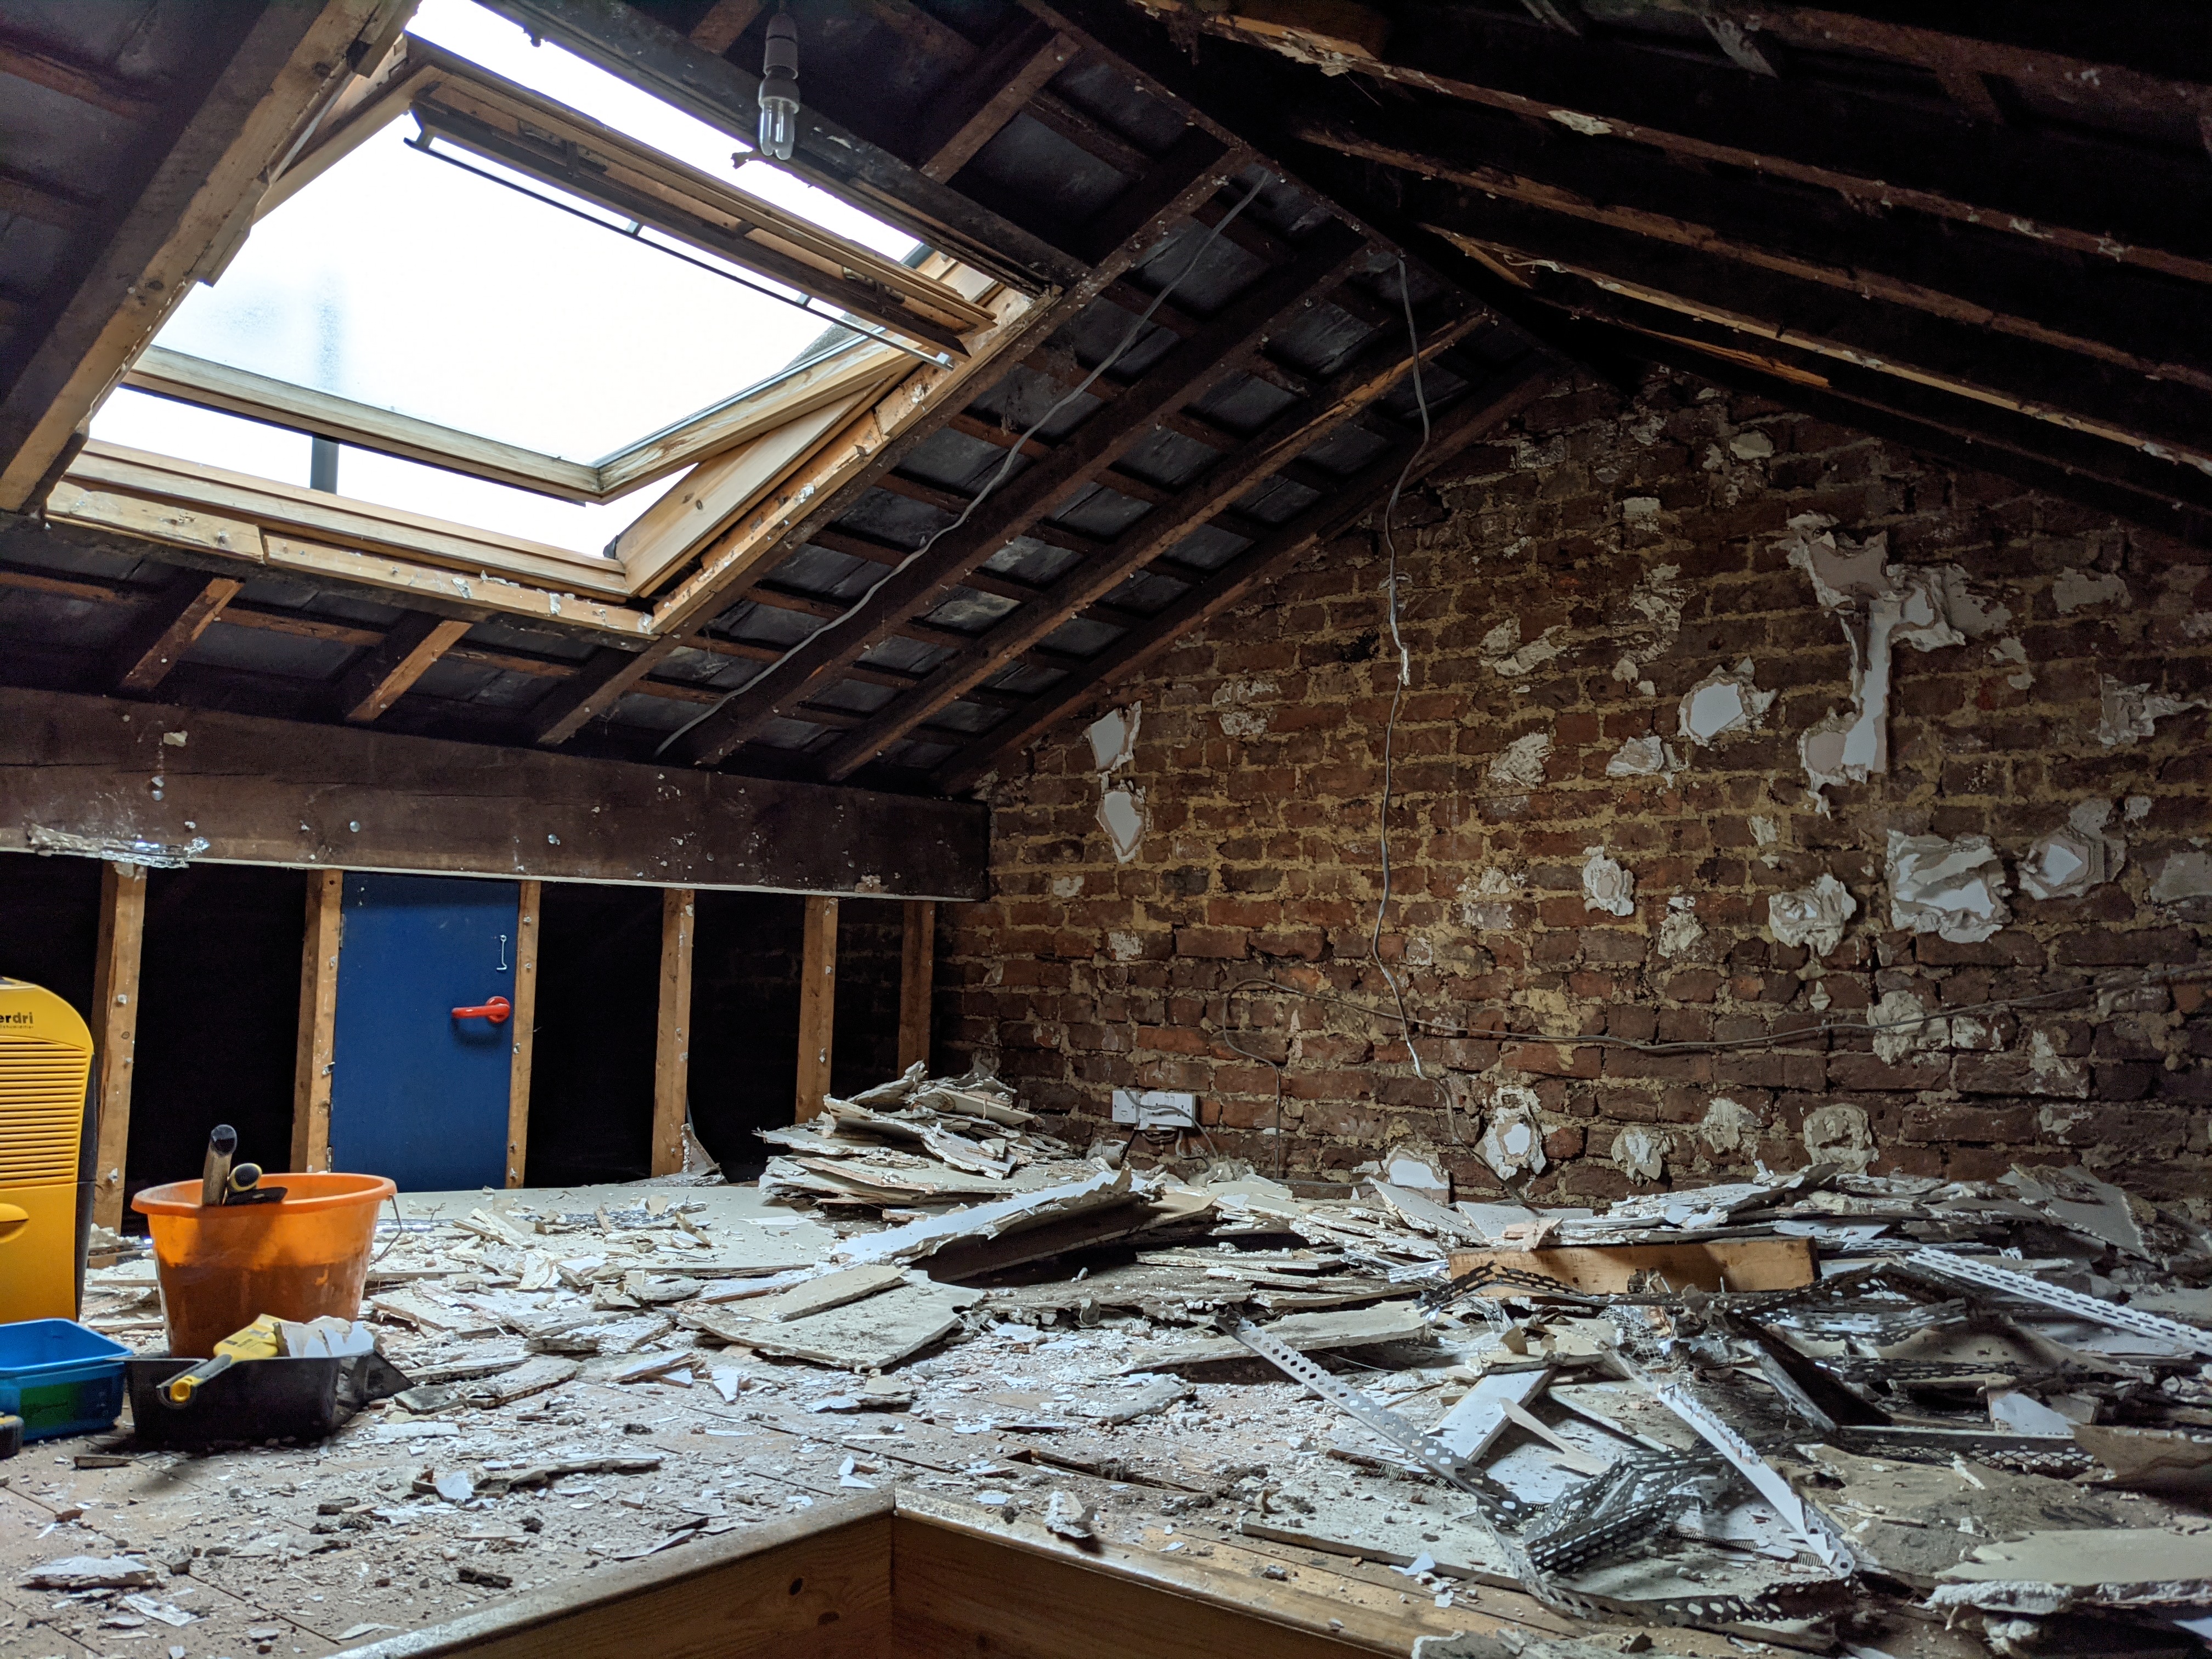
Saturday afternoon:

Will be washing the dust and spiderwebs out of my hair for a week.
-
• #27054
Looks banging!
-
• #27055
what's the plan?
-
• #27056
I enjoyed the stage stuff more than I should have, with no responsibilities life was fun. I can't explain how my life worked out, sometimes it's better not to try to work it out. People are taught to work smarter not harder but I think it's worth aiming to work smarter and harder.
-
• #27057
Fix all the things!
The roof and velux are being redone next week. There's a whole load of broken slates and bad repairs, ridge pointing has all fallen out, no felt/membrane either. Current velux leaked and the plasterboard ceiling had been fitted in a such a way that it stopped any airflow around the rafters so they've been getting damp and fuzzy.
Generally the conversion is a total hack job, so trying to put as much right as I can. Will be building out the rafters and insulating between them to the front of the house (blue door) and a stud wall/doors for storage under the beam. Insulated dwarf wall towards the back (red door) and laying insulation behind that and out over the bathroom.
Wiring needs tidying up, floor's a joke and will need replacing. I'm a little hesitant to pull it up as it seems like it's nailed into a bunch of cheap 2x2s resting freely across the ceiling rafters...
-
• #27058
What about the little people that live behind the doors?
-
• #27059
I checked for people, found wasp nests.
-
• #27060
I would sand down to bare wood and start over. Doesn’t get much love on here, maybe because it’s too easy, but I always recommend using straight mineral oil, the cheap stuff, to cover your wood countertops.
This is what John Boos, the manufacturer of our (industrial) maple countertop says. The technique is to apply once a day for a week, once a week for a month, once a month for a year, and then once a year or as needed thereafter.
If your wood countertop surrounds the sink, remove it : ) -
• #27061
it stopped any airflow around the rafters so they've been getting damp and fuzzy
my loft has not been done (yet), this is what I'm concerned about.
Will be building out the rafters
Thinking about this also but I would like to leave space for sparrows, swifts etc.
-
• #27062
Ha, I know exactly what you mean. I absolutely love the gallery work. Decent enough day rate, nice places to work generally. Nice people, no building site bravado bullshit (although middle and upper management can be fairly hard work at times).
As for working smarter and harder, this video definitely sums it up for me (and I’m sure you’ll agree).
https://youtu.be/qP1AmDRhoas
-
• #27063
Knocked up a euro box storage trolley with help and idea stolen from @dbr - birch ply with a pegboard back. It's to store all the useful bits in my photography studio, tape, clamps etc. Very happy with how it turned out although I definitely took my time making it.
Hit up @dbr if you want him to make you the real deal.
1 Attachment
-
• #27064
Love this, got any snaps from when it was a work in progress?
-
• #27065
We should end up with a 50mm gap and are getting ridge vents. As long as I don't cock it up there should be enough airflow to keep things nice and dry up there.
-
• #27066
Did you make or buy the pegboard? I'm planning on using some strips for a similar purpose but they'll be front facing and all the OTP cheap stuff is messy/untidy and all the bought fancy stuff is mad expensive. I'd make it myself but not sure how easy it'll be to get neat rows.
-
• #27067
I bought it from Richard Russell, quite thick and a good finish. But yeah, not as cheap as I expected.
-
• #27068
Lovely video, yes it does ring true from my 30 odd years of experience.
-
• #27069
A few. All quite simple, track saw, drill, orbital sander, but lots of measuring things five times. The dividers are only birch ply at the front, mdf at the back. That way I got the whole thing out of one 8x4 sheet of ply. This cutting list tool was very useful.
1 Attachment
-
• #27070
I think it's going to have to be scrape then sand. I rubbed away at a small patch with a pan scourer, it's clearly a matrix of goo.
I hear you on your technique, but in reality I don't have time for that.
I don't really have the time to sand it down to be honest either.
It's a full day of scrape, sand, oil, denib, oil.I think this video sums up what's needed
It's not as bad as that.
I also like the scraper. -
• #27071
Very nice. I've been working on some designs for really useful storage boxes because they work well with record storage. The peg board is a nice touch though.
-
• #27072
All credit to @dbr for the concept, you see a much nicer version here . Also if you want to see expensive peg board inspiration, check this metal peg board wardrobe thing.
-
• #27073
Not sure if that was meant for me, but the technique I outlined takes about 2 minutes per application and if you’re in a rush you can replace all the stuff that normally goes on the countertop right away since the oil doesn’t actually dry.
-
• #27074
The oil doesn't dry? So is the surface still tacky?
@withered_preacherIt might not sound like a lot of work, and having gone back to read it it's probably not all that bad, but right now it feels a lot of work. If that makes sense?
-
• #27075
Never tacky, you familiar with mineral oil? May be a different name out there. Go to the main John Boos site, they’ll give you a better explanation than I can.
 Nef
Nef atk
atk hoefla
 Airhead
 cjr
cjr withered_preacher
 CYOA
CYOA
 Chalfie
 @hippy
That looks like a solid piece of work! The kind of thing at some point in the distant future your grandkids are going to wonder what the hell their going to do with!