-
• #2
pauly1978,
I can't quite see from the photographs but assume you have made sure that there is enough adjustment available on the rear dropouts to get chain tension before going to far.Anyway should be a good project
-
• #3
Have fixed conversion bits you might Need...Have a look here:
-
• #4
Cheers - I'll have a look
-
• #5
pauly1978,
I can't quite see from the photographs but assume you have made sure that there is enough adjustment available on the rear dropouts to get chain tension before going to far.Anyway should be a good project
The amount of adjustment required is affected by the size choice I go for on the two cogs on the flip flop hub right?
-
• #6
He was just enquiring what your dropouts look like, if they are long horizontal dropouts you will have a lot of adjustment. Check out Sheldon Brown for lots of useful info :)
-
• #7
Ah ok - they are horizontal dropouts so I should be good. I'm browsing that Sheldon Brown website and watching la Vuelta as I type!
-
• #8
I have this same bike, albeit in better condition than this. It's a shame you're changing the paint, I really like the speckled effect! What are you thinking of replacing it with?
-
• #9
At first, I thought there was no way the paint was factory, but the more I took it apart, the more I was convinced it is a factory job.
Being brutally honest - I hate the paint. Also, the frame is currently at my local bike shop with the seat post stuck in it. It's getting to the stage where drastic measures are required = lots and lots of heat!
-
• #10
Not the most exciting update in the world, but while the frame is away having the last few annoying bits taken off, I set about cleaning up some of the parts I'm keeping.
Heres the front brake caliper next to half of the rear brake caliper as comparisons.
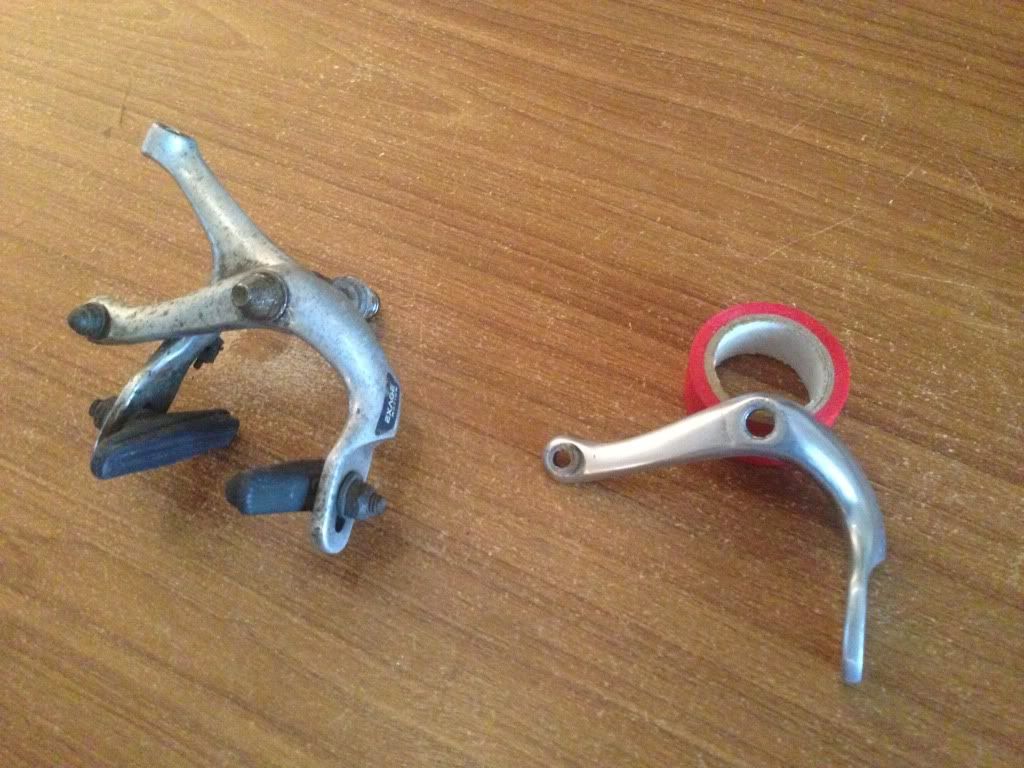
I simply took it apart, soaked it in warm soapy water and then scrubbed all the years and years worth of grime off. Once that was done I attacked it with progressively finer grades of sandpaper - I started at P80 as it was quite pitted before moving up in gradual stages to P2000.
Not a bad result. A bit of metal polish should finish off the job. The handle bar stem has been subjected to the same treatment.
-
• #11
I have this same bike, albeit in better condition than this. It's a shame you're changing the paint, I really like the speckled effect! What are you thinking of replacing it with?
By the way - do you know what this bike is called at all?
-
• #12
I'd not spend money on a re-spray:
a) the paint looks to be in generally good nick;
b) it's rad as fuck;
c) although it's a perfectly decent bike, it's no prize; if anything (unless the bodyshop are super cheap), powder coating would be more appropriate;
d) just match any heat damage around the seat cluster to the forks, in black (that's unlikely to be original either).nice job on polishing the callipers, but what's wrong with the cranks? Road doubles are fine with one ring removed and this would save you buying a new BB (unless that's pitted).
As your first conversion, I'd keep it cheap & cheerful: save your cash for your next build: cheap mistakes are easier to swallow.
EDIT
Looking again at the photos, I notice the front reflector bracket has the same awesome paintjob as the frame, so perhaps it's not original. Either way keep the paint because a) see b) above and it'll be less of a thief-magnet: they have appalling taste and can't deal with cool shit like this. -
• #13
The paint is not in good nick at all - It's flaking off everywhere! The pics I posted are from the eBay advert, where they tactically avoided all the crap bits.
The BB is also completely goosed - but I did think about using just the outer ring and keeping the cranks. I'd either need spacers or different bolts as the ones on there are designed to hold both rings and are too wide with just one on there.
I'm going to do the paint absolutely last (the body shop I mentioned are very cheap), so I can decide which way to go, if at all, once I've got all the other bits on and working.
-
• #14
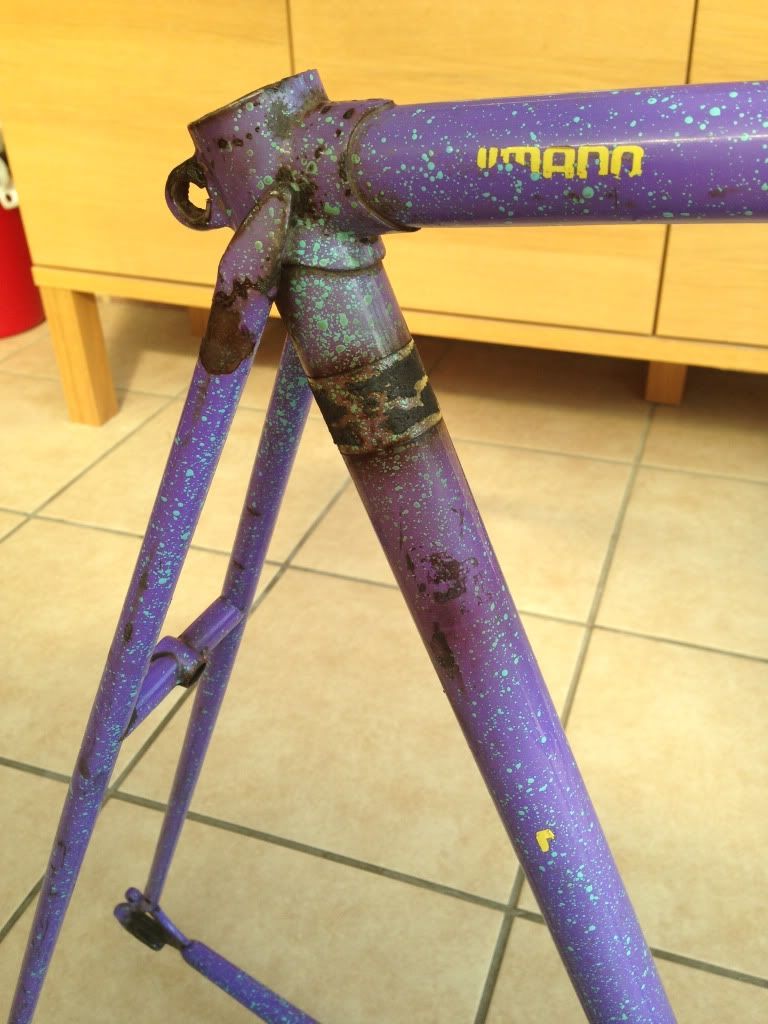
The black at the top of the forks is definitely NOT factory. It's a complete bodge of Hammerite with what looks like cat hairs painted into it! Either that or their paint brush was malting. They didn't even get the masking tape level on both sides!
-
• #15
You just need single chainring bolts like these.
Speak to Charlie, he's double-sound and will help you out.
Unless the cups are pitted, at most you just need new bearings: a lot cheaper and less hassle than a new chainset and BB.
-
• #16
That's exactly what I need - that and the BB cleaned up and putting back together. I'll ask the bloke in the shop if he thinks it's salvageable.
Only thing though - I've read that you use different chains on fixed bikes v road bikes. How does that work with keeping the road crank?
-
• #17
Broadly speaking, chains are either 3/32" or 1/8" wide (between the plates): the former is road/derailleur standard and the latter, track/BMX/single speed standard.
Your chainrings will be 3/32".
If you're not up to speed (pun intended) on fractions, 3/32" is narrower than 1/8"; which means that if either the chainring or sprocket is 1/8", then you must use a 1/8" chain.
As you have a 3/32" chainring, then if you buy a 3/32" sprocket or freewheel you can use either a 3/32" or 1/8" chain.
-
• #18
Right - i'm with you. Thanks man. Keeping the BB and cranks will save me a decent amount of £££
-
• #19
By the way - do you know what this bike is called at all?
http://www.flickr.com/photos/83761008@N00/3611391816
This person seems to think it's called an Elan, which rings a bell. I've taken the decals off mine since they were flaking off, but having looked over the pictures I took when I first got it, the top tube decals were already gone, and it seems that that's where the model was actually written!
I was gearing up to sell mine but am reconsidering it now, I'd forgotten how much I love the paint! It was also my first road bike.
Looking forward to seeing how it looks as a single speed. -
• #20
http://www.flickr.com/photos/83761008@N00/3611391816
This person seems to think it's called an Elan, which rings a bell. I've taken the decals off mine since they were flaking off, but having looked over the pictures I took when I first got it, the top tube decals were already gone, and it seems that that's where the model was actually written!
I was gearing up to sell mine but am reconsidering it now, I'd forgotten how much I love the paint! It was also my first road bike.
Looking forward to seeing how it looks as a single speed.The paint scheme looks OK when it's not in a dishevelled state like mine is. I've been working abroad all week, but just going to call the bike shop and see if they've managed to get the seat post and bottom bracket out yet.....
-
• #21
He's now had it 10 days and the seat post still isn't coming out! I hope he's not charging me by the day...................
-
• #22
HE'S DONE IT!
I can now collect my frame, minus annoying seat post, in exchange for 10 English pounds.
Just in time for pay day on Monday.....
-
• #23
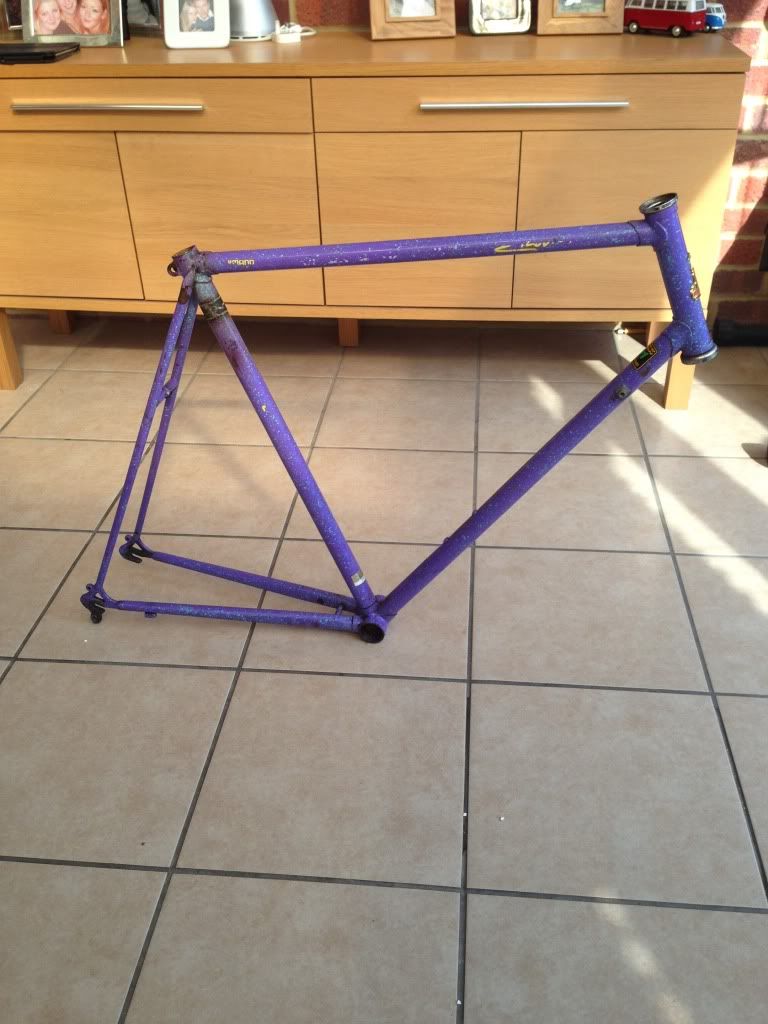
Frame collected:
Fire damage:
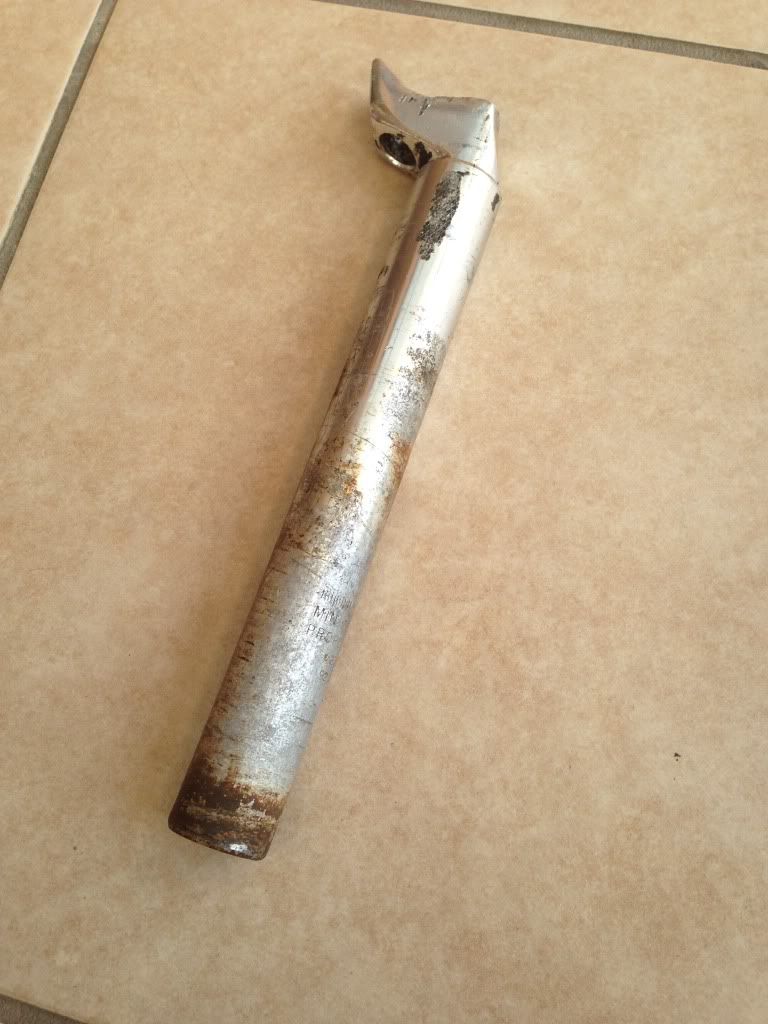
The offending seat post:
The first shiny new part purchased:
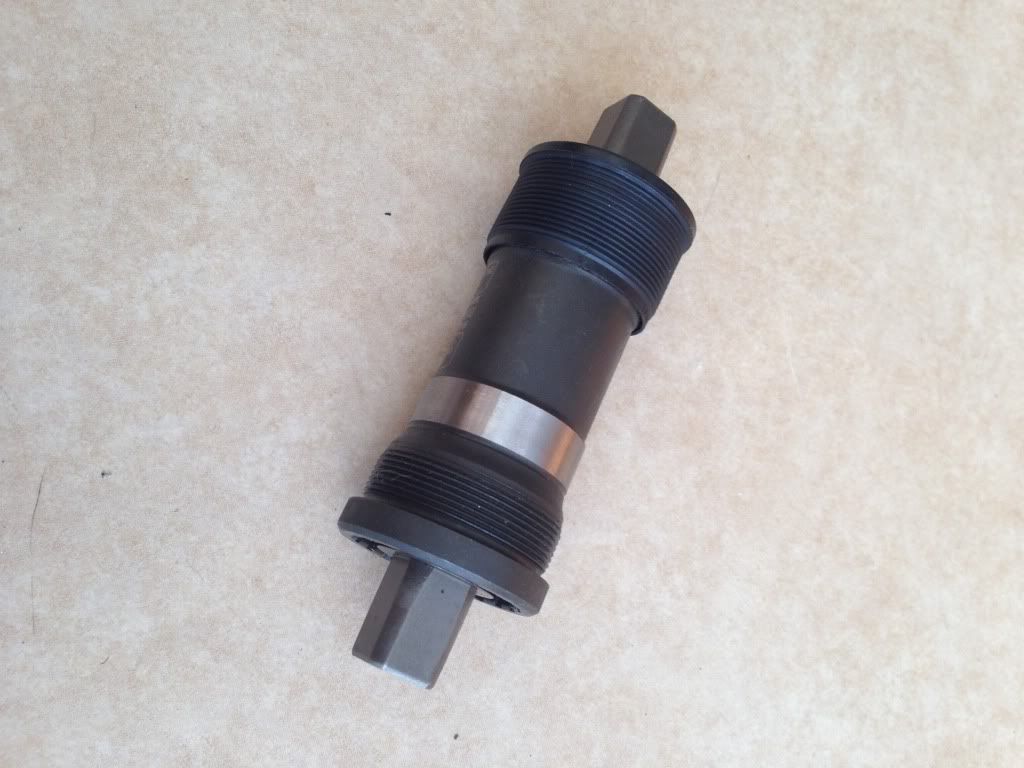
-
• #24
Question time - if I've got a 52T chain ring on the front, what sort of size should I be looking at for the two on the rear?
-
• #25
......and do I go for the same sized fixed / free wheel?
 Bernhard
 yoshy
yoshy Scilly.Suffolk
Ever since riding a fixed bike in San Diego years ago I've fancied having my own. More precisely, having a go at building my own.
Also nipping to the shops on my carbon road bike is more hassle than it's worth with clip in shoes just adding to the drama.
I'll be building this and learning along the way.
Anyway - pics are better than words:
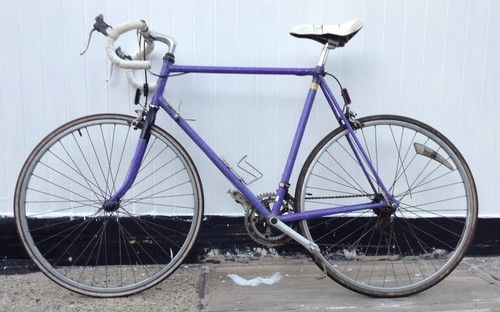
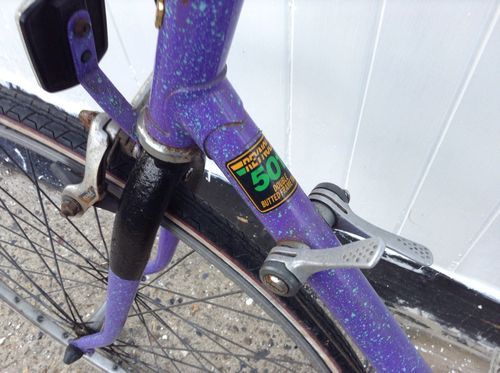
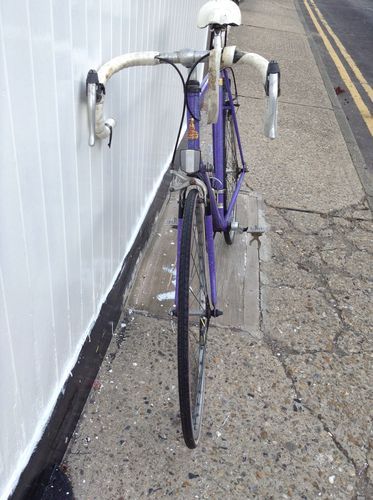
It's a Raleigh something or other with a Reynolds 501 steel frame. I won it for £21 on eBay, collected it the next day and started taking it apart that afternoon.
It was advertised as ideal for a project or for riding away. Put it this way - I'm glad I drove to collect it and didn't get someone to drop me off to ride it home! It's shagged. No air in the tyres, front brake stuck on, gear cables frayed, whole thing filthy dirty.
Anyway - with the assistance of my mate in exchange for a beer or two I got it apart. Mostly. The alloy seat post is fixed in place - it wont budge. Two days marinating in WD40 didn't do a single thing. Nor did twatting it with a hammer. Also, I couldn't get part of the bottom bracket out. So off it's gone today to my local bike shop, where the owner assured me he could solve my first stumbling block.
In the mean time, I've been going through the parts I've taken off and sorting them into three distinct piles: 1. keep 2. don't need but don't throw away yet 3. bin.
Next it's the task of sourcing the parts that I can't salvage from the original, pricing it all up and deciding which order to do everything.
I've got a local body shop that has done loads of paint work on various car mishaps for me, so they'll be my first port of call for the respray. Pretty much the only salvageable parts are the frame, forks (maybe), seat post (if I can get it out in one piece), pedals, handle bars and brake lever(s) - everything else I will have to buy.
I've possibly already sourced somewhere to buy some wheels, flip flop hub, chainset, bottom bracket and chain.
Not sure if I should buy the above mentioned parts first or get the frame and forks sorted and then painted first.
A new saddle, tyres, bar tape, brake cable (I think I'll just be running a front) will all be along at the end once everything else is sorted.