-
• #2
Nice write up, thanks for thinking to post it up.
-
• #3
This is an easy technique to fit tubs, unfortunately you need to glue your tubs if you you want ot use them at Herne Hill so this is only good for road bikes.
Jantex is the 'hardest' one to fit but it is the cheapest one. If you're made of money, you can use Tufo Extreme tape which easier to fit!
-
• #4
I have a roll of the Jantex that goes in my jersey pocket along with a spare tub- one of these days I'm going to have to use it I guess.
What might make things interesting is that the tubs on the bike are glued, so it will be tape on top of glue.
-
• #5
Tape on top of glue is fine. In fact, contrary to Vince's guide, I would most definately not clean the rim of glue unless it's very old and crusty. I've tried using Velox/Jantex tape on a new, clean, alloy rim and it just doesn't stick very well. It seems to work best when there's glue on the rim to bond with.
I've gone over to glue exclusively now though, it's pretty simple (and not very messy) once you've done a few.
-
• #6
I'm going to have to attempt this for the first time soon, and this is the most straight forward tutorial I've seen yet. thanks Vince.
-
• #7
No worries ipsy.
The hardest part is removing the Jantex protective layer once the tub is on - you'll soon see for yourself!
It'll make you wish you spend the extra £1.50 on this tape
I'll do more pictore tutorials for beginners, I need to change my chain/chainring/sprocket and I'm sture it'll be useful for somebody who has never done it. -
• #8
Tape on top of glue is fine. In fact, contrary to Vince's guide, I would most definately not clean the rim of glue unless it's very old and crusty. I've tried using Velox/Jantex tape on a new, clean, alloy rim and it just doesn't stick very well. It seems to work best when there's glue on the rim to bond with.
I've gone over to glue exclusively now though, it's pretty simple (and not very messy) once you've done a few.
I forgot the tape, on Sunday, because I am ESN.
Hopefully the tub would have stuck to the glue already on the rim, if I had encountered that sinking feeling.
-
• #9
great guide. i fitted some the other day for the first time. it wasn't particularly difficult, easy in fact id say. but like alot of things its having the confidence to do it and this guide was really helpful. i know what you mean about the tape
-
• #10
Glad you like it - I'd happily do more tutorials if I had an assitant taking pictures...
-
• #11
why does it always take people, on night rides, 6 hours to do this ?
seems quite straight forward ! -
• #12
Glad you like it - I'd happily do more tutorials if I had an assitant taking pictures...
this section is missing them. you should!
I can volunteer as a photographer, its gonna be horrible but at least not instagrammed:) -
• #13
That Jantex is awful, you can push tubs off with your fingers.
-
• #14
My tip for removing the tub side tape from the Jantex is to put a pencil between tub and wheel, rotating it around the wheel as you remove the tape. This stops (sometimes) it snapping!
-
• #15
I take it for glue, just substitute that in place of the tape?
Would rather trust the people here than a random tutorial I find online.
Training myself on tubs as I start a job on Monday where I'll be doing a lot of them and my experience in them is minimal so far. Have bought an old sprint wheel, a Conty Giro and some Tubasti glue.
Any glue specific tips that haven't been covered here?
-
• #16
er, not quite..
more reading here > http://www.lfgss.com/thread20510.html
and here > http://www.lfgss.com/thread469.html
-
• #17
Hmmm, seems I probably shouldn't have cleaned the rim.
Well, I'll probably be working with new wheels so maybe it'll be good to work with a clean rim.
What's the consensus of opinion on stretching the tyre? Instructions on the box my Conty Giro came in say to stretch between feet and hands then glue and fit, instruction leaflet in the box says not to stretch between feet and hands but to fit the tyre dry, fully inflate and leave for 72 hours.
I gave it a little stretch, fitted dry and have fully inflated and intended to leave it over night, remove and apply first coats of glue tomorrow morning and finish the job in the evening.
-
• #18
Nice tutorial Vince. Im gonna get some tub tape and have it with me with the extra tub tire. I'll be more comfortable commuting with tubulars now. Im carrying Vittoria Pitstop at the moment and Im still lucky enough not having to use it, touch wood :)
-
• #19
you should dry fit the tub to the rim for at least a week maybe more then the tyre should be stretched and snug in rim making a stronger wheel,more puncture resistent less likely to deflate and better rolling resistance,also you should glue all around the valve seat and on the rim hole where the valve bed sits or put tape up to hole both sides,sure you can fit and ride in half an hour but youll get a crap ride more punctures,and more deflation
-
• #20
That Jantex is awful, you can push tubs off with your fingers.
Both the tyres on my fixie skidder are held on by Jantex tape.
They've lasted 1,200 miles so far, and haven't rolled off and killed me.
However- the front was a bit low on pressure the other day* and the tub rotated around the rim under braking, leading to the valve stem adopting a rakish angle where it emerged from the rim.
This does not instill huge confidence, I think that when these tyres wear out (a couple of thousand miles for the front, maybe another 300 for the rear) I'll use glue.
*I punctured both tubs in the first week of using them, shot PitStop sealant into them, and ever since then I suspect they have been quietly sorting out small punctures with just a drop in tyre pressure as the sign that it has happened.
-
• #21
You don't need to carry tape if you have glued on your tubs, just glue the spare, let it dry, fold it up and carry it. Tub glue is a contact adhesive and the two dry glue surfaces will bond to each other when you need them to.
An alright tutorial here; http://www.bikeradar.com/gear/article/workshop-how-to-fit-tubular-tyres-23929/
and if you've some time on your hands there are 180 pages of tub chat here; http://weightweenies.starbike.com/forum/viewtopic.php?f=3&t=72309 tl:dr use three coats of glue on rim and one on tyre, never use tape - that's for wrapping presents.
And finally, don't stretch tubs like the OP it's a nice way to damage your expensive new tubs.
-
• #22
I am sick to death of tubs cant keep them on the bike one ride and they have a puncture the roads are very course here bits of granit and flints local bike shop is making a mint out of me
-
• #23
What tubs are you running? I've been on the same set of Conti Comps for 1000km+ now.
-
• #24
Thanks for the guide - the pencil trick did it fine for me using Velox Tape.

 Dammit
 Vince
Vince Ste_S
Ste_S dicki
dicki 1000archangels
 M_V
M_V rive_gauche
 modan
modan SWEDE
SWEDE mustard
I was fitting a tub' today and I took a couple of pics to create a tutorial - I hope this is useful to someone that has never fitted a tubular tyre before.
Before you start anything, you need to get hold of tubular tape - I use Jantex (http://www.wiggle.co.uk/tufo-tub-tape-for-road-wheels/) and obviously, a new tubular tyre (like this). Tubular tape is basically double sided sticky tape and tubular tyres have a a fabric layer sewn on that will stick to the tape.
First of all you need to clean your rim - for metal ones, I leave the rim on a heater for a while and rub most of the old glue / tubular tape residues then use wire wool to rub most of it off. It doesn't have to be a perfectly clean surface but you still need to remove most of it.
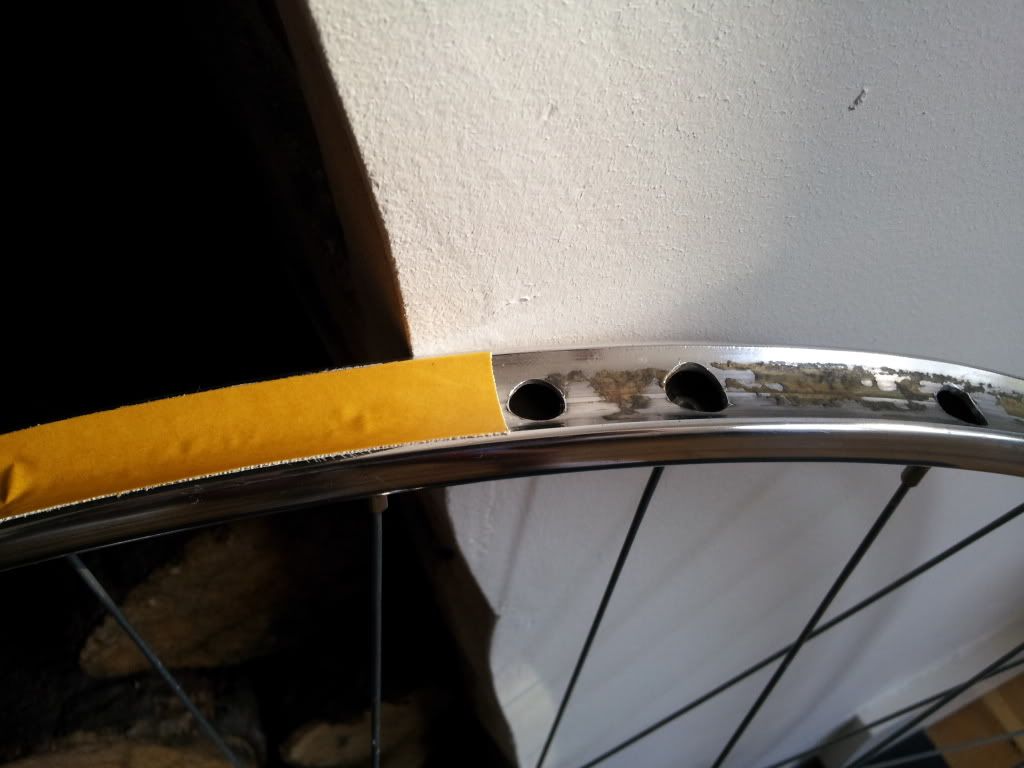
Once the rim is clean, start applying your tape (making sure it is right in the middle of the rim), start on the edge of the valve hole, just like this:
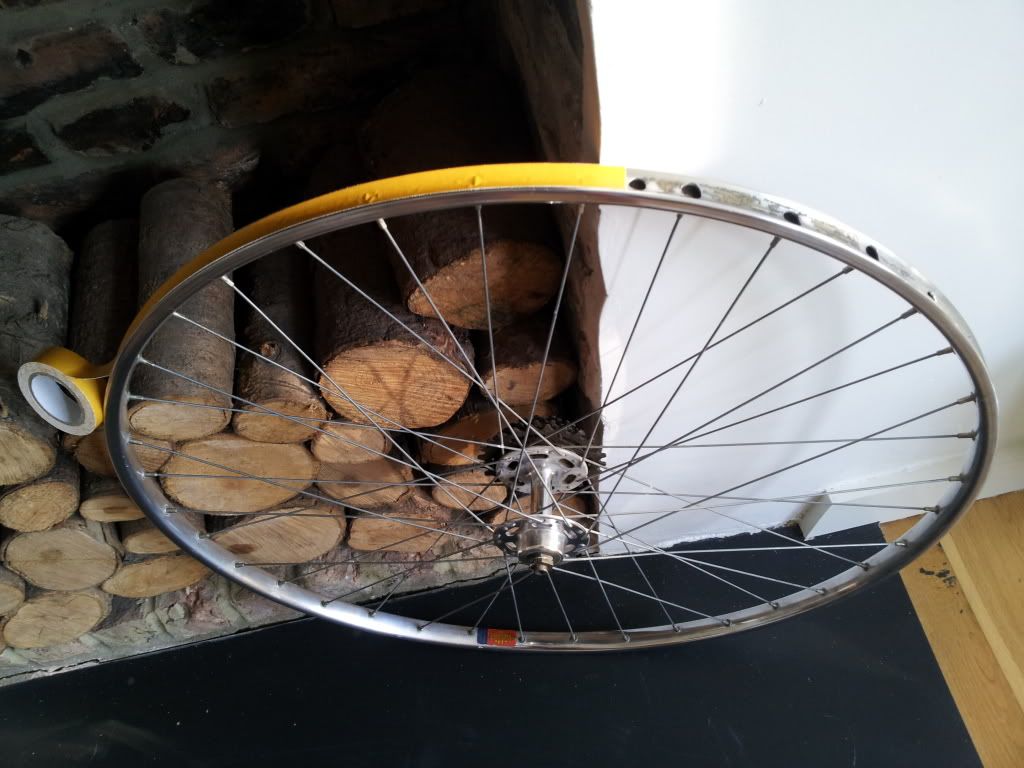
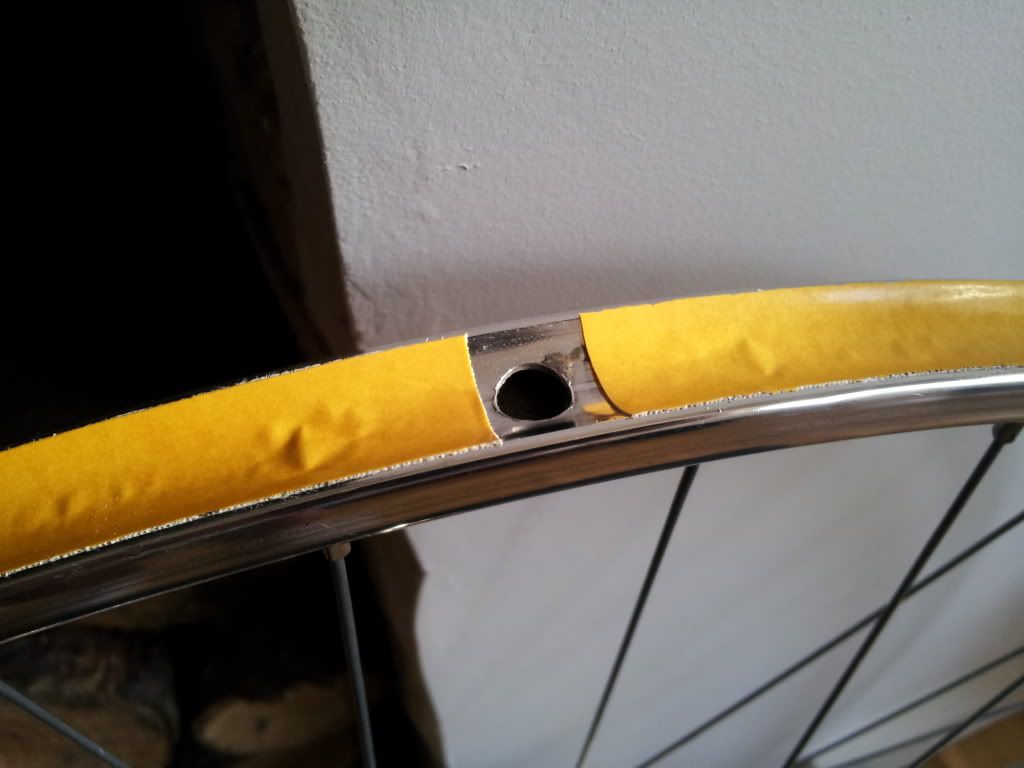
All the way around the rim then cut the tape when you arrive back to the valve hole:
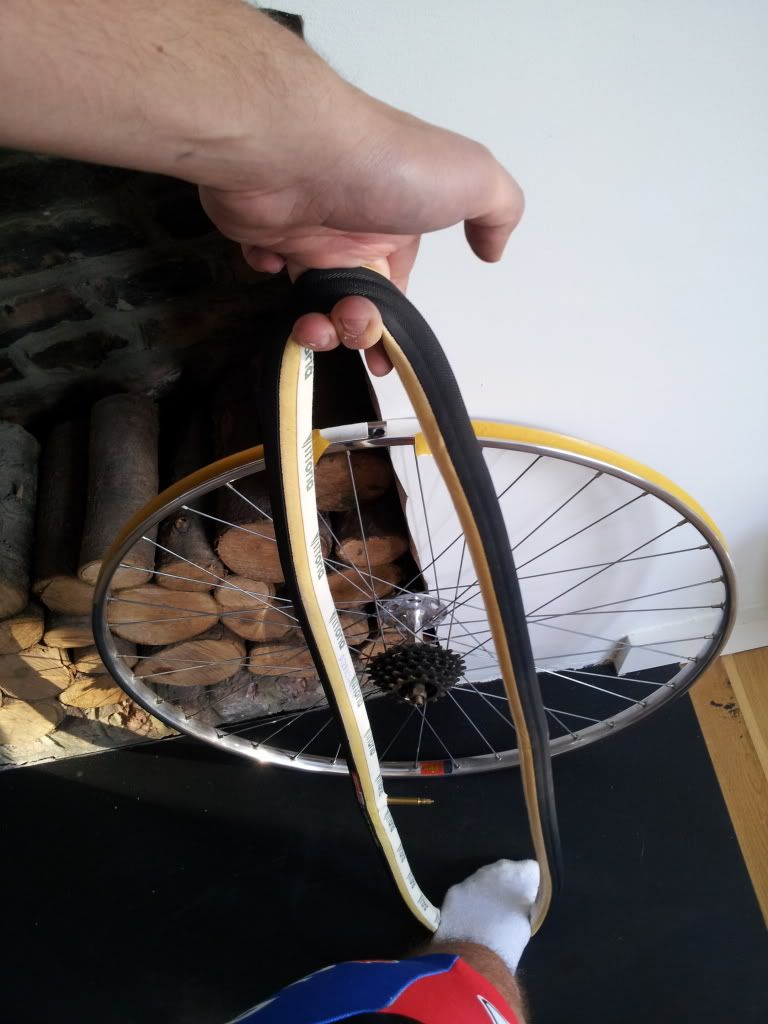
Then you need to stretch you tubular tyre so it's easier to fit it onto the rim (I like trying to put them onto the rim without the tape to see how they fit):
Then you need to slightly inflate you tyre so it takes its shape - maybe around 20-30psi. In the meantime, you can peel both ends of the back of your tubular tape:
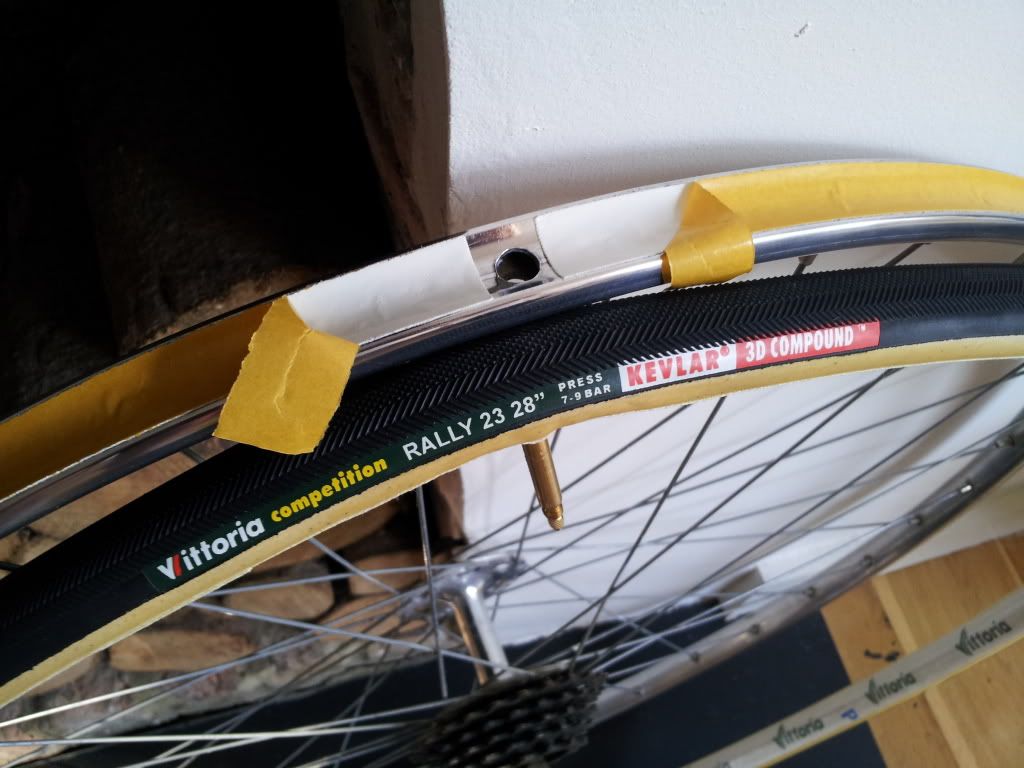
The next step is to place the valve through the valve hole and the fabric base of the tubular tyre should stick to the peeled sections of the tubular tape. You then pull the tyre around the rim. At this point, things should look like this:
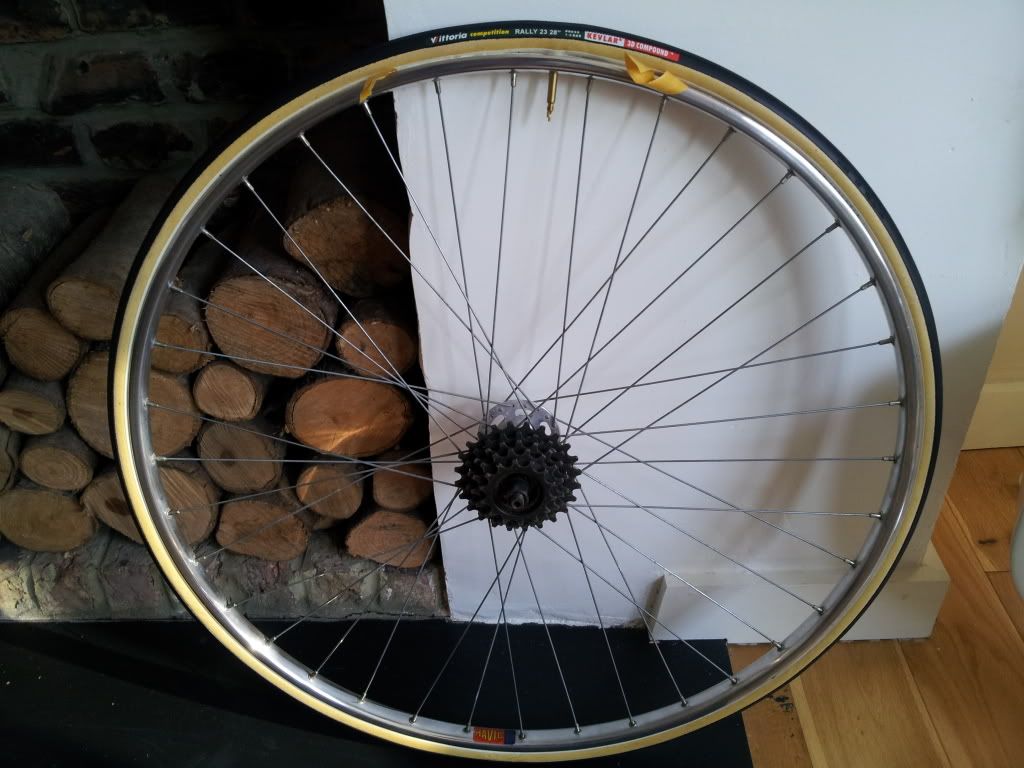
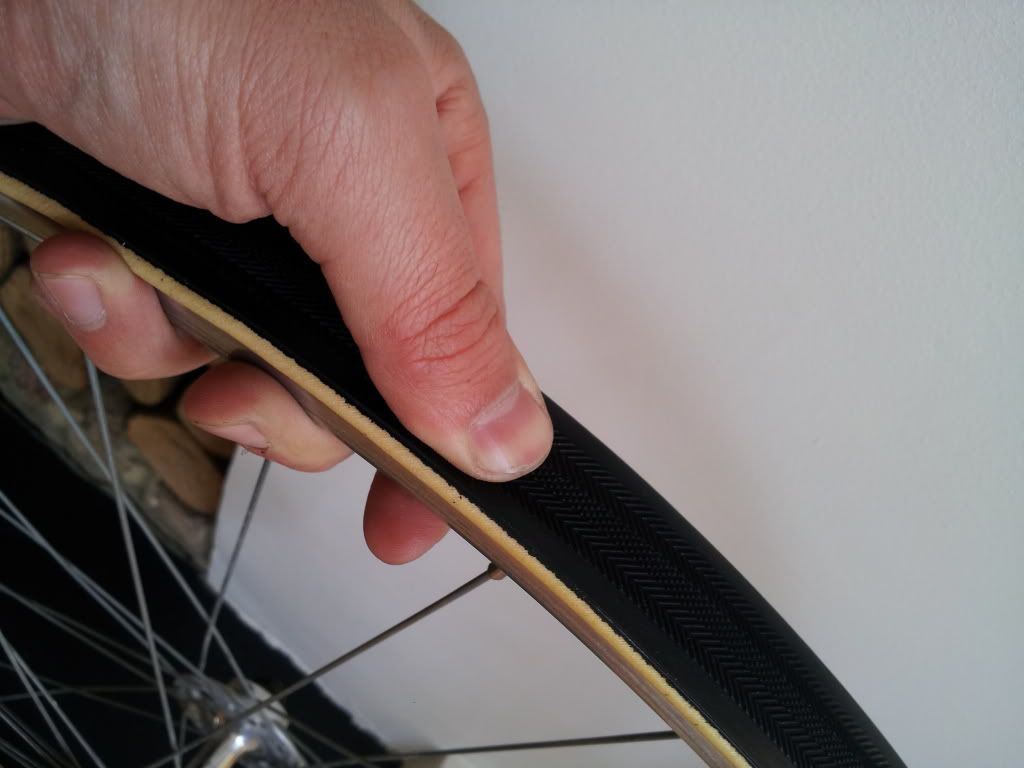
Once this is done, just slightly lift the tub and pull the protective side of the tubular tape. Go all the way around so all the sticky tape is in contact with the tyre.
Personally, I like defalating the tyre fully then pressing the tyre against the tape but I've been told many times that it is not necessary - I still need to satisfy my OCD so I still do it... just like that:
Then you can inflate to maximum PSI and fit onto your bike - the work is done and you are ready to roll!!
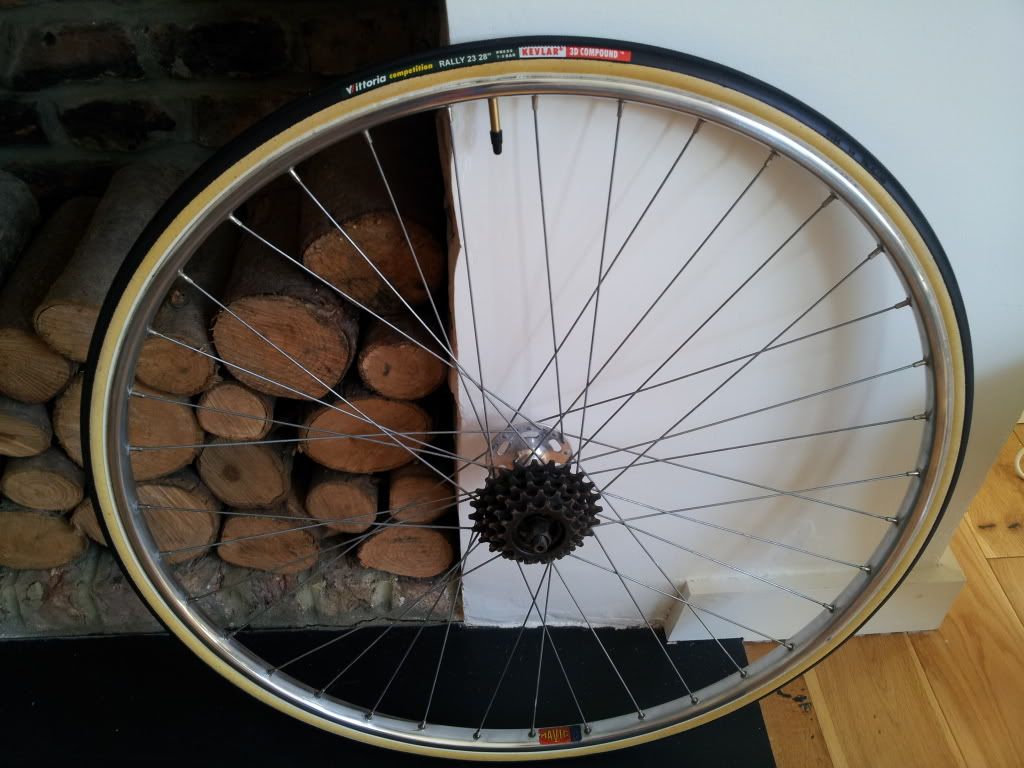
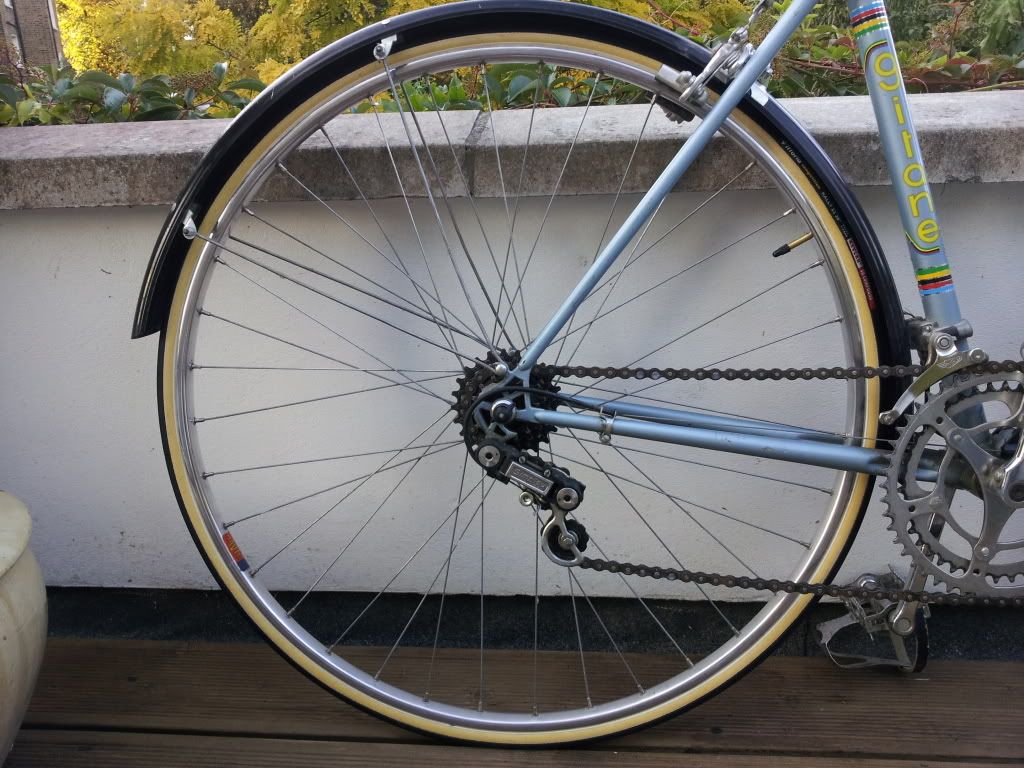
The tyre should settle on the tape/rim nicely after a couple of 'dry' miles.
Cheers
Vince