-
• #2
originally posted in the ladies CP thread, i was advised to try here too in case anyone had some handy tips about restoration...
after i cleaned everything it turned out the thread in the bottom bracket shell was a bit fucked so i've had to get my mechanic friend (xtomorx) to show me how to tap a new thread.
the decals have arrived from h lloyd and i'll hopefully be applying them this week if i get time.
the only thing that i've not really decided on is whether or not to keep the chainguard. personally i would prefer to keep it off and have full access to the chain, but it does rather add to the aesthetics. it's such a mad ballache to have to remove the cotter pins and chainset just to get the guard off the bike.
leave it off! that chainring must have been on 1000s of these raleighs from Notts manufacture- needs to be seen.
-
• #3

my bastard phone has a fingerprint on the inside of the lens so the picture is crap, but the decals came in the post and i'm gonna put them on next week. EXCITED -
• #4
Awesome Project bike, I am in the process of restoring a gents Raleigh of similar age :)
-
• #5
well well lucy, you are a woman after my own heart with this project. :)
I have restored a couple of the mens version of these. I ride one every day, I love it. I agree with the idea of upgrading to caliper brakes. If you reeeeeealy wanted to go the whole hog, you can get 26 x 1/3/8 rims in alloy but if its just a bike for taking out every now and again for a bit of fun its probably not necessary. On top of that there are all sorts of bits of fun you can get if you like such as white wall tyres, most dashing!
with regards to the chain guard, It does look like a pain, you might be better served getting a guard like this if it appeals to you:

is it a single speed?
-
• #6
oh I could rattle on for hours about this sort of bike :P If you haven't already, do have a look at this thread in which a man restores a vintage humber bicycle in a rather interesting way http://www.lfgss.com/thread97959.html
-
• #7
it's single speed, yes! that thread is dreamy.
this has rather been on the backburner for a couple of weeks while i work my bum off, but i applied the decals (trial and error... worked out alright, learnt a few lessons) - again, my phone is a constant source of chagrin but:

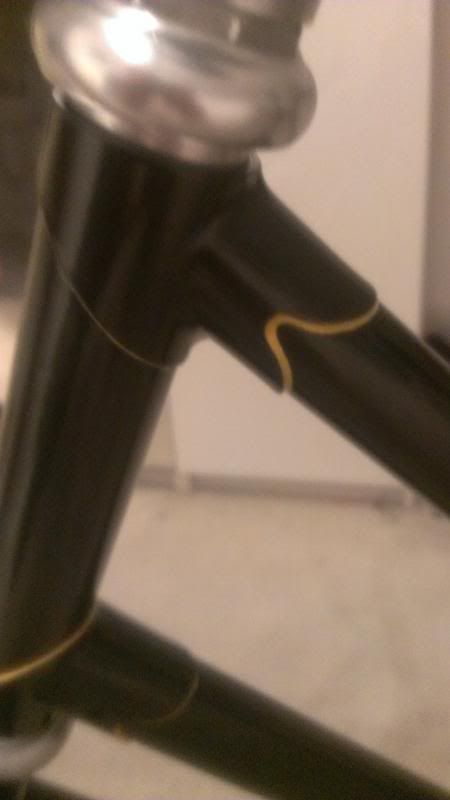
and i'm waiting to take it round to my housemate's shop to install the headset (my friend joe/heavisides 'on here' had a spare inch threaded headset he kindly donated to me) then i've got a brake to install, some more pinstriping, drivetrain. the bottom bracket was a bit of a nightmare but i've sorted it now. i lined the lugs:

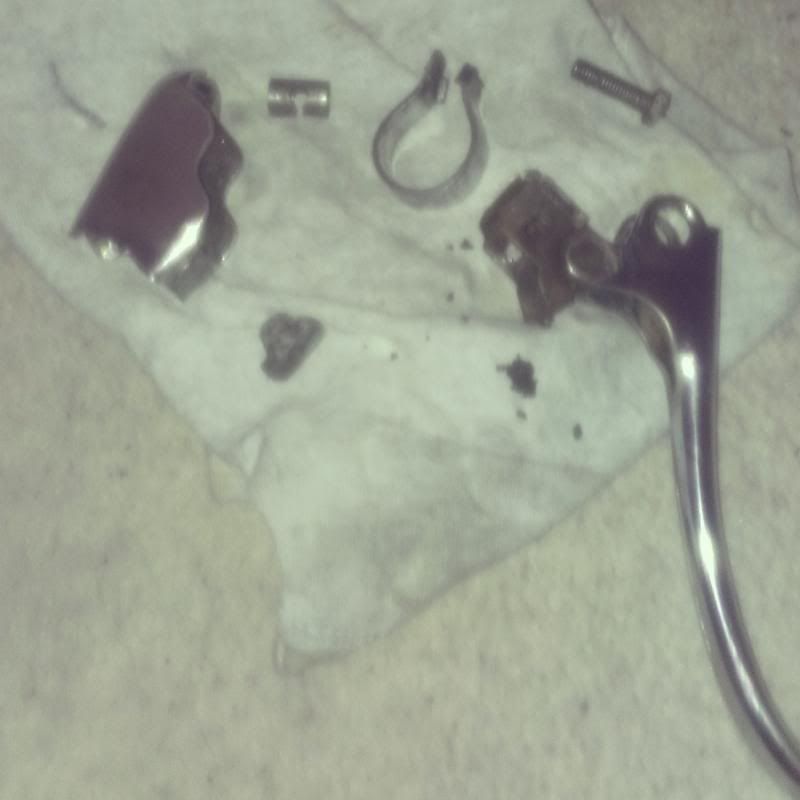
and this is what the brake looks like at the moment, i got it off ebay and it turned up in a filthy rusted state so i took it apart and cleaned it!

as restorations go, this is pretty blasé. i could have put a lot more effort into sourcing precisely accurate components, but i was mostly interested in how difficult it would be to make it 1) serviceable/ridable again and 2) look fairly good. i'm happy with how it's going. the only thing i've not decided on is the chainguard - that hockey stick one you mentioned at the end of your post is ideal, though i've not seen one i like/think would work yet. i'll just see how that goes!
-
• #8
^ That's some tidy looking lug lining there Lucy.
-
• #9
thank you! i love doing things like this, so i was happy to spend the time on it. poor quality picture, but here's a bit more:

i used one shot enamel in 'imitation gold' from paints4u.com (as recommended on here), a 00 brush from cass art, and a steady hand. i know from experience that i have a habit of holding my breath when i concentrate (my first year training as a barista i had to train myself to breathe properly while pouring coffee otherwise i'd just forget!) so i'm used to relaxing and keeping to small, fine movements on things like this.got a bit more to do, i'm really looking forward to it!
-
• #10
That's a lovely bike, I love the riding position on the older bicycles. Out of interest, was it rideable when you got it or are you still waiting to find out how it rides?
This is a thread about my 1932 ladies Raleigh: http://www.bikeforums.net/showthread.php/746940-1932-Loop-frame-Raleigh-tourist-(pic-heavy)
Unlike you I kept the rod brakes, but swapped to alloy rims (yes, you can get them for rod brakes!) and salmon kool-stops. I also swapped the front hub for a dynohub. Though if I did it again I'd probably go for a coaster rear brake, really prefer coasters these days.
Best tip I have for old bikes is to clean old rusty chrome with aluminium foil and white vinegar or diet coke. It is amazing how well it cleans up. rust is much bulkier than metal so what looks like a lump of rust can often turn out to be mostly chrome still underneath.
-
• #11
nice upgrade there betty. I'm still amazed that you can find alloy rims for rod breaks!
I swapped out the steel rims on my humber for alloy and one day an old man was admiring the bike, after a close look he said "very nice machine....shame about the rims though" I found that very funny indeed, what an odd guy :)
-
• #12
I swapped out the steel rims on my humber for alloy and one day an old man was admiring the bike, after a close look he said "very nice machine....shame about the rims though" I found that very funny indeed, what an odd guy :)
Not so very odd. He was thinking of originality, not efficiency, and after all if you wanted an efficient machine, would you be starting with a roadster?
While we are on the subject, can I ask whether anyone has considered how to deal with mounting the rear caliper brake?
This is a roadster frame and as such has a 'flat' seatstay bridge which will probably not accept the spindle bolt of the brake.
Similarly the front fork crown will probably need to be drilled for that brake spindle. Be careful with this job - if you use a hand drill it's only too easy to get it crooked, with the result that the brake blocks don't line up with the rim. This has happened to me; if possible use a pillar drill.Maybe originality is beginning to look a bit more attractive. Those rod brakes will work reasonably well if set up carefully. If you decide to go down this path and run into difficulties with the setting up, p.m. me and I will try to help.
-
• #13
Oh that chainring is lovely! Well done on luglining :)
I had a Raleigh many moons ago from 70s that had rodbrakes. It died when the BB welding gave away leading to my brother struggling for 3 days to get up a hill and not understanding why it was so darn heavy...until he saw the big crack lol.
Rodbrakes are still use in many countries like India/China I guess the design isn't fundamentally flawed therefore, just may a bit heavy with the tubes instead of cables. They do fit the bike well and mine had rodbrakes can't remember having issues stopping.
-
• #14
Something I have done on another 3 speed is change from caliper brakes to a modern coaster rear brake and drum front brake. Vintage rod-operated hub brakes are hard to get but if you aren't worried about a period look (and can lace a wheel) a modern cable-operated hub brake might be the easiest solution, and avoids having to drill for caliper bolts.
-
• #15
...
the only thing that i've not really decided on is whether or not to keep the chainguard. personally i would prefer to keep it off and have full access to the chain, but it does rather add to the aesthetics. it's such a mad ballache to have to remove the cotter pins and chainset just to get the guard off the bike.You shouldn't have to remove the chain guard completely to change or reseat the chain, just the round plate and the little segment behind the axle. Top tip: a net curtain wire with a hook on the end makes feeding the chain through much easier
-
• #16
ah yeah, okay that makes sense. the chainguard was (is, until i sort it out, which i'm leaving til last) dented, so i took it off to properly inspect it when i dismantled the whole bike. i could happily change the chain with just the circular plate and axle segment. that makes me feel better about it. thanks!
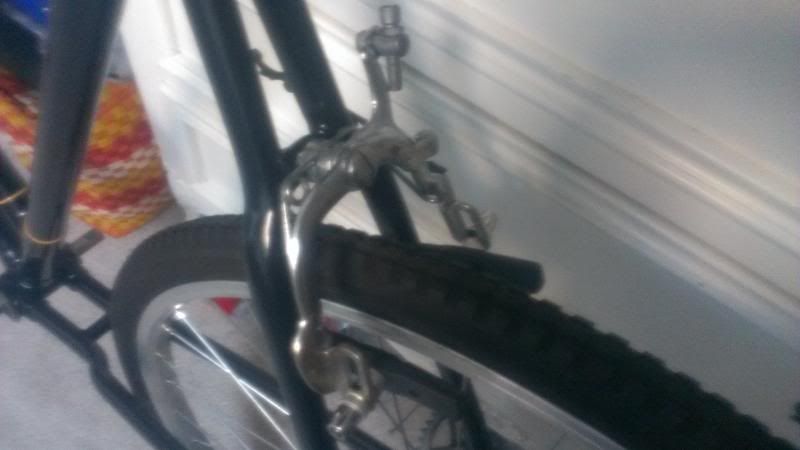
also for the benefit of whomever asked, i've been able to mount the rear caliper brake straight onto the frame, where the rear mudguard attaches:

i'll probably just keep the rear brake and not drill the frame to mount a front brake, it's not going to be ridden hard or far, i don't think.
betty, your bike is BEAUTIFUL. what an absolute joy, thanks for the link! the pinstriping and detail on the frame is probably the best i've ever seen and i'll doubtless use it when i finish this bike off. thank you for sharing it, and the tip about aluminium foil!
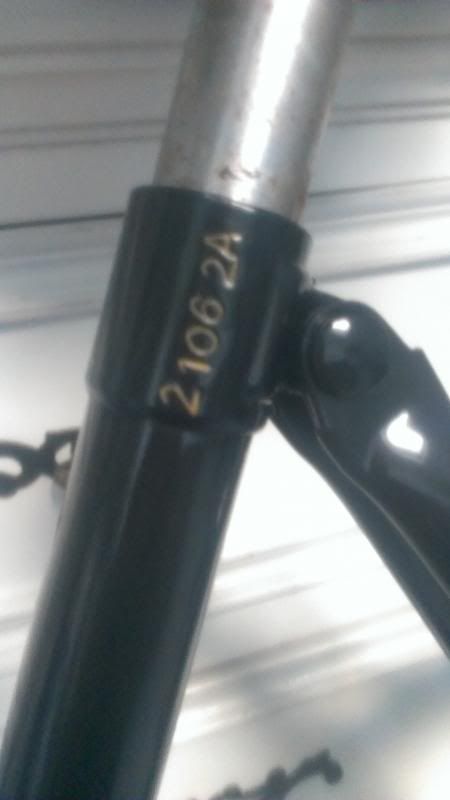
whilst luglining i decided to make a feature of the serial number. it needs another going-over but:

-
• #17
oh I just noticed something. Sorry if you already thought about this, basically the old sort of raleigh brake calliper needs a cable with a little lug on each end, they don't screw the cable into the calliper like most modern brakes.
I have heard of people using a soldering iron to put a little bit on each end of the cable after its been put in the sleeve but I just used this: http://www.trialsbits.co.uk/product_info.php?cPath=65_230&products_id=1321
solderless cable nipple, I just screwed it in hyper tight and nothing has gone wrong so far
hope that is of some use
 ioreka
 BareNecessities
 brokenbetty
 JWestland
originally posted in the ladies CP thread, i was advised to try here too in case anyone had some handy tips about restoration...
after i cleaned everything it turned out the thread in the bottom bracket shell was a bit fucked so i've had to get my mechanic friend (xtomorx) to show me how to tap a new thread.
the decals have arrived from h lloyd and i'll hopefully be applying them this week if i get time.
the only thing that i've not really decided on is whether or not to keep the chainguard. personally i would prefer to keep it off and have full access to the chain, but it does rather add to the aesthetics. it's such a mad ballache to have to remove the cotter pins and chainset just to get the guard off the bike.