-
• #28527
I went through the external wall for my catflap and then increased the depth with a tunnel. He got it in 1 attempt.
Wall was preferable for me because way easier and cheaper to patch up and make good if/when we leave/sell/cat dies.
-
• #28528
I've thought about the wall but we don't really have a good spot for it. We have two french doors on the front of the house, both with shutters. Other walls are obstructed by stairs / kitchen / table etc...
-
• #28529
Our last place had a ladder going up to the bathroom window which I swapped the glass pane for a piece of plywood and cut the catflap in that. A ladder wouldn't really achieve anything in the current place.
-
• #28530
Posted this in the wrong thread. Duh. Cross posting here.
Any recommendations for improving the weather resistance of this door set up?
-
• #28531
Out of interest, your cat flap seems to have exactly the solution I'm looking for... Care to post a few more photos of it or let me know how it's been done?
-
• #28532
They just added a U shaped spacer made out of wood to level the surface. The flap itself has plastic tunnel that goes all the way through. It's not particularly well done.
-
• #28533
I am, as of today, particularly unenamoured of sanding.
Top done, bottom done, sides done.
Time to get varnishing.
1 Attachment
-
• #28534
That looks great. Well worth the effort.
-
• #28535
Super impressive job.
Thinking about remaking mine a litter larger soon but the pain of v1.0 is still in the memory. Also, plywood is £££ right now.
-
• #28536
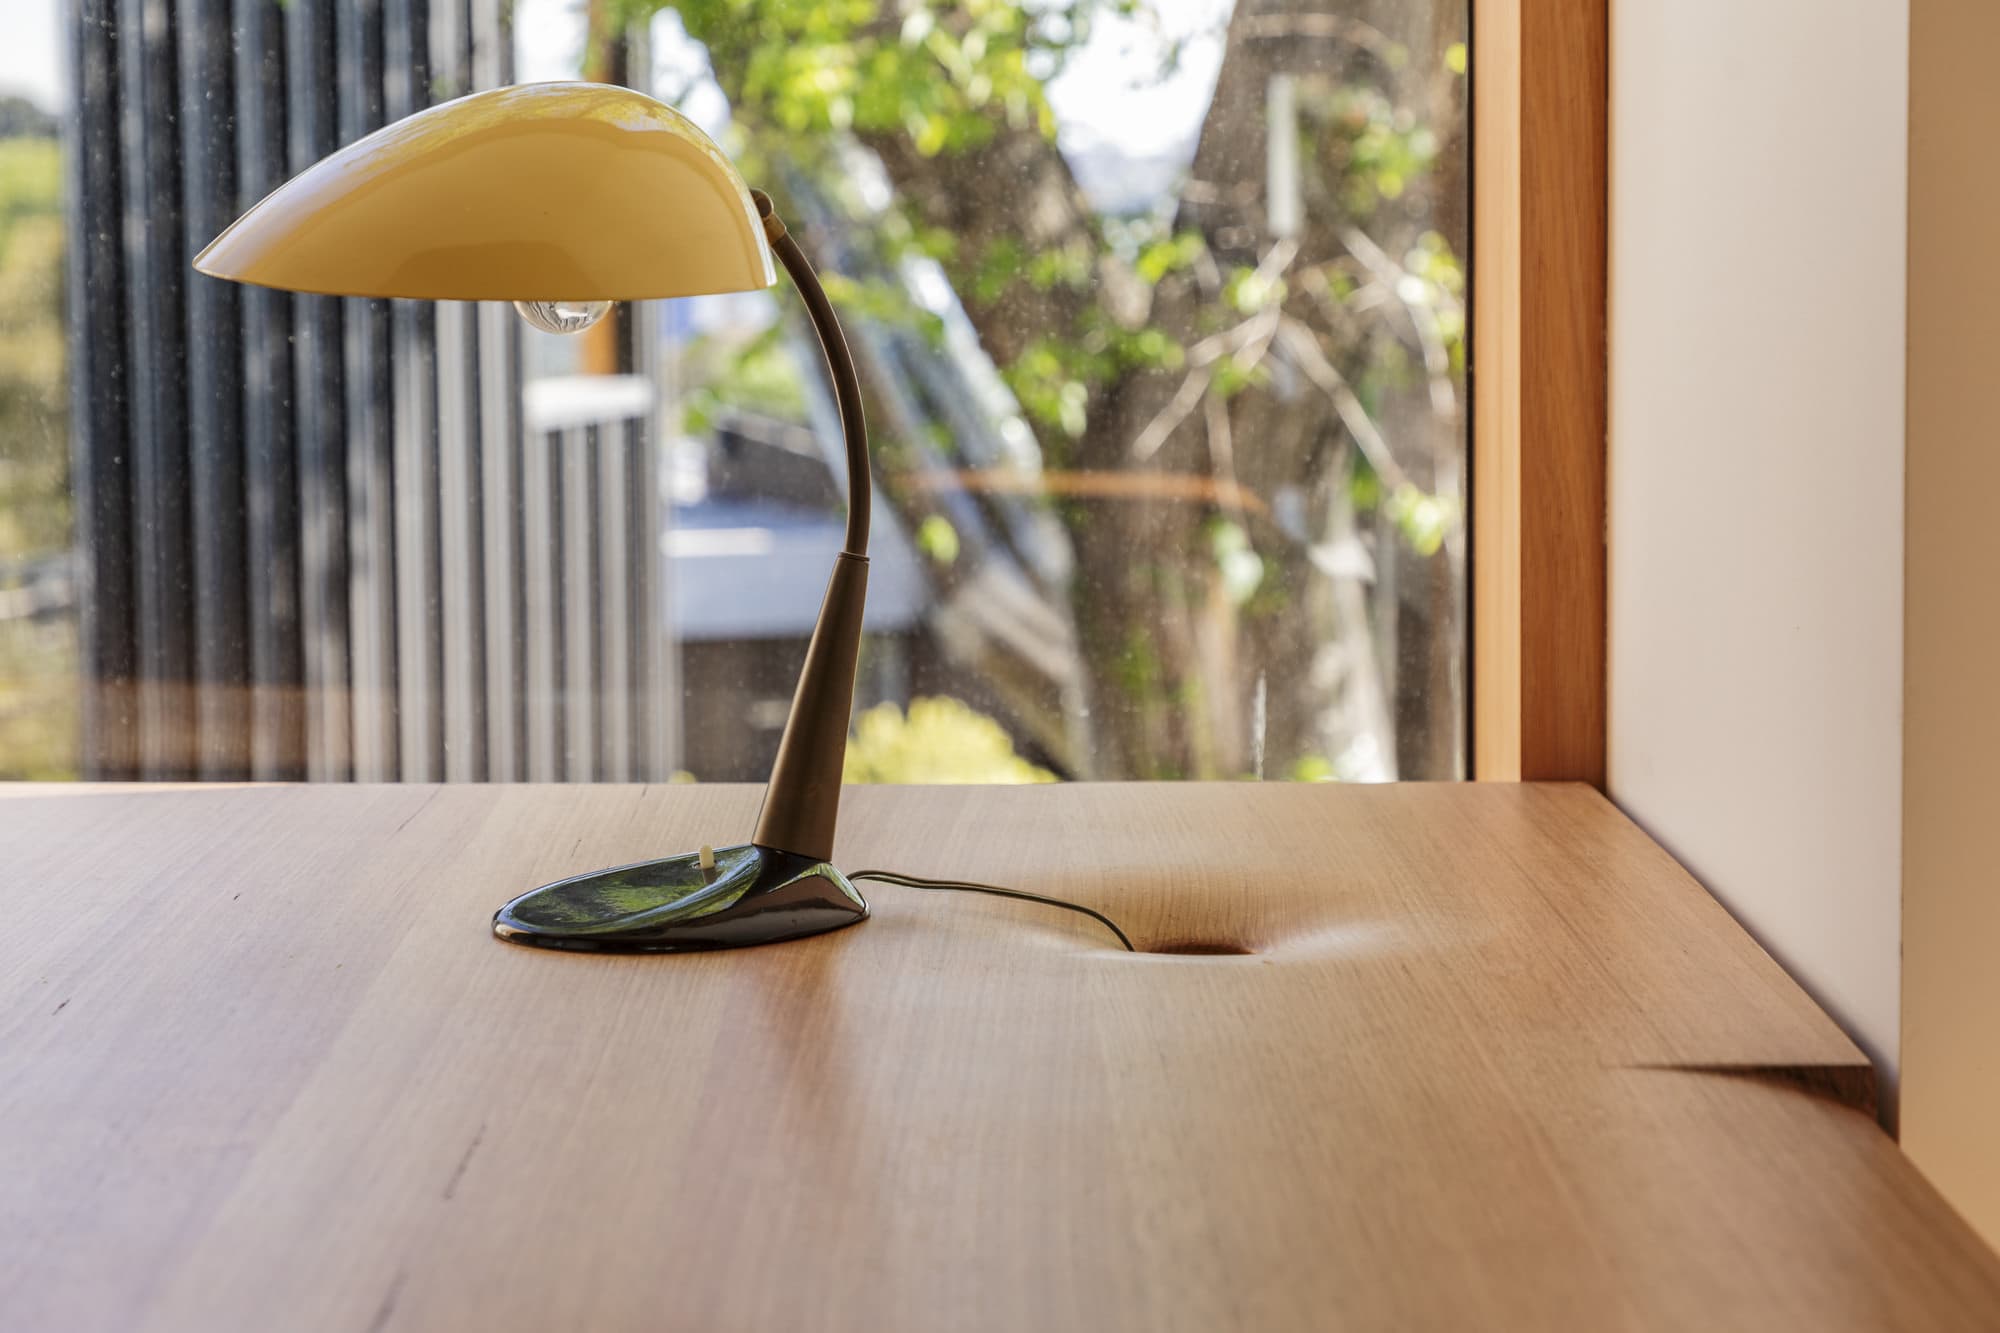
You should do that thing with the holes like in that glossy blog of that nice house.
Hang on, a picture will make more sense.
Here you go:

I reckon that would look great on the herringbone ply. -
• #28537
Who's going to say it first?
-
• #28538
That yoghurt really helps bring the grain out
-
• #28539
Can’t wait to see it with a coat of varnish. Cracking work.
-
• #28540
Cutting through aluminium with a jigsaw:
Is a metal blade going to be enough or should I be buying a aluminium specific blade?I'm aiming to cut through a anodised aluminium BBQ grill grate.
-
• #28541
It's very soft, metal blade would normally be a decent choice. Fine teeth might help. You could do it with a junior hacksaw if you can clamp it properly. Or one of the more stabby hacksaw cousins. Keeping the work still always seems to lead to good consistent results.
-
• #28542
I would use a grinder for that personally.
-
• #28543
But would. Grinder give a consistent edge on 5 separate aluminium pieces?
Attached pic of profile.
1 Attachment
-
• #28544
You can always clean up the cut edge with a file after. Not sure I would trust a jigsaw on that.
-
• #28545
Flip it over and go through the back - the grinder basically wants to cut straight lines.
If you have access to a mitre saw, a multi blade would do that nicely.
-
• #28546
Was definitely going to turn over, maybe cut a jig in MDF with straight edge to work with the jigsaw.
If the first one is rough, I could just take it super slow with a hacksaw.
-
• #28547
Mitre saw would be first choice. I've cut a bit of aluminium before with mitre or table saw and it's perfect, very fine finish, less trouble than oak generally.
-
• #28548
If you don't have a mitre saw but do have a circular saw, I have also cut plenty of aluminium with one of those and a suitable blade.
-
• #28549
Finished the grouting, sealing and installed the shower screen. Pretty pleased with this.
1 Attachment
-
• #28550
You could build a chop saw jig for the grinder. Or just use an old blade on a chop saw / circular saw,
 chiroshi
 Howard
 NotThamesWater
 Soul
Soul hugo7
hugo7 owl
owl Tenderloin
 Sharkstar
 Airhead
 konastab01
 Dramatic_Hammer
 Sam_w
Sam_w villa-ru
 @hippy
Nice one, will do, cheers