-
• #22427
I did this btw. And for some horribly designed bathroom shelf which anchors using two central holes that are close enough for the plugs to conjoin in the wall.
2 Attachments
-
• #22428
I’d really appreciate that thanks.
The only alternative I can see if a reducer. Which he isn’t against but new plaster board would look neater
-
• #22429
I have the Festool one. It's a beast. Not sure about the others but it opens up the possibility of polishing stuff if you use felt or sheepskin pads. It's an aggressive sander which can remove a lot of material but it's heavy.
I use an LS130 (Linear sander) for wood that needs a stained or varnish finish. Otherwise I can never get rid of the damage from random orbit sanders. I think it's important to go with the grain for that kind of finishing.
If you are not going to polish paint finishes it might not be worth having the rotary function.
Thought I should clarify that you can also polish paint finishes in the really fine grits with specialised pads 1000,4000 grit etc. The Felt and sheepskin pads are useful for finishing with polish or polishing the car etc.
-
• #22430
Would really appreciate some thoughts on our planned solar install / hybrid hot water system.
We currently have a Bosch CDI 36 combi boiler and are planning a 5kw solar install to cover electricity usage.
We also plan on fitting a "solar I boost" a device that senses when you are exporting to the grid and redirects power to an unvented cyclinder with an immersion heater.
So the question I have is, how do we plumb in an unvented cyclinder to the hot water system of the existing combi?
I'm thinking the combi needs to be left directly connected to one tap (down stairs toilet sink) then plumbed into the tank with some sort of demand valve that can fill the tank if needed and a programmer or switch to control this valve.
Ideally the immersion heater would only ever be powered by the solar but we might want a back up electrical connection should the gas go off.
Is this mad?
-
• #22431
Have you looked into a solar PV battery instead? No cylinder needed, top it up overnight on an economy tarrif in Winter. Instant hot water with no standing losses:
https://www.youtube.com/watch?v=D3_VgxsOxoE
-
• #22432
Will have look but the solar battery costs look to be around 7k.... the 300l unvented cylinder is around 2k installed.
-
• #22433
A 12kwh battery (equiv. to 280L) was ~£3k. We used one in a new build and didn't incur boiler costs either so it was actually cheaper overall. The ongoing saving is ~3.5KwH in standing losses a day.
-
• #22434
Ok, that's great info. Any chance you could DM me more details?
-
• #22435
https://www.youtube.com/watch?v=lj7YK1lIRUM
This video covers the process of cutting the piece fairly well. I'd personally add two strips of wood either side of where your new hole will be.Once you have screwed the new piece in place, don't fill over the cracks like on the video. Instead, make a 45 degree cut along all the edges with a stanley knife to create a groove all the way around the repair. Now clear any debris or loose pieces left in the groove and with a small paint brush apply a mixture of PVA and water to any of the exposed plaster of the plasterboard. This will seal the plasterboard as otherwise it will suck any moisture out of the filler you use and it will be more likely to crack as the filler won't adhere well. If doing bigger repairs, you can add a bead of gripfill at the bottom of the groove to help prevent cracking.
Some people will tape over the cracks with a scrim tape before filling. This is stronger, but it will require using a lot more filler, and is trickier to get neat if you're not used to filling plasterboard.
Fill over the repair, making sure to push your filler into the groove to remove any air pockets. Try and feather it out as best as you can around the edges too. Be aware that it may be difficult to get a smooth finish on the first fill where the filler is in the grooves. -
• #22436
Looks banging. I'd have definitely just banged up a random bit of timber, and then resented myself for being so lazy every time I hung up my coat. lol.
-
• #22437
Awesome thanks. Never used pva to seal before but makes lots of sense
-
• #22438
Good to know. I've never done much proper fine finishing, and my knowledge of sanding is pretty basic as a result (which feels quite embarrassing considering how long I've been making things out of wood for my job).
Realistically I shouldn't be dropping £300 on a sander right now, but the prospect of buying something, only to need something different in a year or twos time is always on my mind. I've never really regretted buying expensive tools, and I've always cursed myself when I've cheaped out. That being said, buying a Makita sander for £100 isn't going to be a waste.
CSB I know. I'm shit at buying tools, too indecisive!
-
• #22439
Also, make sure to use a sharp blade and trim the paper from the plasterboard as cleanly as possible - loose little flaps always manage to come loose and fuck up the finish/drive you insane when filling!
-
• #22440
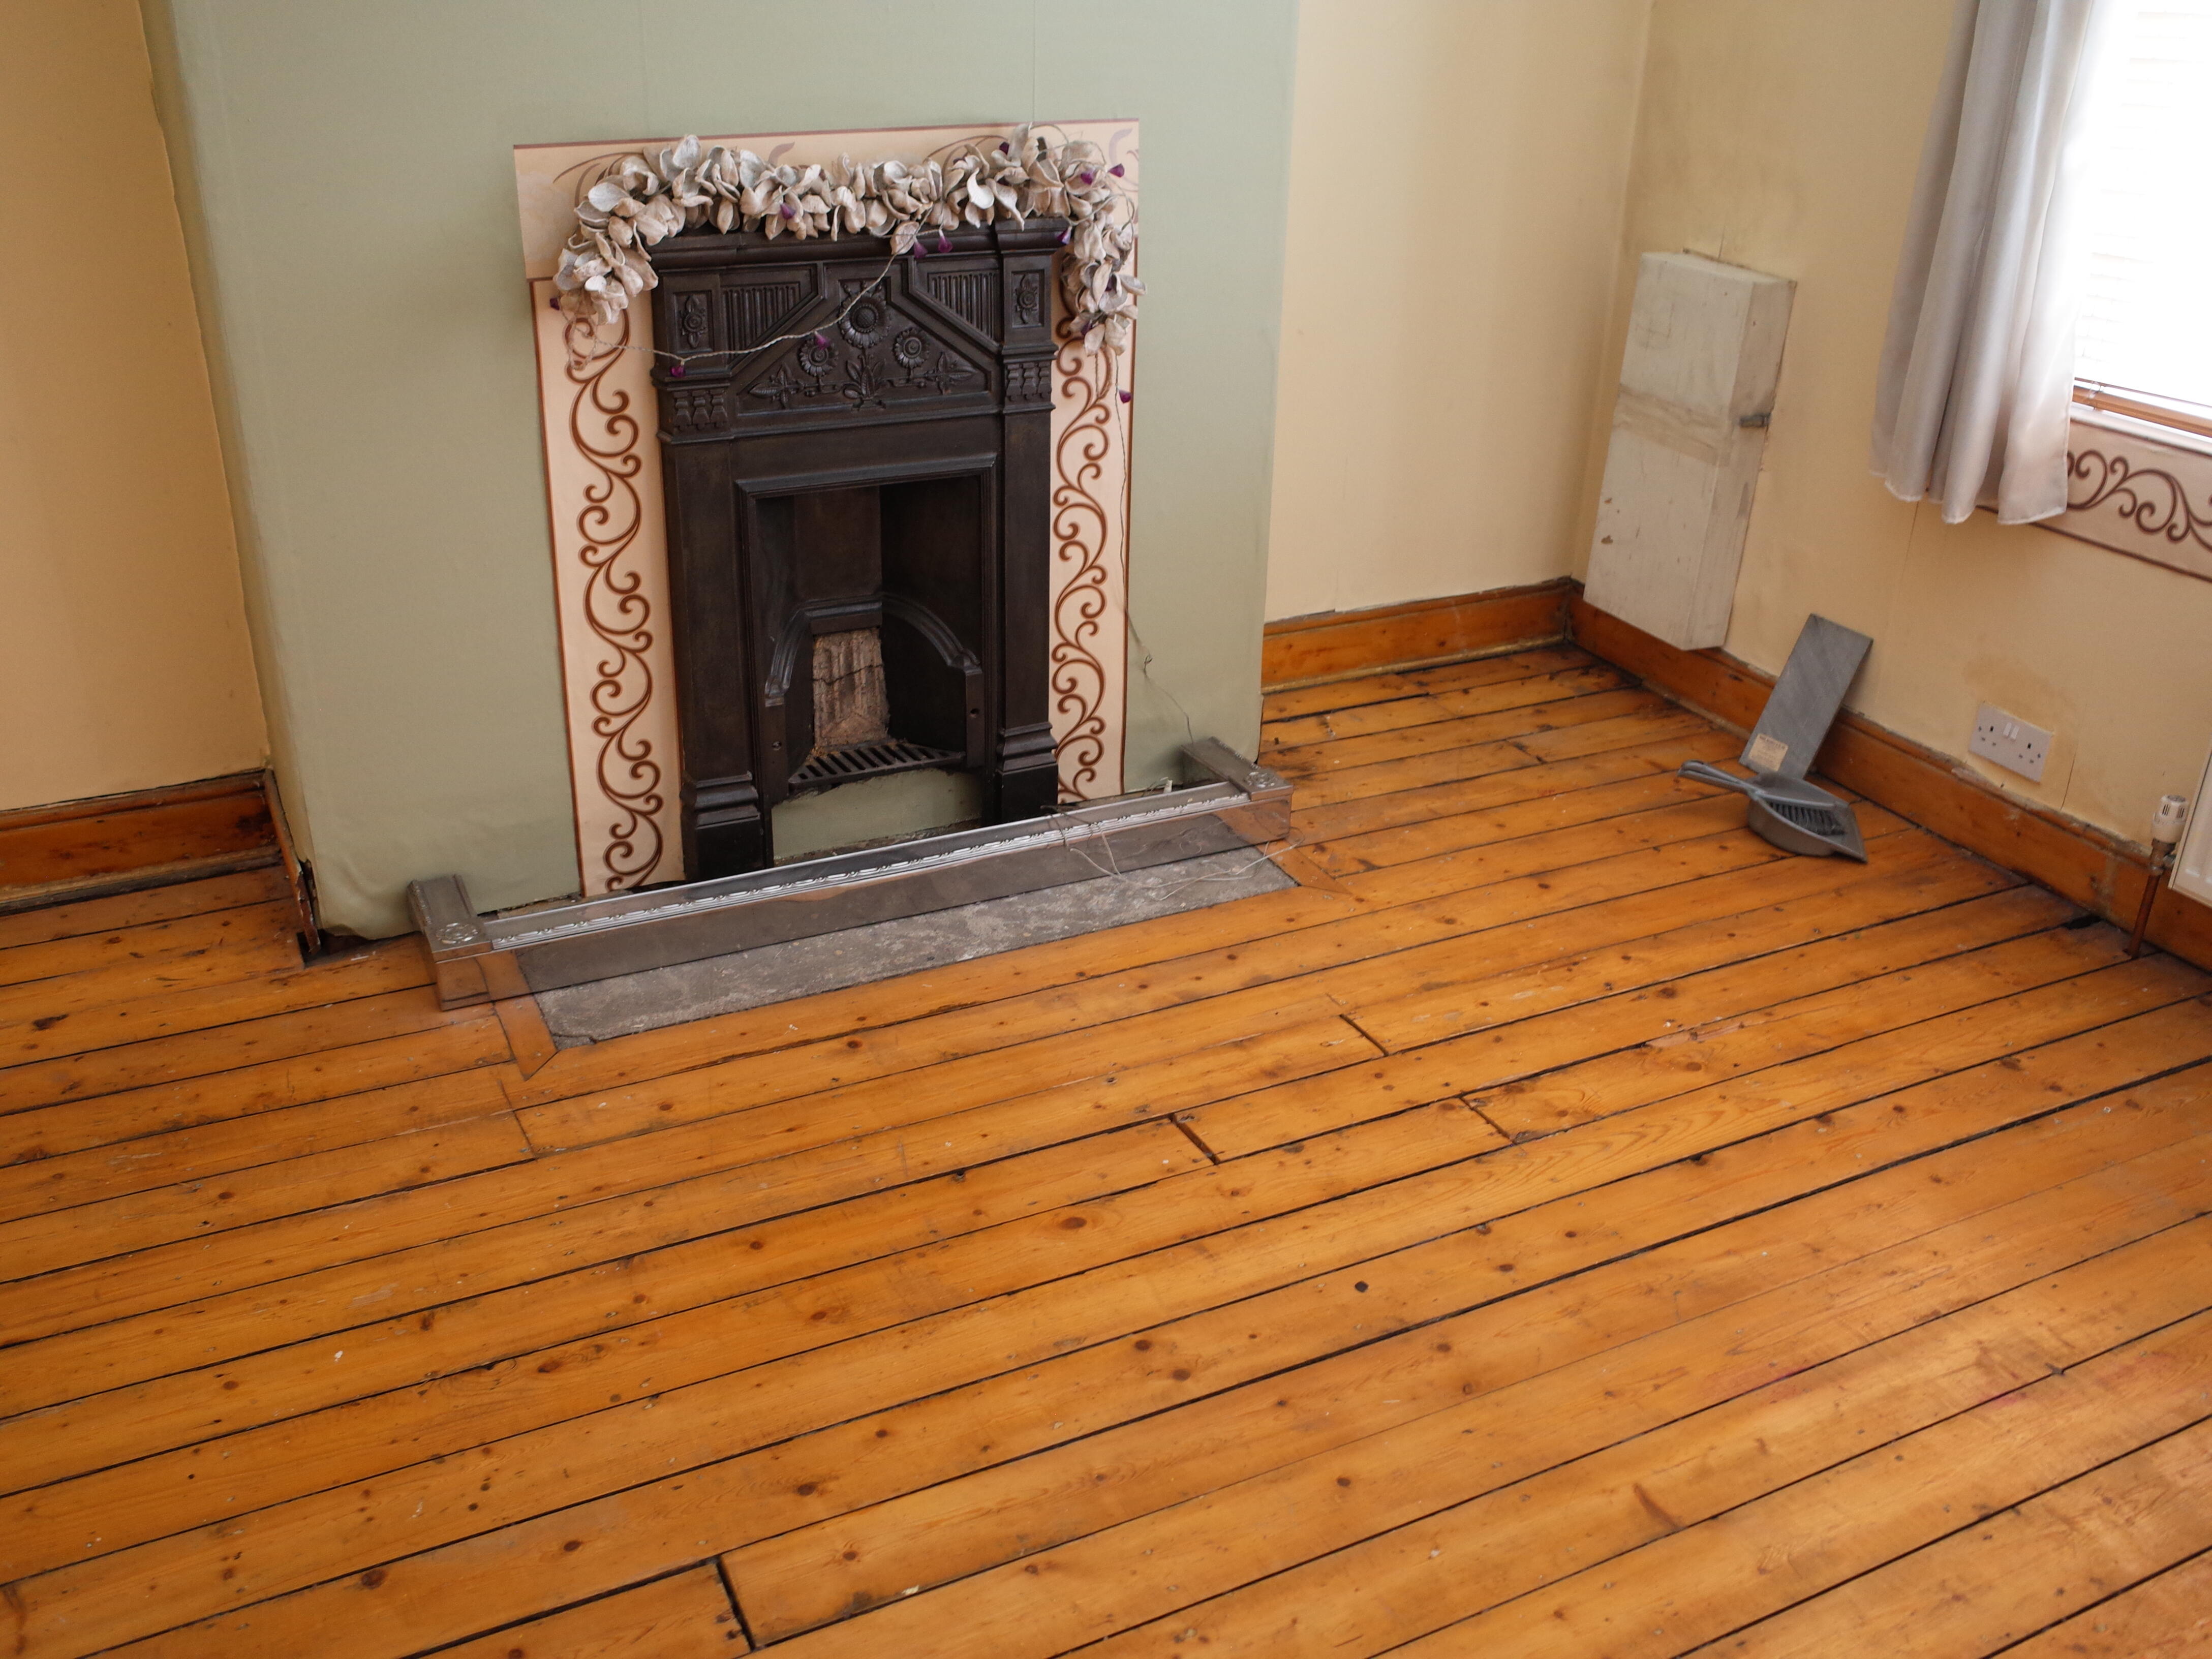
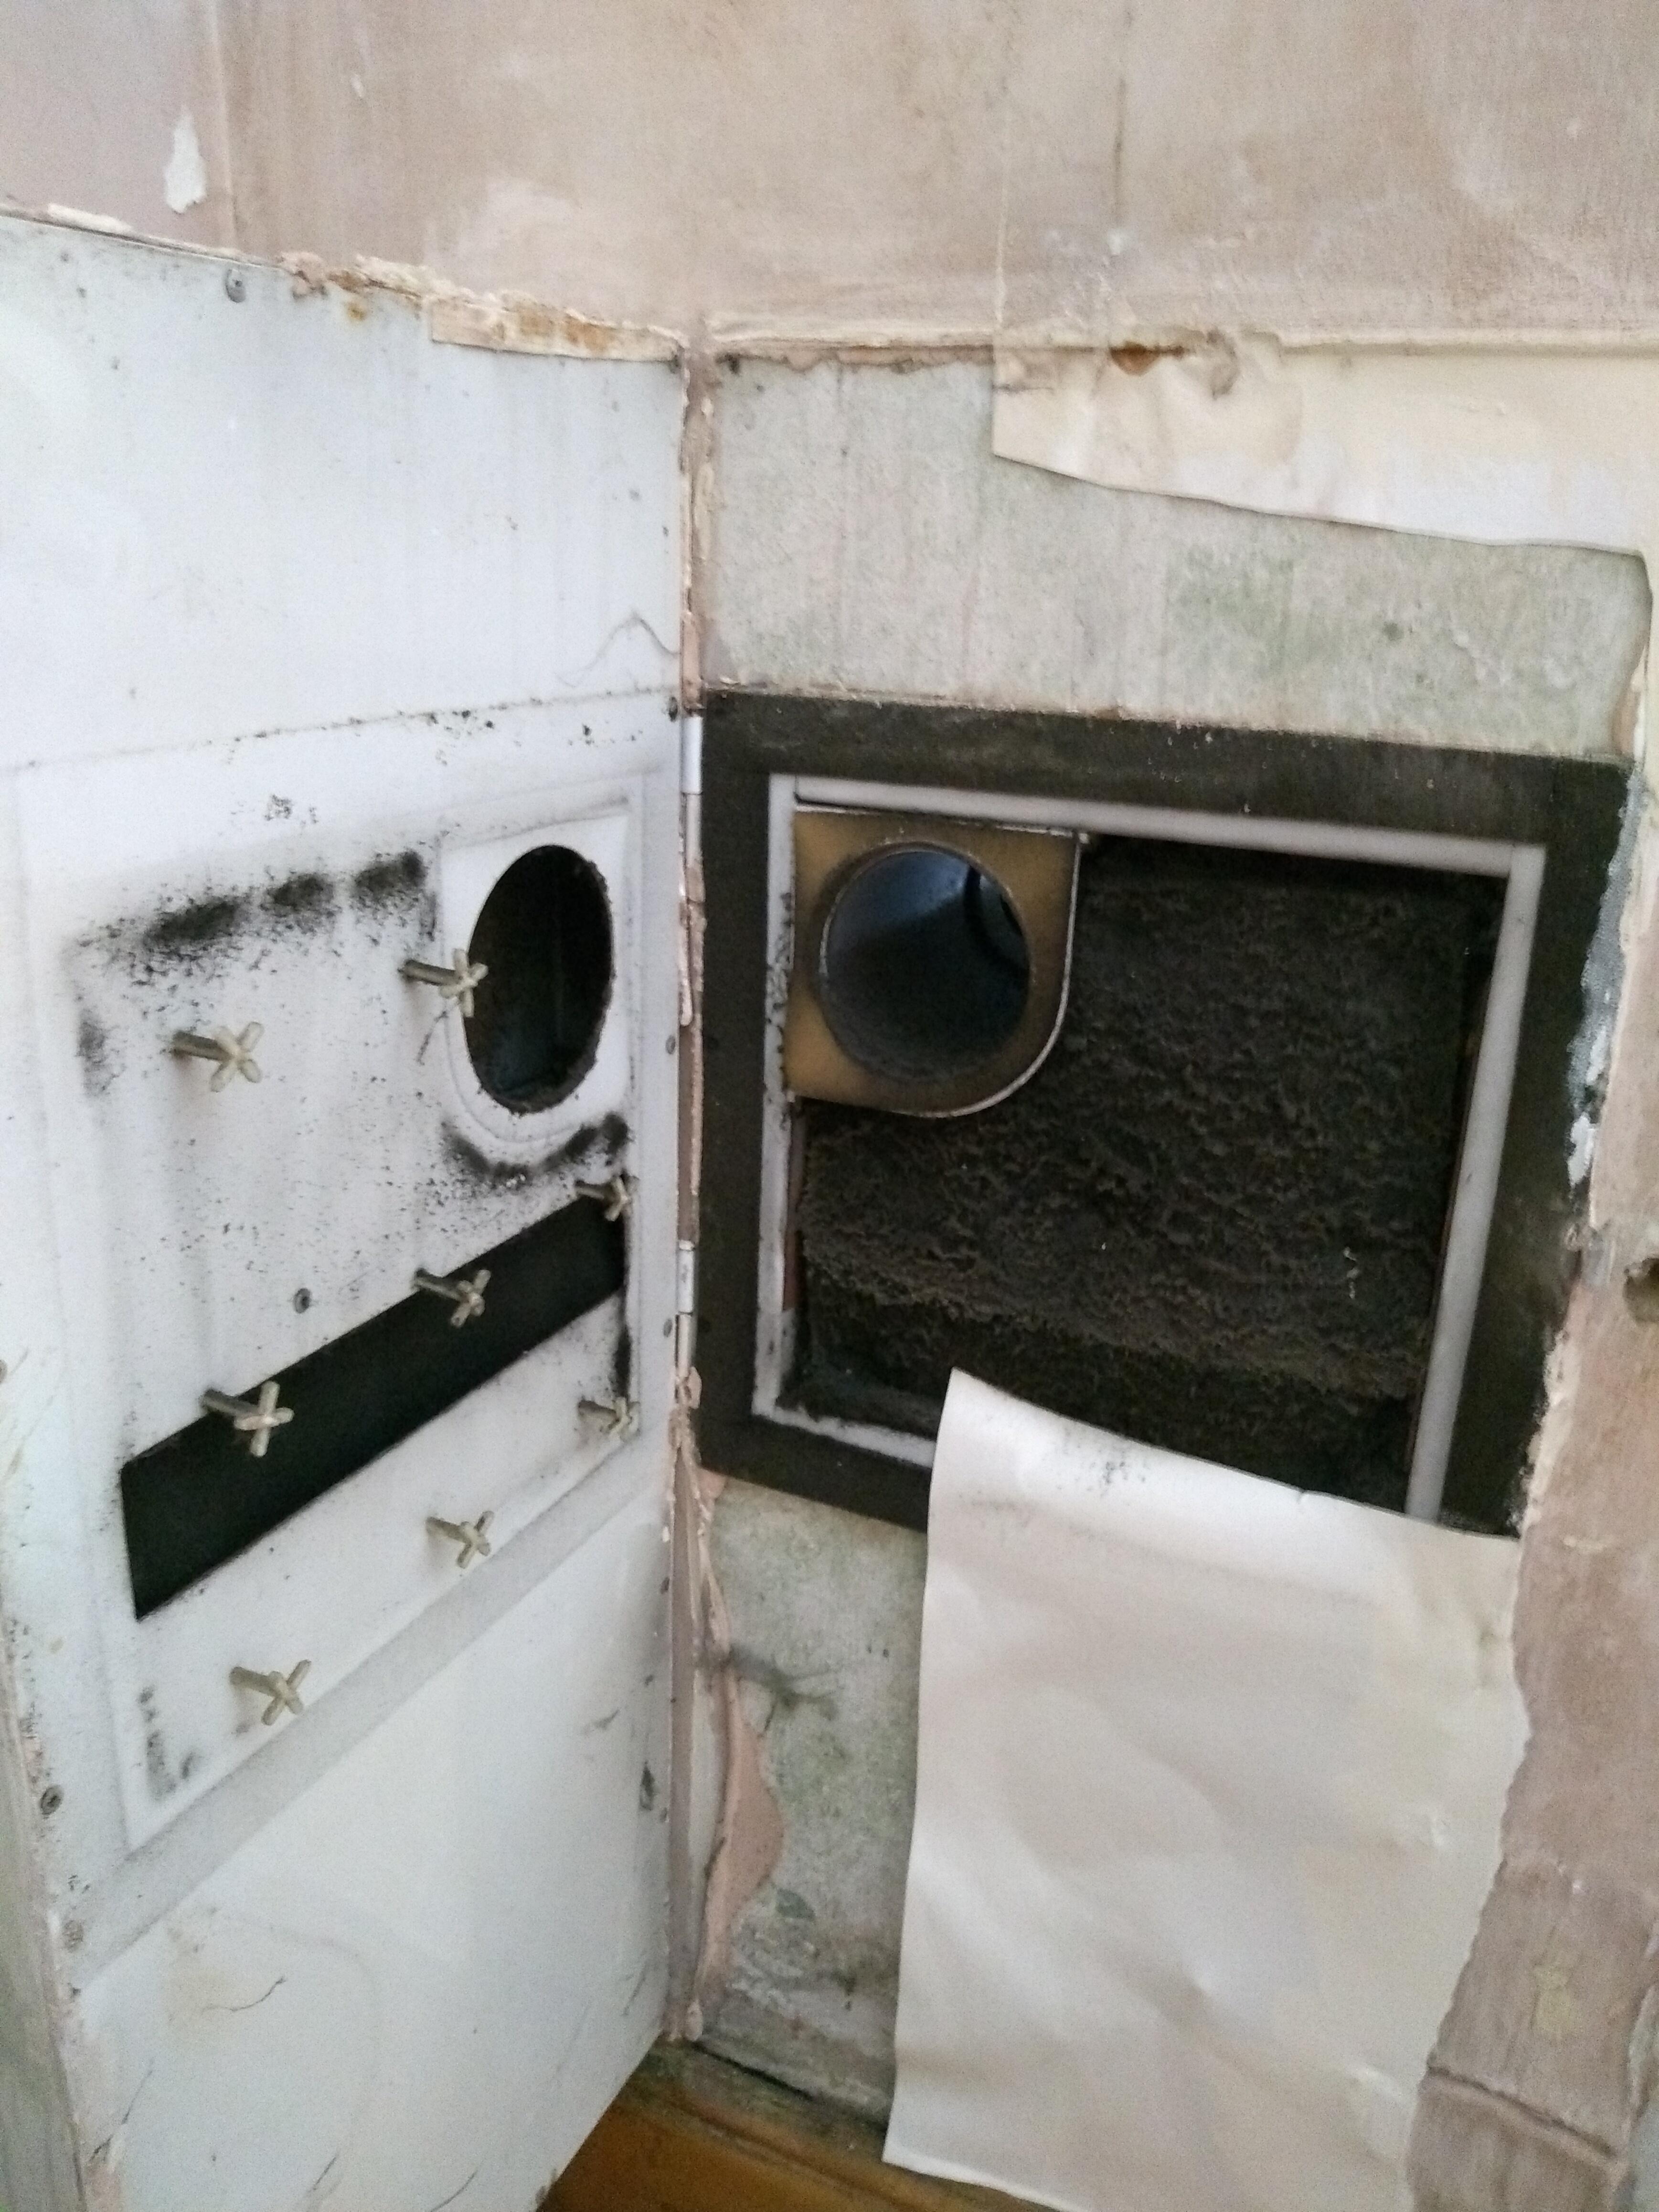
Anyone know what's this box in the corner of the room? Located upstairs front room, facing the road.

The 'tube' in wall leads straight outside, and it looks like the rest is some sort of gross filter? Behind the bottom half of the box is just plaster with a bit of paper stuck there :/
The 'door' is about 10cm deep (off the wall), and has has small side grill/vent on the hinge-edge.

Looking at streetview, other houses have similar 'vent' on the outside too. I assume it's some sort of filtered-air brick-esque device? Hoping to be able to remove it, or at least replace with something considerably slimmer...
-
• #22441
Does anyone know a good plumber in/close to Islington?
I’ve got a wall hung toilet and something around it is leaking a little :-/
-
• #22442
It's a whole different ball game. I've really only dipped my toes in the water. I was asked to refinish a veneered dining table and that was a pretty steep learning curve. When you look at French polishing there are lots of new materials and techniques that most joiners or carpenters might not be focussed on.
When you use an random orbital sander on wood you create a million little scratches running across the grain. Impossible to get rid of at a very fine level even with a very fine grade of sandpaper. You end up sanding with the grain and using something called grain filler before varnishing/oiling.
I am a bit crazy about this though, I once planed an entire bedroom floor and waxed it. You could slide from one end to the other in socks. That's when I learnt to handle a plane!
-
• #22443
I once planed and entire bedroom floor
Don’t tempt me with such filth.
-
• #22444
I once planed and entire bedroom floor and waxed it. You could slide from one end to the other in socks.
That sounds like risky business
-
• #22445
I've used these https://www.juniorsplumbinganddrainage.co.uk/ They were fine, turned up when they said they would and did the job for the price quoted
-
• #22446
garoan
-
• #22447
Thank you!
-
• #22448
What you did there...I see it.
-
• #22449
1960s "crosswall" type house - the facades (where not glass) are over clad in plastic but some original timber work remains - vertical mullions, sills etc. I need to refinish it as its gone beyond in some places and is leaking around window junctions. Have to do it off a ladder as too skint for scaffold. Current plan is to wire brush / rub back all loose bits, fill any holes and big dings with 2 part filler and then over coat the lot. In some cases it will be back to bear wood, others where the finish is still reasonable i'll be just adding a layer of protection. Two questions:
1: what product to use - some kind of sadolin ? - looking for path of least resistance so I guess sticking to the delicious 60s brown.
2: Mastic / silicone gaps between aluminum window frames before or after paint ?
1 Attachment
-
• #22450
It's not going to be that easy to get back to that kind of brown finish if it's not completely opaque.
Usually I prime the wood then apply mastic that can be overpainted i.e. waterbased sealant. Then undercoat and 2 top coats. In the last few years I have been using Zinsser All Coat which can be tinted and doesn't need 3 coats, 2 will do. It's also very easy to paint with and very durable so far. Personally I would paint it all gloss white because that finish lasts a couple of years longer.
If you use car body style 2 part filler don't skip the wood hardener.
You might benefit from a carbide scraper, probably do a better job than a wire brush.
It's a bitch working off ladders, depending on the value of your time even a tower is worthwhile.
 J0nathan

 Airhead
 mi7rennie
 JonoMarshall
 Nef
Nef atk
atk MisterEd
 NotThamesWater
 withered_preacher
 Sheppz
 @hippy
Easiest option would be to fill the old holes and put newer smaller holes beside them.
Whats the material - plasterboard, wood etc?
If plasterboard, one option would be to cut a square around the existing hole, cut your new hole for the light in a new piece of plasterboard, and fit that. Fixes like that are relatively simple, but I can run you through the steps if you want.