-
• #577
Damn.
Thanks for the reply anyway -
• #578
I agree with outsourcing. At least that was my conclusion too.
I wouldn't trust anything below those semi pro berninas to be fun. And they are serious money.Unless you do quite large numbers I suspect stitching labels on is the way to go. Or cut your pattern, deliver panels you want embroidery on to embroiderer, and then assemble.
-
• #579
Also keep in mind that when it's about outdoor stuff embroidery probably weakens the fabric. Wouldn't be ideal to have a bag that starts leaking or breaking at the logo.
-
• #580
Dovetailing cheap, not-flat B&Q softwood. Not the nicest introduction to joinery.
Gonna be a plant wall eventually
1 Attachment
-
• #581
Eesh. Good effort all the same!
-
• #582
Thanks. Only managed to chisel myself once!
-
• #583
You really have to clean that B&Q stock up with a jointing plane if you want to work with nice even pieces. It's not really worth the time in pine though, if you go for some meranti it's not massively more expensive but it's a joy to work with compared to the half dry knotty pine we get these days.
Nice job in the joints though.
-
• #584
Meranti? Noted.
tbf we originally bought it all just intending to glue/screw/nail it together, but then I figured I'd try something a bit more interesting. As much to get a feel for some of the machinery before I get started on a real project, a big end-grain maple butcher's block
-
• #585
might be of interest here: a distant cousin makes furniture. She mainly uses wood and boiled leather.


theres a video here :
https://www.facebook.com/tortiehoarefurniture/videos/2015117418502684/?q=tortie%20hoare%20furniture
-
• #586
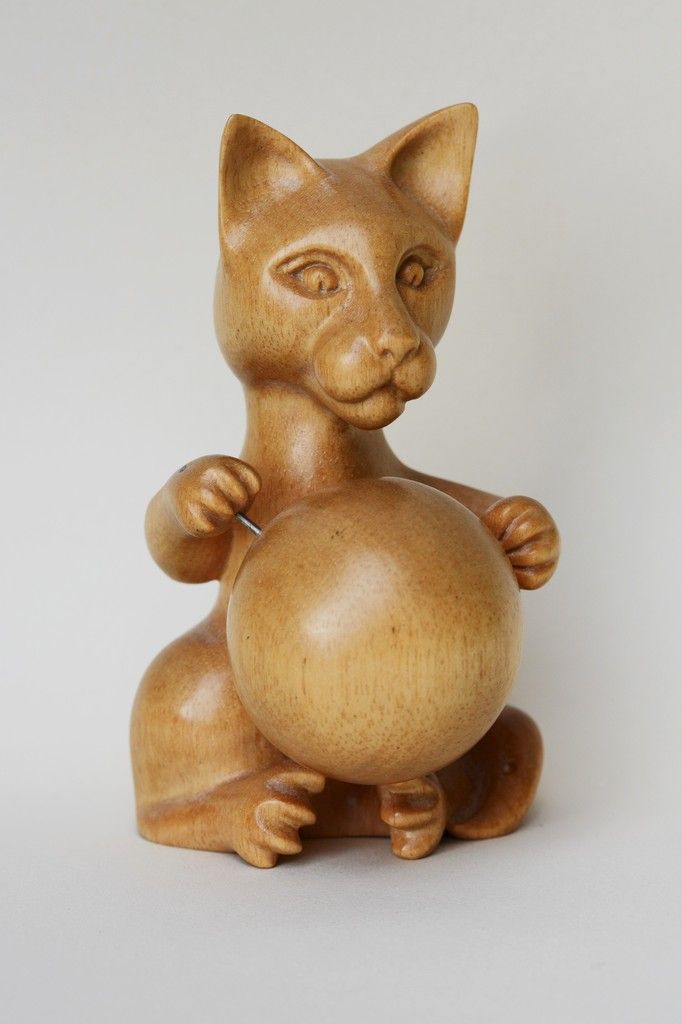
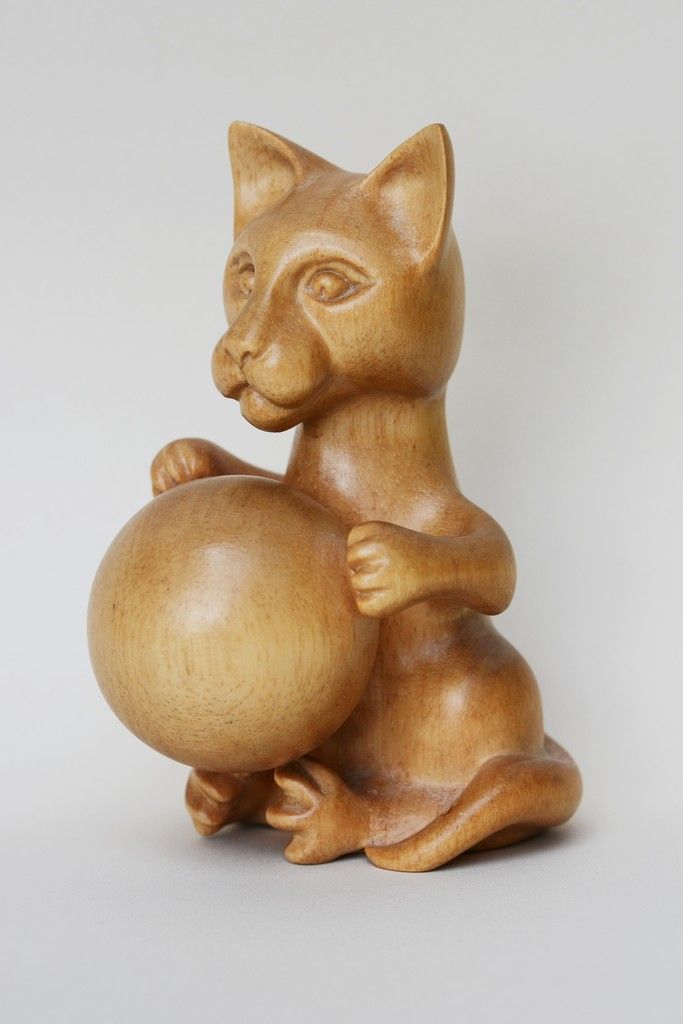
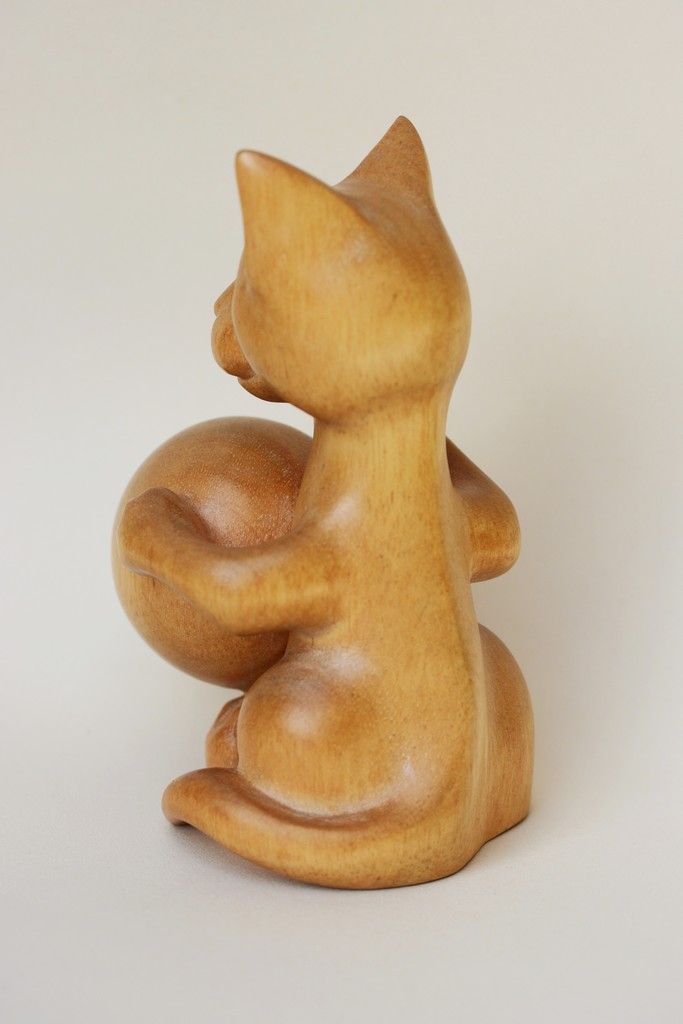
New carving done. Unfortunately, had to use a piece of spoke to reinforce the right arm/leg, as it was looking a bit wobbly :-)


-
• #587
The latest three axe's I've been fettling.... one was my dad's, one came out of the river stort, via magnets and the other was discarded in the metal bin at the dump. None totally finished yet, but left to right it's nearly, halfway-ish, just started.
2 Attachments
-
• #588
so. good!
-
• #589
I thought it as pregnant from the 1st image!
Good work though
-
• #590
Took a load of counter top offcuts from @Dammit just for the sake of having wood to play with. Thought I would try my hand at planing seeing as I bought a plane and promptly stuck in my tool chest.
Managed to get a much better edge on the plane than it came with. The scratches in what should have been the polished edge made it look like it was sharpened with a chainsaw. I got it good, but it could be a lot better.
The worktop wood was a bastard though. Where the different bits of wood had been finger jointed together, two adjacent pieced had completely different grain angles so when one bit was giving nice ribbons, the next bit would tear. Maybe a sharper blade would help but it was still annoying.
Not really looking to achieve anything other than practice but I made a holder for the plane that I'm quite happy with. Holds it really well with the weight on the front handle and a perfect fit between the two arms at the top to stop it tipping out.
1 Attachment
-
• #591
Planing set up. Had to clamp the adjustable top from my ALDI copy workmate to my "agricultural" bench and then butt the bench against the wall.
1 Attachment
-
• #592
The worktop wood was a bastard though. Where the different bits of wood had been finger jointed together, two adjacent pieced had completely different grain angles so when one bit was giving nice ribbons, the next bit would tear. Maybe a sharper blade would help but it was still annoying.
Time to buy a low-angle block plane :-)
-
• #593
I like the plane holder. Really should tidy up my own tool storage.
-
• #594
I've just had the "maybe I should get a table saw" chat with mrs_com....
You could tell it was a lot to do with the direction of the grain because given two different sections, they would both plane well in opposite directions. Which mean I kept getting a small amount of tear either side of the finger joint.
What would a low angle block plane do differently? Genuinely interested.
-
• #595
I have an order for some neodymium magnets coming that have a counter sunk hole in them. I mounted a utility knife to the wall by epoxying a regular round magnet so it is always within reach. Soon everything magnetic and light enough will be on the wall.
-
• #596
What would a low angle block plane do differently? Genuinely interested.
The low angle is meant to handle end grain better, but the sharpness of the edge is always going to be more important, I think. Also, the better ones have an adjustable mouth, to allow finer shaving. Not that important in my experience, although smaller gradual cuts are always better with end grain.
Mostly, for me, it's the size. A one handed plane is just that little bit more controllable.
-
• #597
Or you could just hit it with a belt sander ;-)
-
• #598
If you haven't already tried stropping the edge of your plane & chisels, I'd highly recommend it.
-
• #599
A sander and paint makes me the carpenter I ain't.
-
• #600
I'm definitely going to give it another go on the stone. This was just practice and I could definitely do a better job. I might make an angle block to to help keep the right shape for the edge. I was happy with the ribbons I was getting on the "correct" grain, so that's a start. I imagine solid wood would have been even better.
I do need to curtail my buying. If I spot a block plane in a charity shop or stupid cheap, then I'll pick one up.
I get what you mean about the one handed use too. Also, setting that one up is a pain in the balls.
 PhilDAS
 c.h.e.
 TvH
TvH
 stevo_com
 Airhead
 ObiWomKenobi
 BareNecessities
 stedlocks
 platypus
 DethBeard

 @Sam_Doman
We looked into at the textile Printers i used to work at, the machines we could afford weren't worth a fuck, you had to drop a fair chunk of change to get a reasonable one. easy to get ones that did simple lettering (preloaded fonts) but if you wanted artwork ones they were silly money, we just outsourced it.