-
• #77
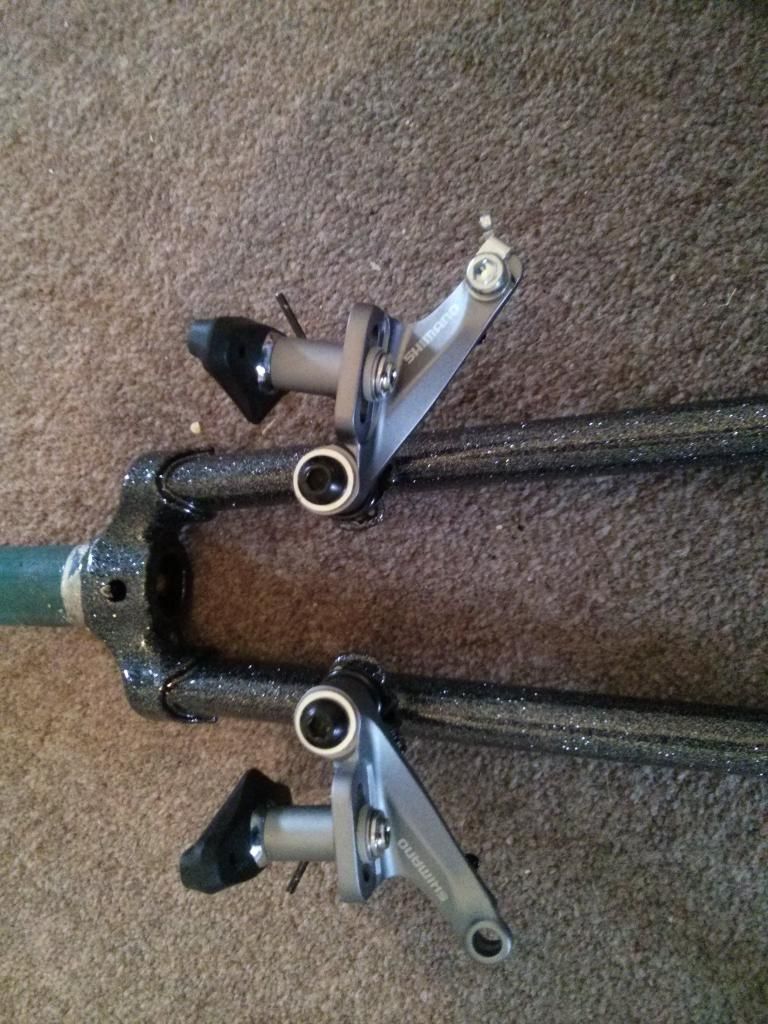
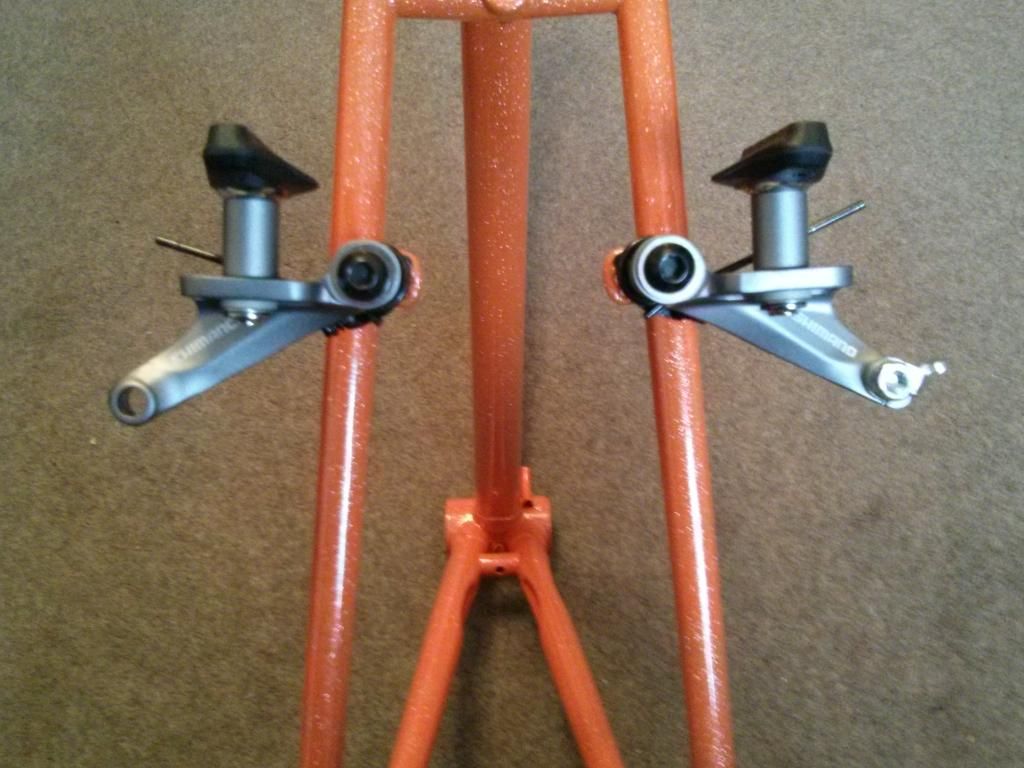
*emphasized text*Frame and forks are back from the painters and I'm quite impressed.
http://i1105.photobucket.com/albums/h352/gazzajohnston/bike/D3535AA8-98BE-47BC-8615-29FE118DBDEB.jpg
http://i1105.photobucket.com/albums/h352/gazzajohnston/bike/BF3CF51A-0ED8-410C-8D56-73F4CAF7BE9E.jpgSome closeups to show the sparkles:
http://i1105.photobucket.com/albums/h352/gazzajohnston/bike/B07A62EE-8752-4D72-962B-45B2C055E67B.jpg
http://i1105.photobucket.com/albums/h352/gazzajohnston/bike/06013B38-7601-4684-929C-6FADF8B48C53.jpgThe only issue is that they've not masked off the cantilever bosses. Everything else was masked off except these and I'm wondering what the best way is to remove the excess material to allow the brakes to fit? Any thoughts?
-
• #78
Brake levers also showed up today. Managed to put them onto the bars so at least I know they fit.
-
• #79
Any thoughts as to my powder coating issue and how to remove the excess coating that's covering the brake bosses?
I've dropped the coater an email but I'm wondering if its just a case of sanding? Or is there another way to remove the coating that's stopping me from fitting the brakes?
-
• #80
-
• #81
Quick question?
Is it worth buying a new headset or should I clean and rebuild the one I have?
What I have appears to be quite generic and is made of plastic; I don't know much about these things so would appreciate you opinions?
Also if its best to replace are there any recommendations for a suitable (not too expensive) headset possibly in black?
-
• #82
I need more sparkle n my life :/
-
• #83
^ not a helpful comment, sorry!
-
• #84
It is really sparkly. If we ever get good weather in Scotland it'll look great.
-
• #85
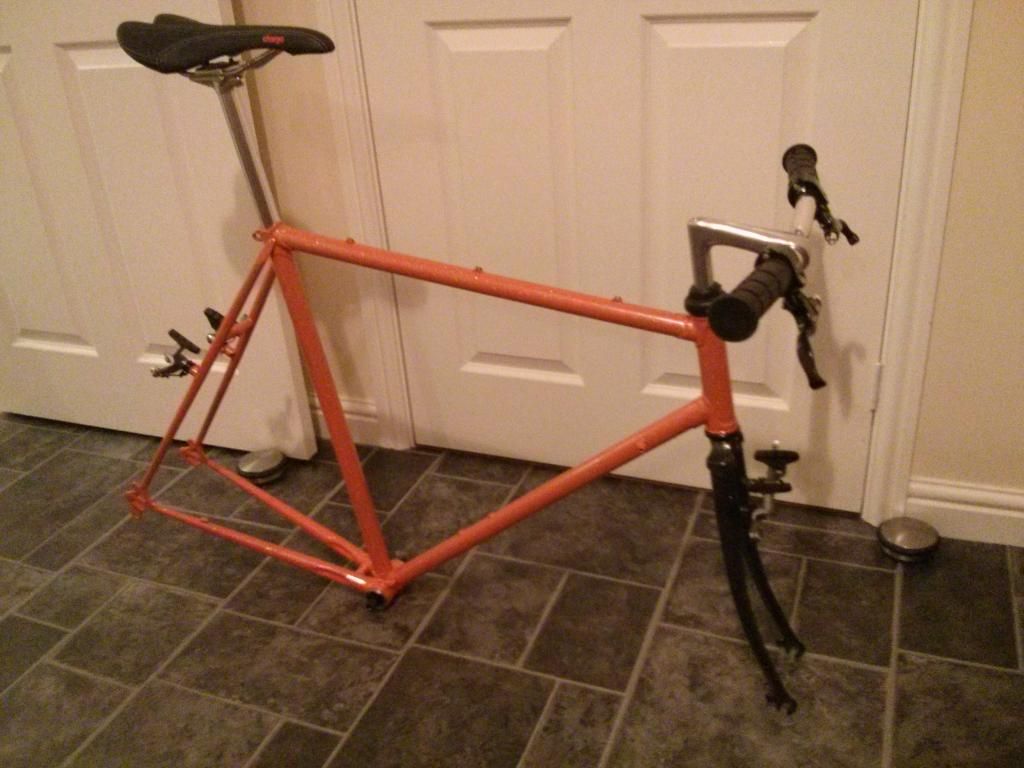
Starting to look more like a bike:
Bottom bracket fitted along with original headset (have another but the stack height was a little too high).
Seat and seat post fitted but still have to get a seat post bolt.
Handlebars on to see how things look.
Nothing lined up or set for me as a rider but really just to see how it looks.
-
• #86
-
• #87
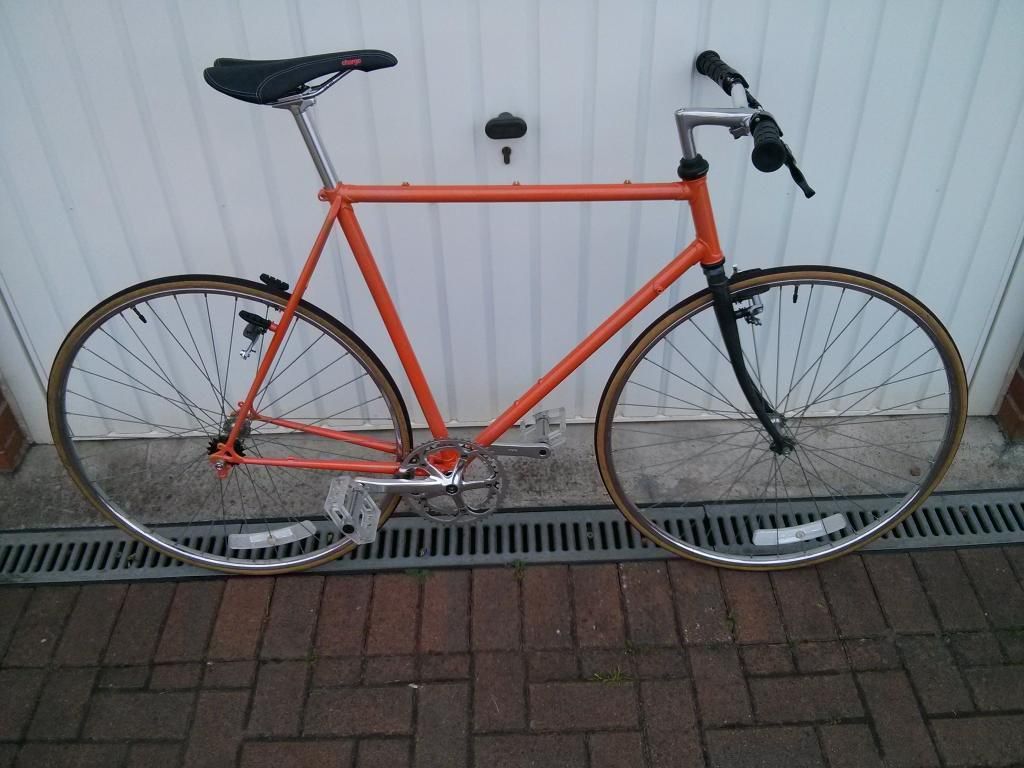
A few more odds and sods to get to complete the build but its finally taking shape.
Got to say I'm not too sure about the look of the pedals. Time will tell though and I'll decide if these need to be replaced once the build is complete and I have ridden it a bit.
-
• #88
First small part (Raleigh quick release seat post bolt) arrived today.
Heavier than a seat post bolt but I thought it would be easier to use one of these as oppose to having to measure the size of bolt I needed.
Two second job to fit :-))
-
• #89
you can use an m6 bolt and heavy washers for future reference
-
• #90
Many thanks. I hadn't thought of that.
-
• #91
Also picked up a new chain (SRAM PC1) and a chain tool today so I'm pretty much ready to try and complete the build.
-
• #92
Looking good, if only my first build had been this flashy...
However, you must now face the kind of man you are, deep, deep down, when you perform
cantilever installashannnn!!11one
(seriously though, take an hour because while by no means complex that sh_ is fiddly as hell.)
-
• #93
And tilt the saddle down a bit. Some mks pedals or similar might suit the build better with it being an older frame
-
• #94
I do need to adjust the saddle but as I opted for an inexpensive seat post it was a nightmare to get it to where it is and in reality I gave up once I got the two bolts in place.
Hoping to take a look tomorrow or Saturday.
-
• #95
Next job. Fit the chain.
Step 1 measure required length
Step 2 split the chain at the right link
Step 3 decide I'm one link too long
Step 4 pop out one more link
Step 5 f@#£ need to take out one more as my click link doesn't fit both sides
Step 6 pop out another
Step 7 f@#£ now I might be too short
Step 8 join the chain together
Step 9 move wheel forward in drop outs
Step 10 put chain on
Step 11 adjust wheel backwards and tighten
Step 12 doneWheel is slightly forward but there is still some of the dropout in front of the axle so I should be fine
Photo to follow.
-
• #96
Quick question. I didn't do anything to thr check chain line.
What's the worst that can happen?
Is it just that the bike'll make a racket and I'll wear out the chain quicker?
-
• #97
chain may come off as well and the chainring and freewheel/cog quicker as well
-
• #98
It doesn't have to be perfectly straight though. A couple of mms off won't hurt. Wear might be a little worse but hey, it's your first build. You're gonna take the whole thing apart and rebuild it a thousand times anyway.
-
• #99
Singletraction head badge showed up today. It's designed for a mountain bike so fits but would be better on a larger head tube.
I'll maybe try to bend in the outer edges slightly.
-
• #100
Quick question. I've been thinking about how to cable up my cantilever brakes and while wondering how the rear cable would attach I realised that I most likely need a cable hanger.
I'm thinking I need this for the front and rear? Is this correct?
If so any suggestions?
 qwerty69

 Miss_Mouse

 thrillho
 Smolders
 PhilDAS
Just ordered some short pull dirt harry brake levers in black.
Should be here around the same time I get the frame back from the painters.
To say I'm excited is a bit of an understatement.
Pictures to follow when the frames back.